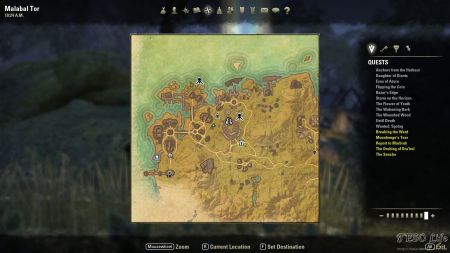
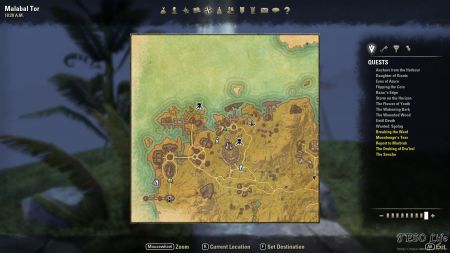
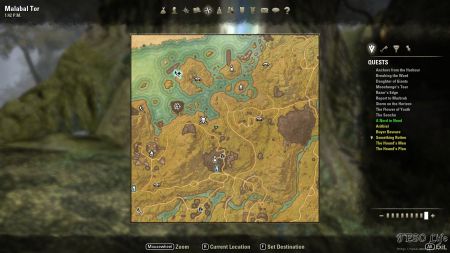
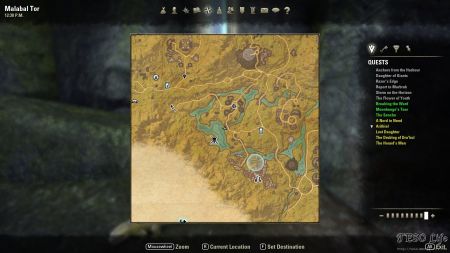
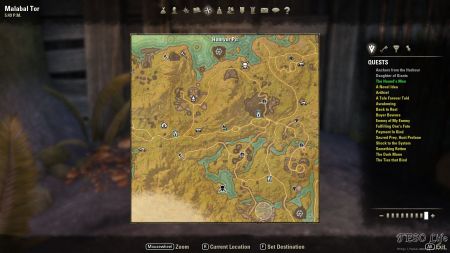
If you are member of the Aldmeri Dominion and you are between level 32 and 37 you are probably questing in Malabal Tor. Why not pick up 16 skyshards while there? To help you accomplish that you can use our map and screenshots bellow. You’ll be glad to know that, unlike in many other zones, skyshards in solo dungeons here are no in the last room always, but much closer to entrance. Speed skill point collection you say? We wholeheartedly agree.
On an orbit of the storm sphere’s home.
This shard is overlooking the northeastern Velyn Harbor, which is in ruins. There are many burned down houses. You can’t, however, approach this shard from this location. This is because there is a long rock wall that separates this part of Velyn Harbor from nearby Illayas Ruins. This is why we head to Illayas Ruins first. On its western side, walking toward The Warrior mundus stone, you can spot this shard in the distance. It stands near a ruined white stone wall of nearby ruins, overlooking Velyn Harbor.
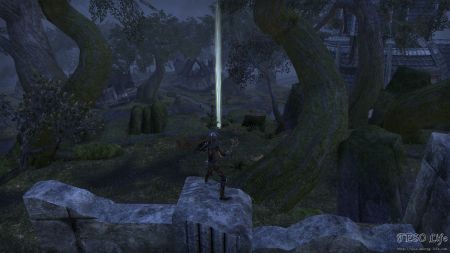
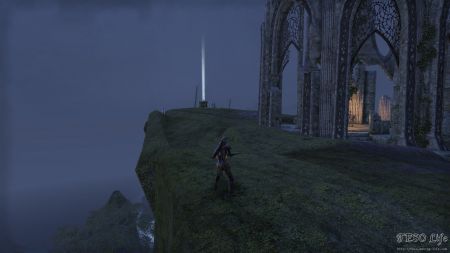
The best view of Fuller’s Break.
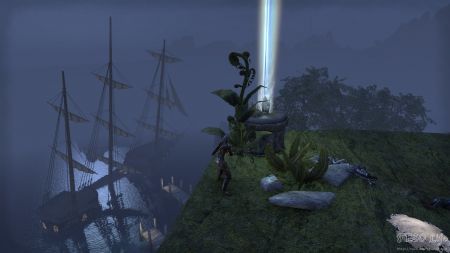
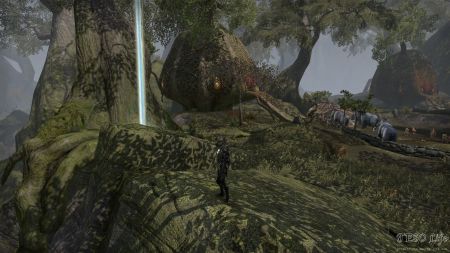
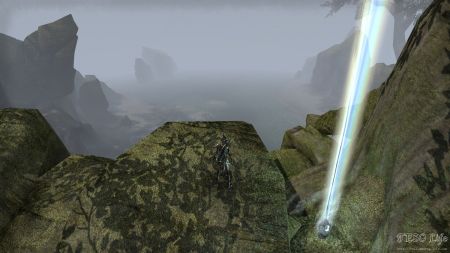
Approach this area from south and you will find the shard just north of Ilayas Ruins platform. Collectible is nicely placed on top of a small, round, stone table, overlooking the large ship bellow. This is where it gets its name from. You are basically overlooking the Fuller’s Break (anchor icon) POI from this ledge. Amazing place to take a screenshot at.
Unnoticed by a melancholy Elf.
This is one of those shards you probably won’t miss. It is just south of the main road that connects western part of Malabal Tor with the central part. It stands on the ground, next to a large tree root. You might wonder where it got its name from? Just north of the shard’s location is a small camp. Inside the small camp there is an Elf NPC – Tahruin the Melancholy. This NPC starts the quest “The Summer Site“. This mission is part of Falinesti Summer Site objective.
Near the river, disentangled.
This shard is found on northern shore of a river that goes through northern Tanglehaven. It is close to a tall cliff. This cliff separates the main road to the north from this river. You can rather carefully jump from this road toward the shard. Try to be cautious as much as you can though. Death by falling from high altitude still damages your gear and increases your repair bills. It is less likely to incur repair bills if you approach it from south and cross the river from there.
Jumping on cliffs southeast of Hoarvor Pit can take you to this position, just above the collectible.
Seek seaward cliffs by the brewery town.
This shard is located close to Mammoth farm in northern Vulkwasten settlement. This is where you go to talk with Alphrost for quest “Something Rotten“. There is a Noglanor’s House at this location. Collectible is on the edge, overlooking the nearby shore and Jagged Grotto POI (epic enemy).
Fell from a bridge fleeing Abamath.
You can find this shard next to a large wooden bridge that connects Tanglehave POI island with an island south of it. If you are casually swimming in water around this area it is not that hard to spot this brightly shining collectible. For me it was, a sort of, a lucky find. It happened while I was swimming back to Bone Grappler’s Nest from Bloodtoil Wayshrine to die for the second time.
Search every nook to lift the Vale.
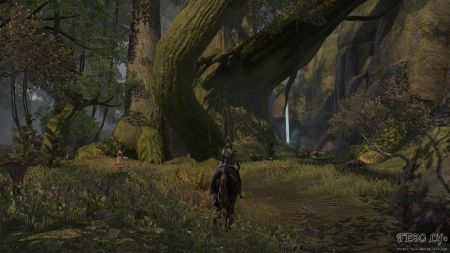
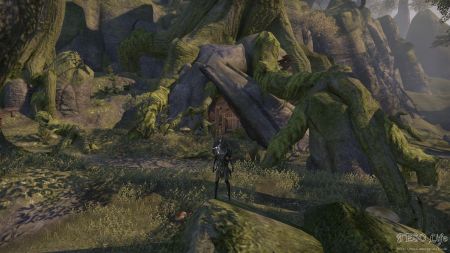
This shard is at the bottom of the large Valeguard tree. It is rather easy to spot if you approach Valeguard from the main south road. It stands in a corner, between a huge tree and nearby mountain rocks. If, for some reason, you reach Valeguard from north, and start climbing to its top, you can miss it without even noticing. There is a rather large bridge that almost completely covers this shard from above.
It is far easier to spot the collectible in the corner, when coming from south, than from the tree bridge above, when coming from north.
Eyed from a islet in the river.
You can find this collectible on the western coast of a nearby river. Its location is just northwest of the large lake island nearby – where Four Quarry Islet POI is (eye icon). If you are following the coast from north you are going to walk by Black Vine Ruins dungeon and Silvenar Vale Dolmen.
Shard, itself, is on top of a small boulder and is guarded by three hostile leopards.
Follow the sound of the wilding waves.
On the middle of a large cliff platform that overlooks the nearby shore is where this shard is located. You can approach it from north and east. Map area where this collectible is found is marked with brown color. Shard is next to a large, lonely, tree. If you reach the top of this platform you can find the lorebook “The Totems of Hircine” as well.
Withered within the vine.
Shard at this location is found inside Black Vine Ruins – public dungeon. Entrance to this dungeon is from a nearby river. This is a level 37 dungeon, where group of two and three mobs are common. To collect this piece, you have to reach the southernmost part of the dungeon. It’s inside this small room, at the center of what appears to be a sacrificial stand.
Quest “Brothers and Bandits” that you can pick up at the start of the dungeon from Daine NPC has some interesting story.
Dropped off when he still lived.
This shard is inside Dead Man’s Drop solo dungeon. Its entrance is overlooking the nearby shore. “Pirates of the Abecean” lorebook can be found at the entrance of the cave.
Another shard that had its location moved due to post-launch changes. Now, you can find it in the northwestern part of the dungeon. It is located on a high cave platform. You should follow the path in the eastern part of the cave to reach this spot.
Property of parasites.
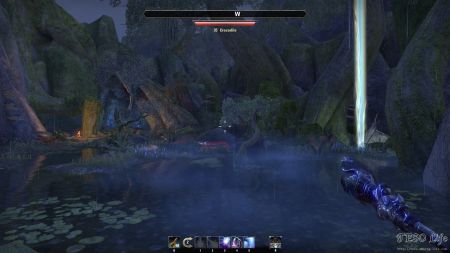
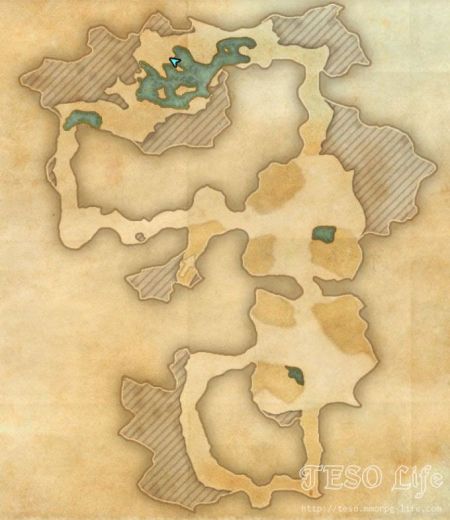
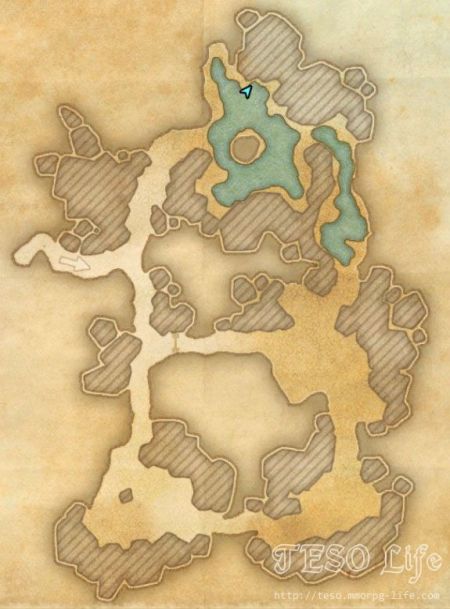
Found inside Hoarvor Pit solo dungeon. Entrance to this dungeon is north of nearby main road. This is part of the main road that connects eastern with central Malabal Tor. Once you enter the dungeon and open up the map, you should spot a large pond in the northern part of the dungeon. This is where the skyshard is located. Watch out for nearby hostile crocodiles.
Fungus dwellers dig, far from home.
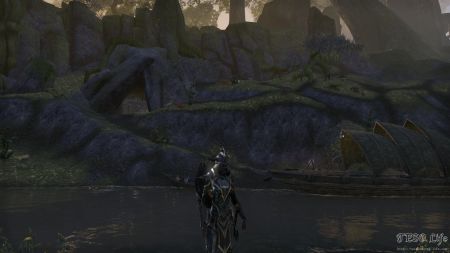
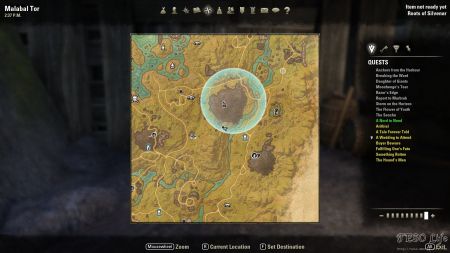
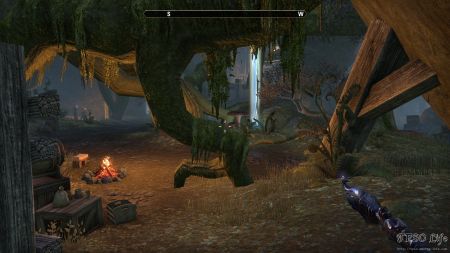
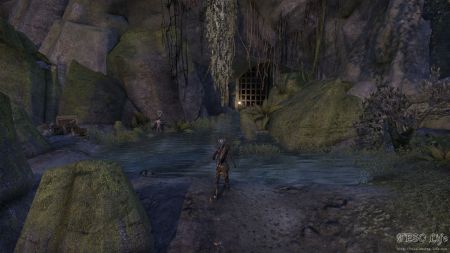
Skyshard is inside Roots of Silvenar solo dungeon. There’s a small path that starts from a nearby river and an interestingly looking boat and leads to the dungeon entrance. It’s in the largest cave room, next to the pond, rather close to the dungeon entrance. It is hard to miss if you are inside this room, as its location in the middle of the area dominates the surroundings.
Part of Arrai’s spectral dominion.
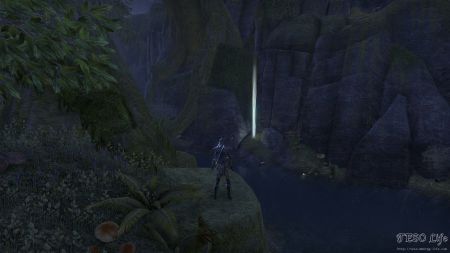
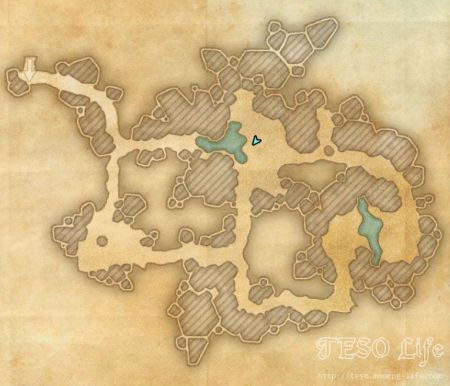
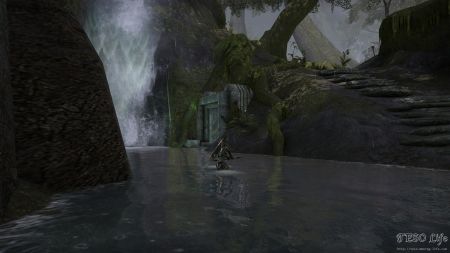
Cave’s entrance is next to a river and a tall waterfall. Like the other Malabal Tor solo dungeons, this one has also been through a change. This change also reflects the new location of the skyshard. It has been moved to the southernmost room, onto the stone platform, next to the other stone pieces like the chair, table, etc.
Haunted by heretics.
Shard is inside Tomb of the Apostates solo dungeon. Dungeon’s entrance is covered in vines and you best approach it from north. “Ancient Scrolls of the Dwemer I-B” lorebook is near the entrance. As you enter the dungeon, turn left and go toward the area with lots of water. It is located inside this space.
Held by red-handed bandits.
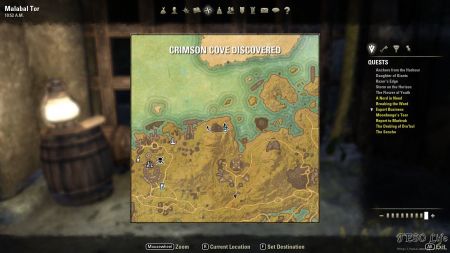
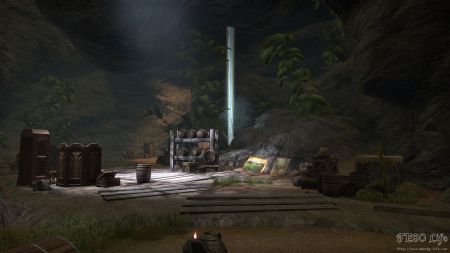
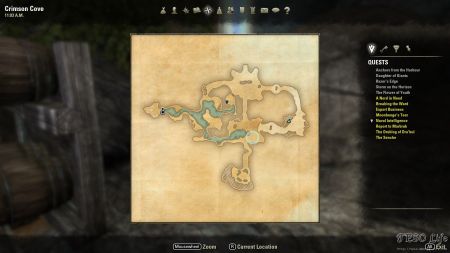
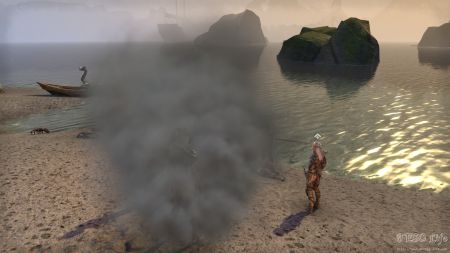
This shard is inside Crimson Cove public dungeon. You can enter this cave from nearby shore and there is NPC quest giver Peras near its entrance. Peras gives the quest “Export Business“. This quest is part of Crimson Cove objective. Inside the cave, just before the first group of mobs you can grab another quest. Quest giver Glanir gives mission “Naval Intelligence“. This quest rewards a trophy – Glanir’s Smoke Bomb, which summons a cloud of dust around you for a short while.
Dungeon is filled with groups of four or more mobs. Class with decent AOE spells can take them out rather fast, earning decent amounts of experience and loot drops in a short period of time. Groups have level 31+ mobs and there are also multiple boss mobs present of level 31-33.
Collectible is inside the eastern cave room. This room also hides other Crimson treasures (like paintings, barrels, etc.)

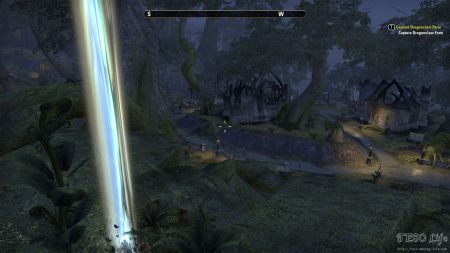
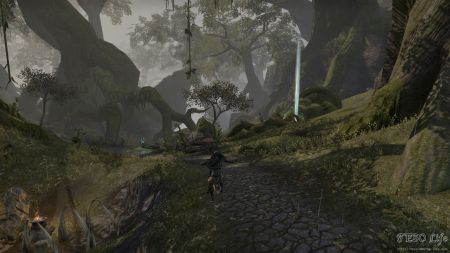
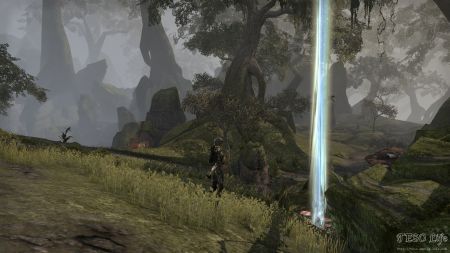
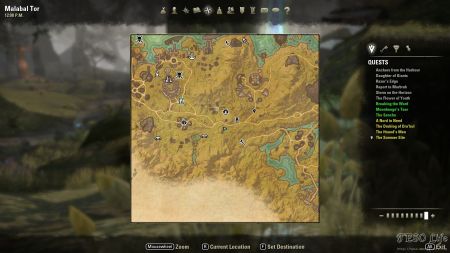
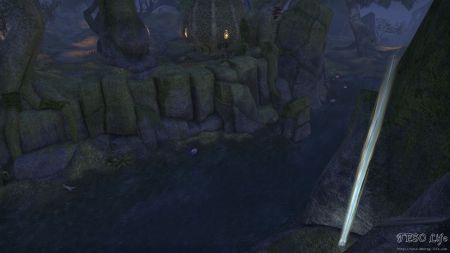
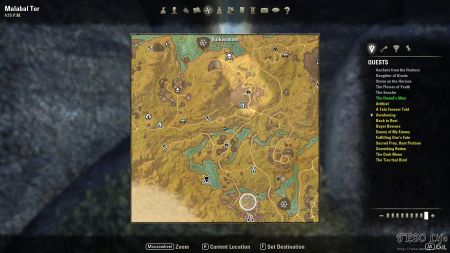
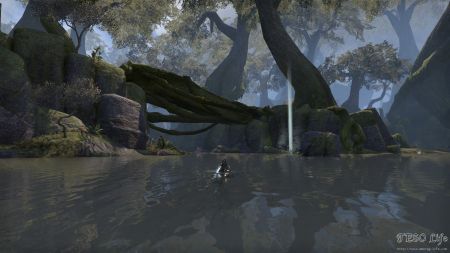
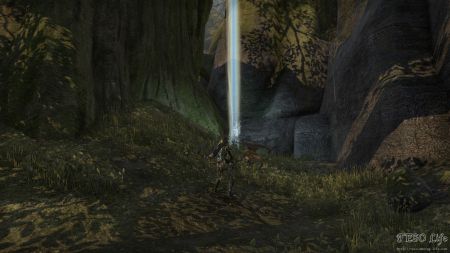
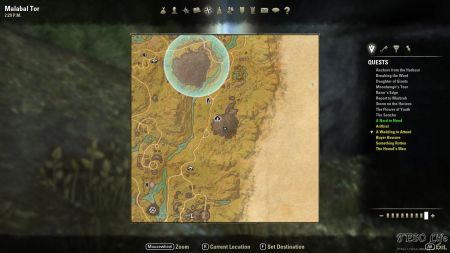
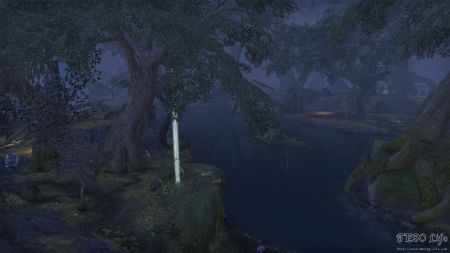
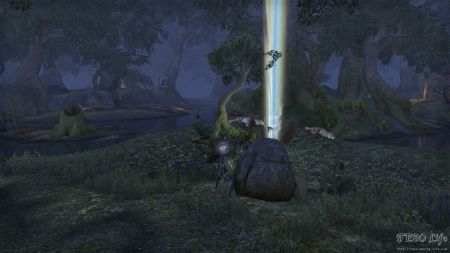
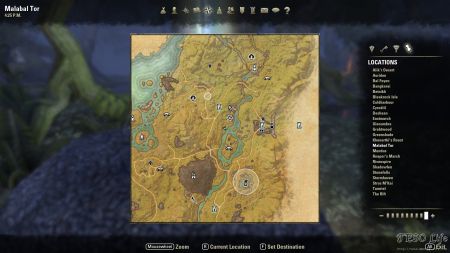
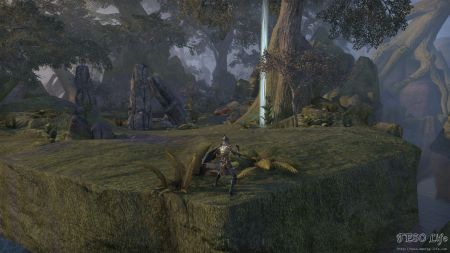
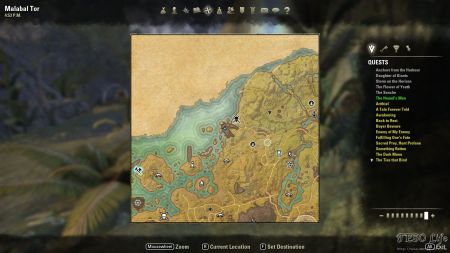
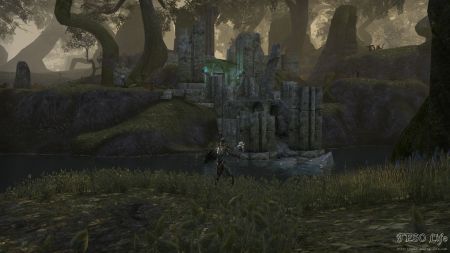
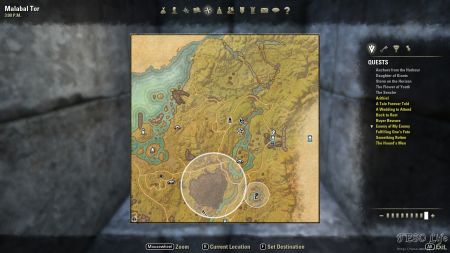
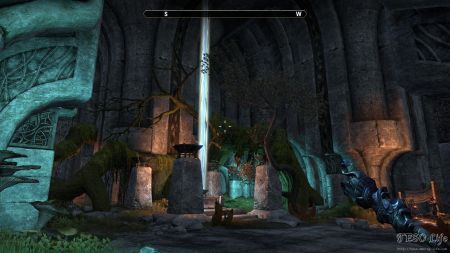
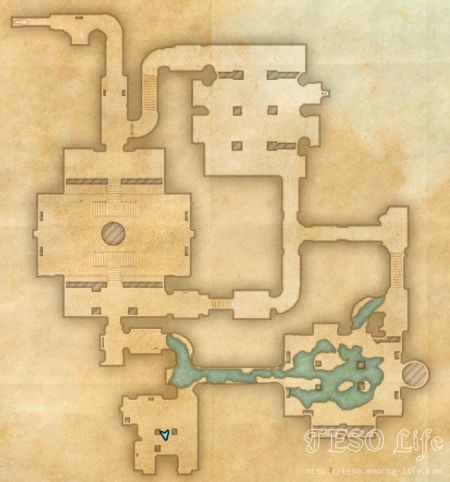
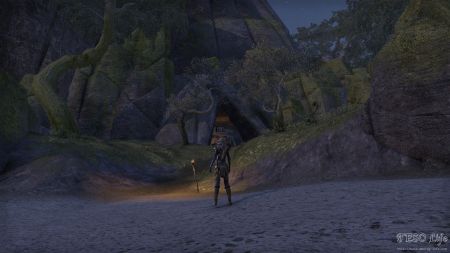
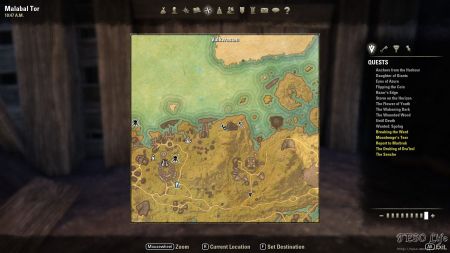
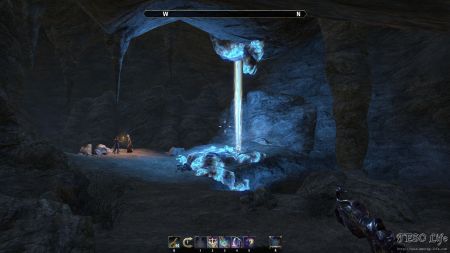
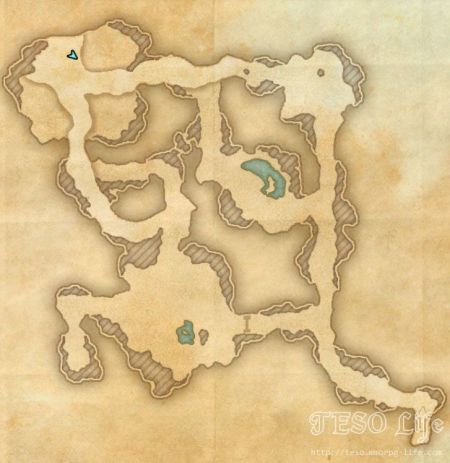
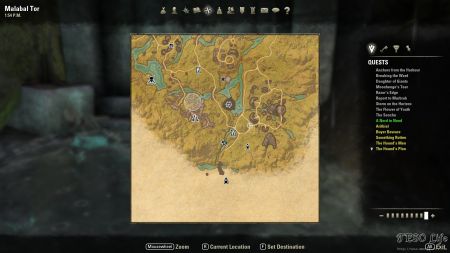
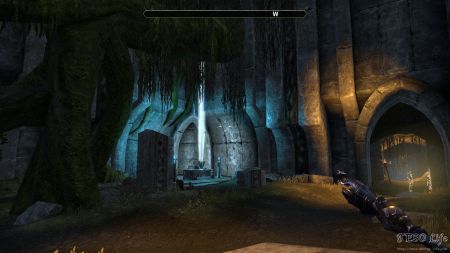
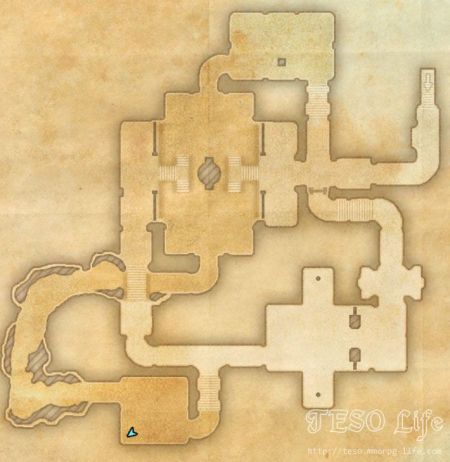
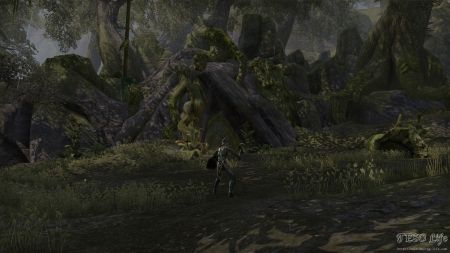
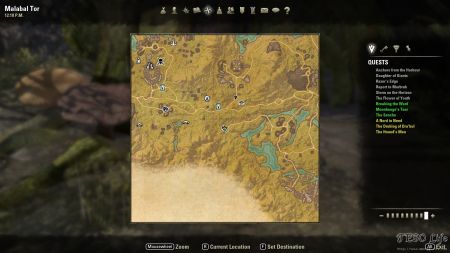
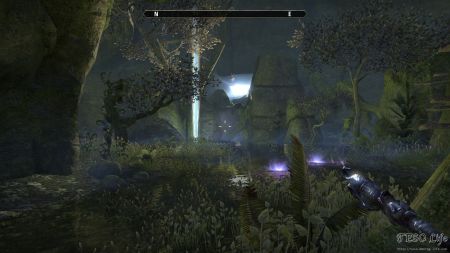
No 14 skyshard for Malabal Tor is now SW most part of dungeon… Has been moved.
Shael Ruins map has been changed and the skyshard moved
Tomb of the Apostates map has changed too.
#2, “The best view of Fuller’s Break.” It might be a good idea to add that to get to the skyshard, you have to fight your way through an entire camp of enemies. Poison/paralysis arrows work well here, as does a good AoE ultimate.