Alik’r Desert has sixteen Skyshards for you to collect as you explore the story of the undead problem King Fahara’jad is facing. This arid, yet beautiful, land is full of great adventures and we are sure you’ll have fun as you spend levels 31 through 37 here. Bellow are screenshot guides and walkthroughs for each shard and if you are having trouble with any of them feel free to let us know and we’ll provide the information you need.
1.
Sentinel of a domed tower.
Guide:
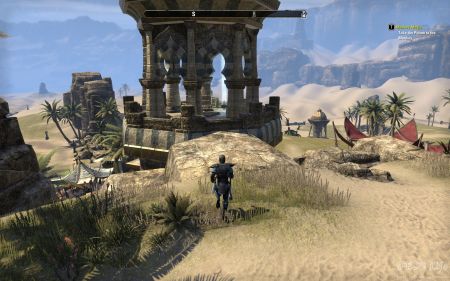
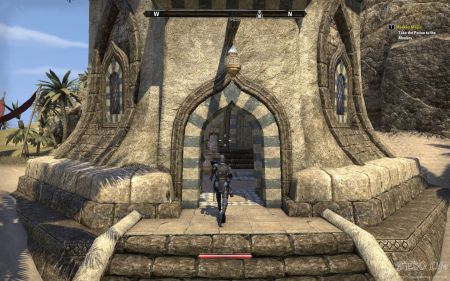
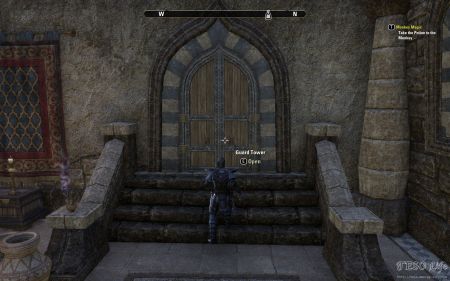
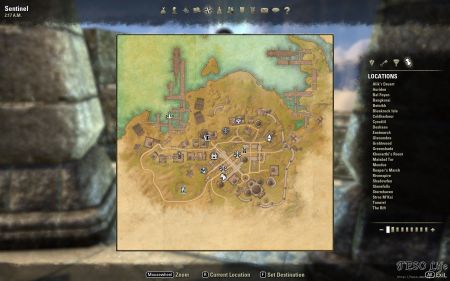
Found inside a guard tower just a bit northeast of Sentinel Wayshrine. climb up on the top of the tower by using the door on the ground floor and collect your shard.
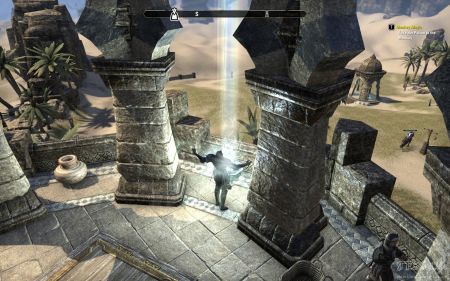
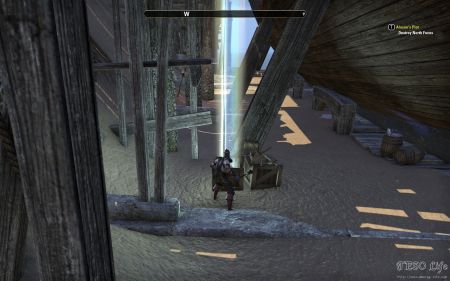
It is hard to notice this skyshard on top of the guard tower in Sentinel. If you take a close look at the screenshot above you will see the Sentinel Wayshrine bellow the tower in the background. You can’t actually get to the skyshard from up here. You have to enter the door on the ground floor of the tower to reach the top.
Go inside the tower on the ground floor …
… and use the door to get to the top.
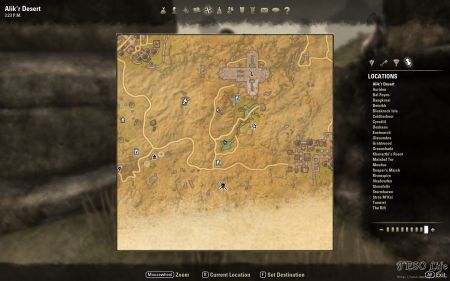
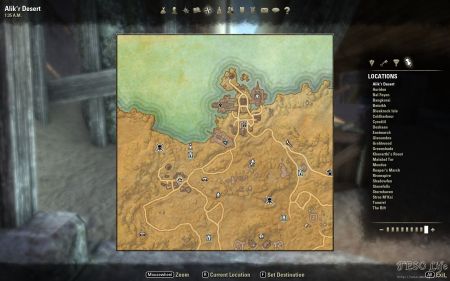
Map of Sentinel showing the exact location of the shard.
You can see the wayshrine in the background.
2.
Shedding shame in the oasis.
Guide:
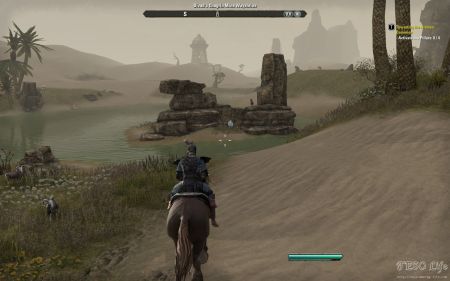
Found in the area of Goat’s Head Oasis. If you approach the oasis from the north you should have no trouble seeing the skyshard’s shine.
The collectible is placed on a small island in the middle of the oasis. Surrounded by boulders to the south. On the screenshot above it has already been picked up so there is no light pillar.
3.
Across the ruin from the Warrior.
Guide:
Located in the southern part of Salas En POI, wouthwet from Morwha’s bounty Wayshrine.
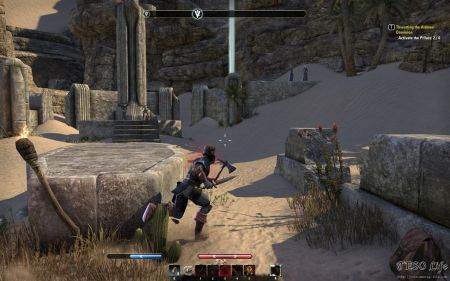
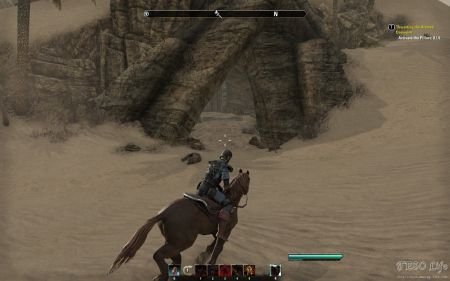
This area holds another quest you have to do for Lady Clarisse Laurent called “Thwarting The Aldmeri Dominion“. Shard is up on top of one of the mounds in the area.
As you move around the southern part of Salas En you’ll probably notice the collectible.
4.
Stored on a Bergama roof.
Guide:
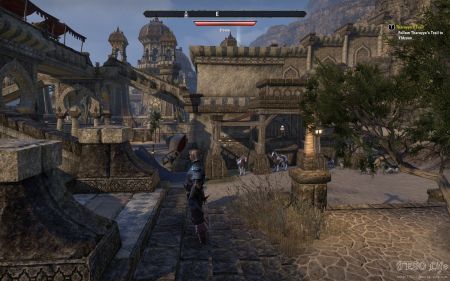
Found inside the city of Bergam on one of the houses. You need to find a way to get to that rooftop. Best is to find stairs that will take you up on the walls of the city and to the collectible.
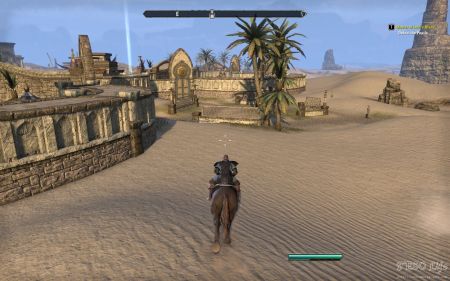
As you go through Bergama you should spot the shard on one of the houses.
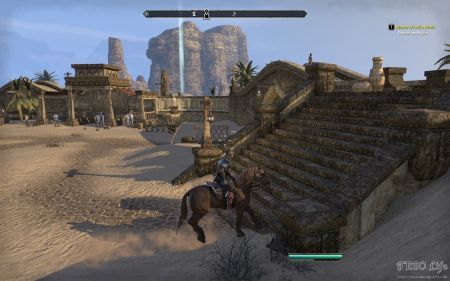
You will have to find a spot where you can go up the stairs and across the overpasses to reach the shard’s location.
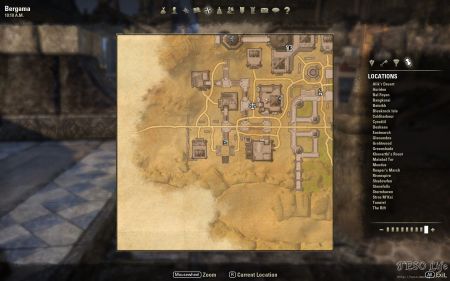
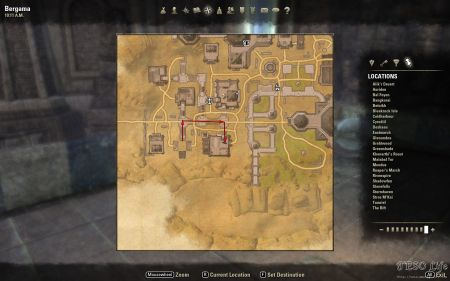
Map location of where I found the staircase that takes me to the roof.
Follow this path to get to the terrace.
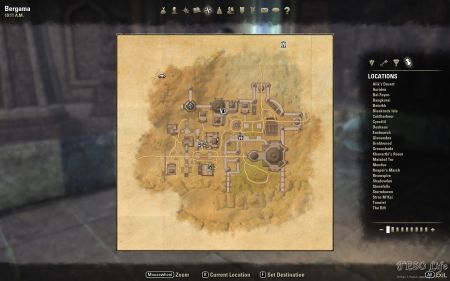
Exact map location of the shard
5.
Walltop view of the broken blade.
Guide:
Skyshard is found inside the town of Leki’s Blade. This POI is east of Kulati Mines Wayshrine or South of Leki’s Blade Wayshrine, the Shard is On the West wall of Leki’s Blade.
You can see the collectible on the wall here.
There are steps that take you up on the wall so you can reach the collectible.
Zoomed in map showing the location of the shard
6.
Beside a drydocked stern.
Guide:
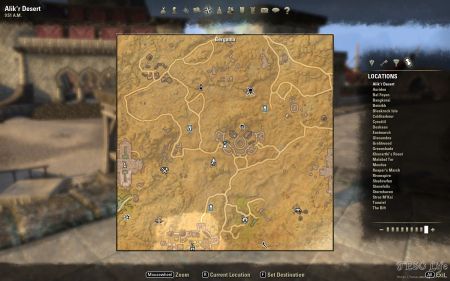
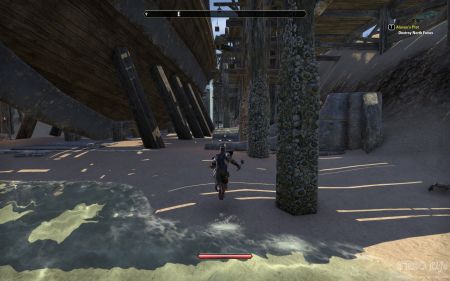
This skyshard is found in the dry docks of Tava’s Blessing. There is a ship being built there and you need to go bellow it to find the shard.
You’ll need to go to the ground level of the ship being built, underneath all the scaffolding. You’ll see the shard’s shine in the back.
Shard is inside a box there
Exact map location of the collectible.
7.
Left out in the open by Kozanset Mages.
Guide:
On top the Mages guild in the city of Kozanset, which is north of HoonDing’s Watch Wayshrine.
You’ll notice the shard while riding around Kozanset.
You do not have to enter the Mages guild to get to its roof, just use the stairs.
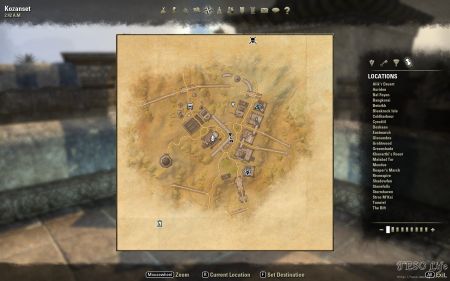
Kozanset map showing the exact location of the shard.
8.
Near a paid feather-finder.
Guide:
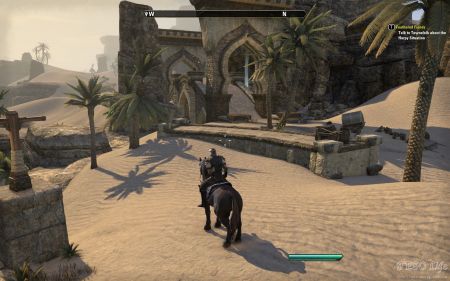
North of the village of Kozanset next to a bridge that takes you out of town.
As you approach the bridge you’ll probably see the bridge.
Bridge across sand dunes seems to be a bit pointless.
9.
Tears shed for a toppled spire.
Guide:
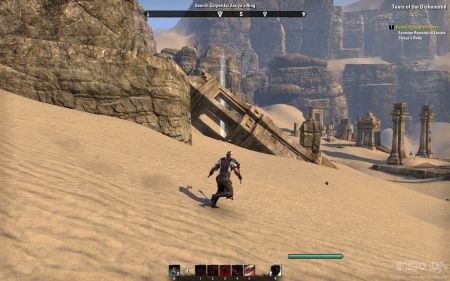
Located inside the Tears of the dishonored POI in southeastern part of the map. As part of the quest “
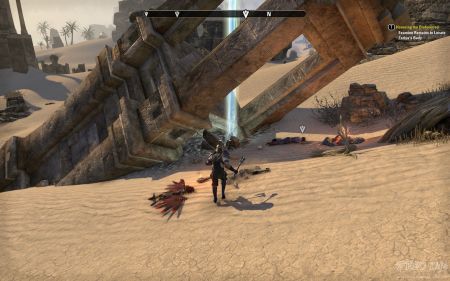
Honoring The Dishonored” you are asked to find Zariya. You will find both her and the skyshard next to each other in eastern part of “Tears of the dishonored”.
The toppled spire mentioned in the journal hint an d the skyshard clearly shining through it.
Zariya’s body is right next to the shard.
10.
Second stop on her search for the Pearl.
Guide:
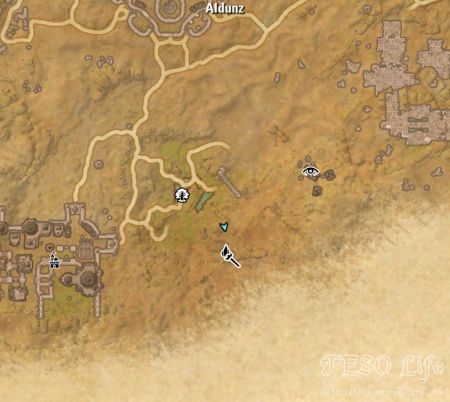
Found inside Aldunz solo dungeon in southern central Alik’r desert.
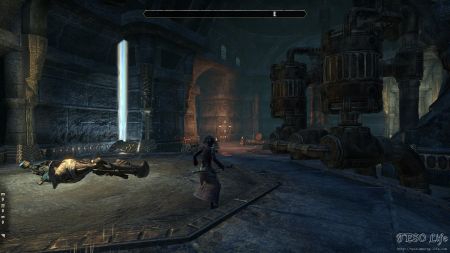
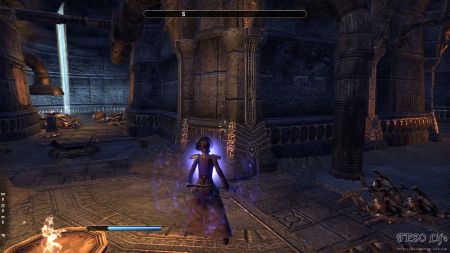
It took me almost two full runs through the dungeon to notice this shard. This is even more embarrassing when you find out where it is located. It’s just right from the entrance to the first large room. It is amazingly hidden, due to the fact that this is a rather small corner. In my defense, I can also add that the nearby Dwarven machines make a loud noise, so I couldn’t even hear the shard.
Find and enter Aldunz dungeon.
Map location of the Aldunz entrance
Close to the nearby Dwarven Centurion, western Aldunz.
Aldunz map location of the collectible.
11.
Buried respite from desert heat.
Guide:
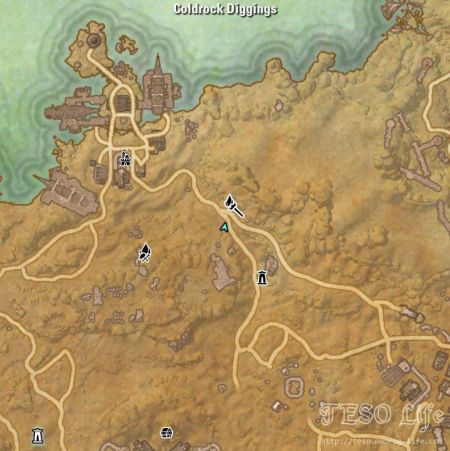
Inside Coldrock Diggings solo dungeon. Entrance to Coldrock Diggings is just a bit north of Sep’s Spine wayshrine.
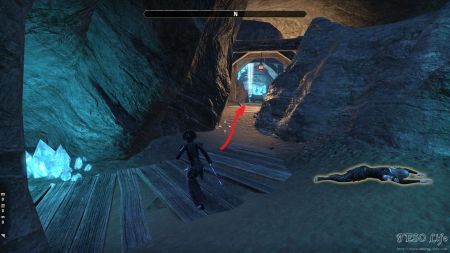
If you are a passionate shard collector like we are, once you enter a dungeon in search of the shard, you always aim for the smaller rooms. That should be the case this time, too. It is set in the small room in northeastern Coldrock Diggins, surrounded by beautiful blue gems.
Coldrock Diggins solo dungeon entrance.
Coldrock Diggins entrance map location.
Inside the brightest part of the mine.
Exact location within the dungeon.
12.
Dig deep, don’t be embarrassed.
Guide:
Located inside Divad’s Chagrin Mine solo dungeon, southwestern central Alik’r Desert.
Divad’s Chagrin Mine has its main treasure hidden in the central room. This is the room with the large stream. Our collectible is found inside a small cart, next to the sack and two trolls who happen to be having a meal. Although they have their backs toward the shard, they will attack you once you get close. Quite strange, don’t you think?
Divad’s Chagrin Mine is up on a hill north of the nearby oasis.
Divad’s entrance shown on the map screenshot above.
Divad’s Chagrin Mine shard map location.
13.
Blown down a mine shaft.
Guide:
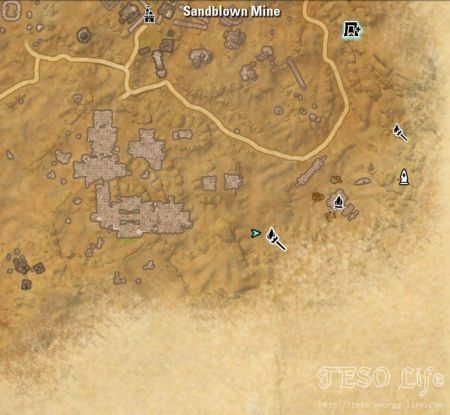
Found inside Sandblown Mine solo dungeon, which is located in south edge of southeastern Alik’r desert. West of Tears of the Dishonored POI.
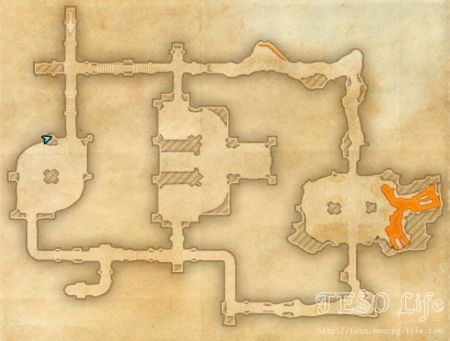
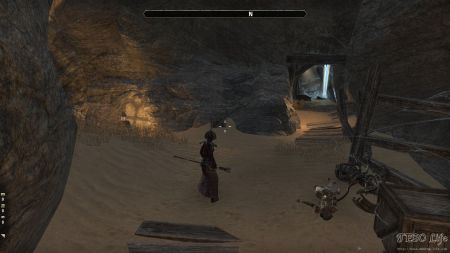
Once you enter the dungeon, keep going to your left. As you reach the farthest northeastern part of the mine, you should enter the small room with the shard inside. When you eventually find it, you’ll notice where this skyshard got its name from.
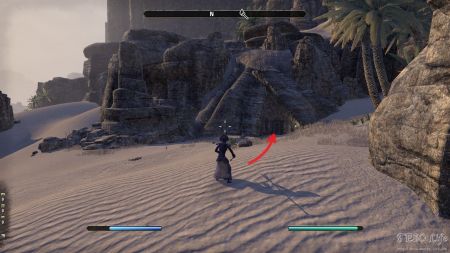
Find and enter Sandblown Mine solo dungeon.
Entrance to Sandblown Mine shown on the map screenshot above.
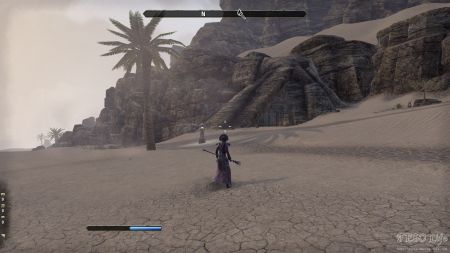
“Blown down a mine shaft”.
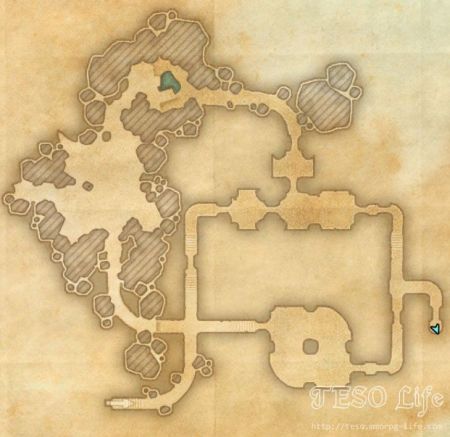
Exact location of the collectible in the mine.
14.
A caravan’s wreckage marks the path.
Guide:
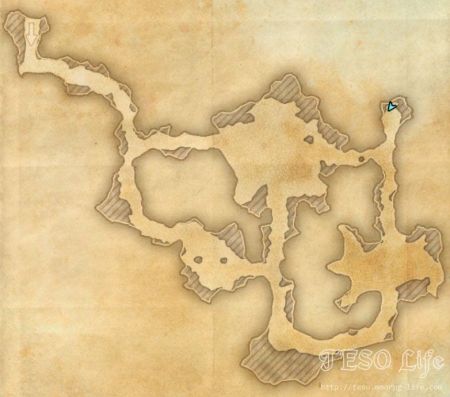
Found inside Santaki cave solo dungeon, western Alik’r Desert.
All Alik’r Desert solo dungeons have been remodeled and polished. This is also the case with the Santaki dungeon. The Santaki shard is now located inside a small side room in the southeastern part. Once you enter it, keep going to your right and soon enough you’ll end up in this area.
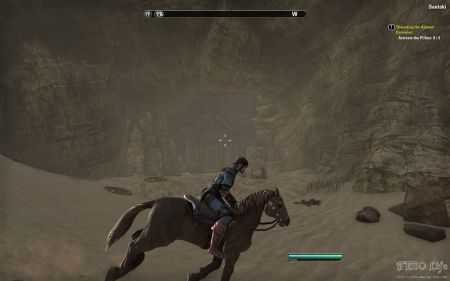
You’ll recognize the entrance to Santaki dungeon by all the caravan wreckage scattered around nearby.
Santaki dungeon entrance location shown on the map.
Several steps away from a Steam Pipe that gives additional loot.
Santaki map location of the collectible.
15.
Trapped within the steam closet.
Guide:
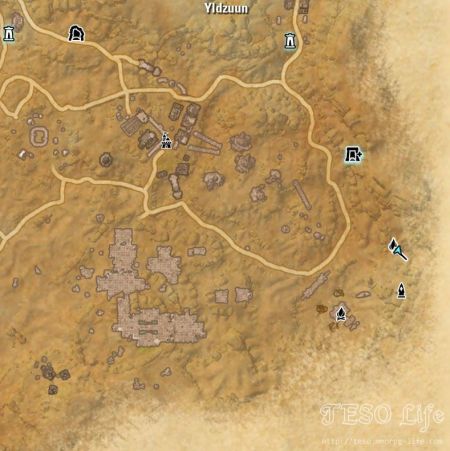
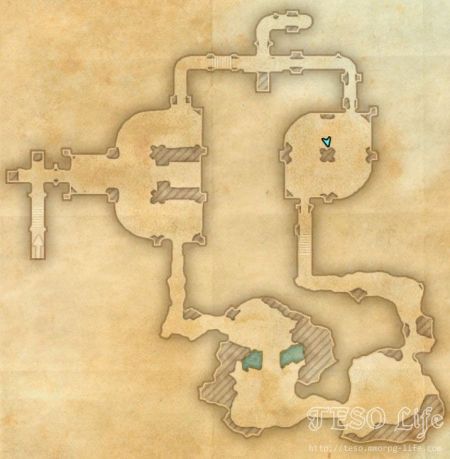
Found inside Yldzuun solo dungeon in the very southeast corner of the map. Entrance to the dungeon is east of Shrikes Aerie wayshrine.
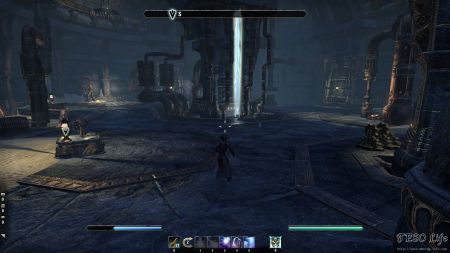
The shard inside Yldzuun is found in the large northeastern dungeon. It is a bit strange that the tunnels have more enemies than the larger areas, like these rooms. Nonetheless, the collectible is at the center of the room, next to the large central pillar. A quest item – Tharayya Journal Entry: 19 – can be found nearby.
Yldzuun dungeon entrance map location.
Next to the machinery pipes.
Yldzuun skyshard location marked on the map above.
16.
Monumental find in the Lost City.
Guide:
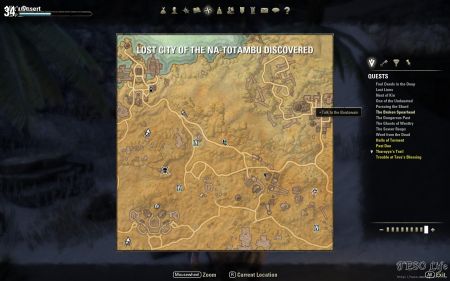
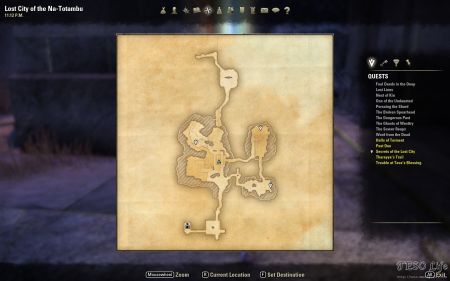
Lost City of the Na-Totambu is the public dungeon of Alik’r Desert and it is several large rooms with bosses and groups of 4-5 mobs you must overcome to get to the skyshard. Entrance to this public dungeon is east of Sep’s Spine Wayshrine and is marked on the big map. Screenshots contain the exact location of the shard inside the dungeon.
Entrance to Lost City of the Na-Totambu public dungeon
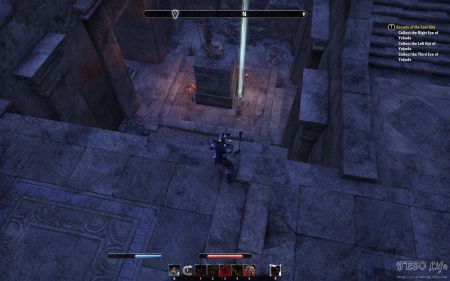
Collectible is in a hole in the big central chamber of the Lost City. You can just drop down into the hole with the shard, but be careful because there is a Gargoyle guarding it. You can pick it up without alerting the Gargoyle and effectively solo picking it up. Otherwise bring some friends along because the mobs are tough for soloing.
Exact location of the shard inside Lost City of the Na-Totambu public dungeon

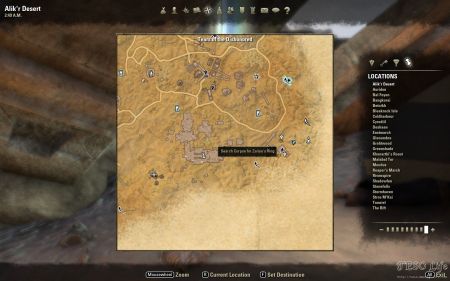
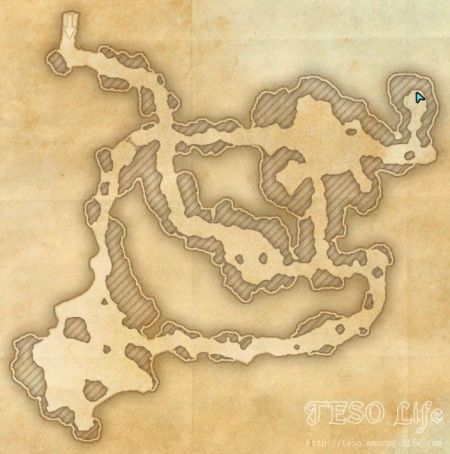
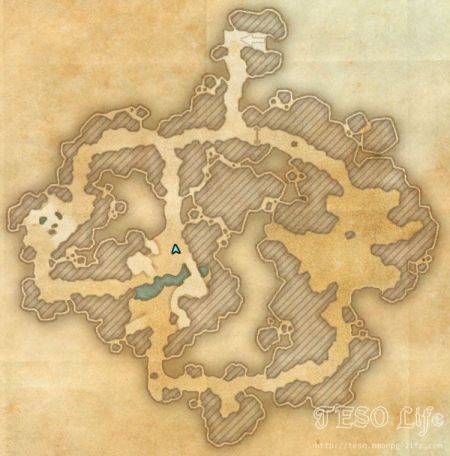
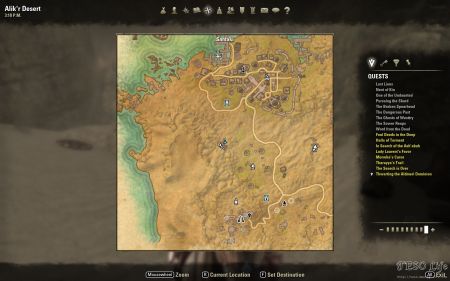
13. Blown down a mine shaft appears to have moved. It hasn’t gone far though, I found it in the dead end just to the East of the location shown on the map.
#11, “Buried respite from desert heat,” needs a complete rewrite. The skyshard has been moved from close to the door right into the furthest reaches of the delve. You have to chop down virtually every vampire in the place before you can get to it.
I should add that the delve map attached here is no longer accurate. The delve has been almost doubled in size by the addition of two long tunnels and a large room to the left of and below the original construction.
#10 also needs a complete rewrite. The bandit area is far larger, more irregular, and more complex, and the skyshard is no longer behind Dwemer machinery in a room but at the end of a short side passage that hooks off from one of the main corridors, with a dwarven spider swarm right in front of it.
I feel sorry for the person who put so much work into this. With the best motivations in the world, Zenimax seems to be determined to wreck all his work.
13, “Blown down a mine shaft” has been completely rewritten and can be very deadly for those who enter it unprepared. Several of the tunnels have been turned into spider traps where you can be swarmed by up to 20 of the wretched things at once. Don’t go near this place without a strong AoE weapon ready. The mine has also been much expanded and the layout is different, and there seem to be a lot more Khajiit bandits around than before. It’s quite a slog even if you are prepared for the spiders. The “boss” at the end, the giant snake, is a distinct anticlimax after all the spiders.