Braced against wind near the mine.
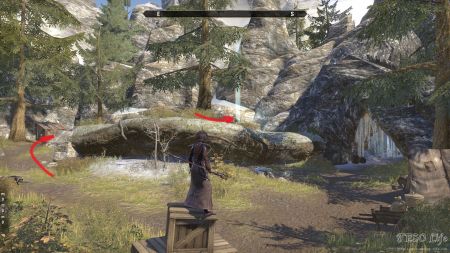
Start at Northwind Mine Wayshrine and follow the road going west. Just before you arrive at a crossroads you will see a small passage going north, leading to a wooden door. The skyshard is on the left, behind the trees.
Be Shor to search all over the stone.
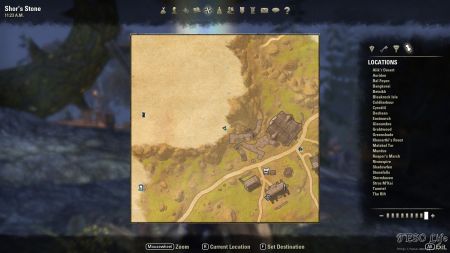
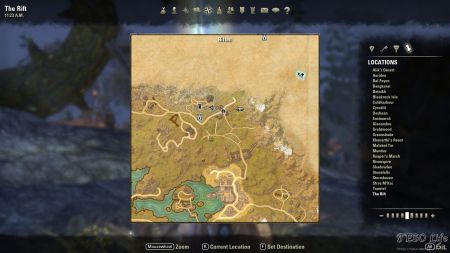
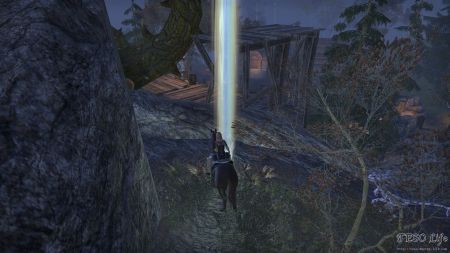
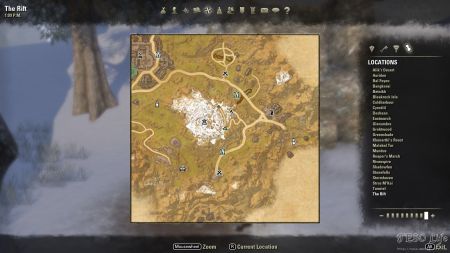
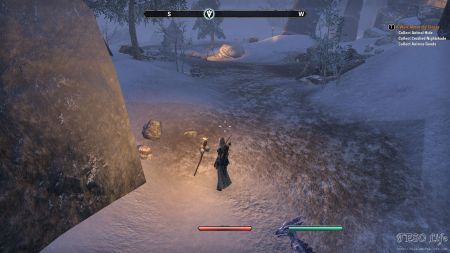
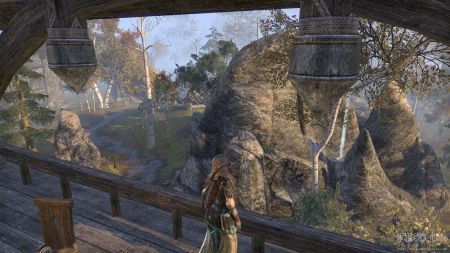
This is the first zone you arrive at after Eastmarch. You can even see the skyshard on a cliff when you are in Shor’s Stone, but in order to get it, you have to go around. Follow the path going west of the settlement, passing by Followstone Wayshrine and turn north at a crossroads. Follow the northern path and you will see a big house. The skyshard is just south of that building, near the cliff edge above Shor’s Stone. Look behind a rock, close to a wooden platform.
Nearly discovered by a mauled stablehand.
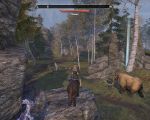
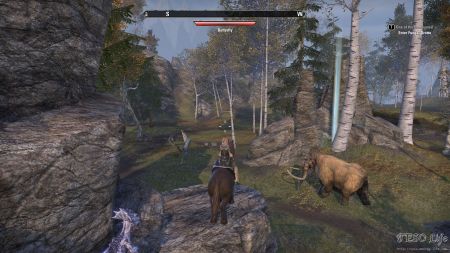
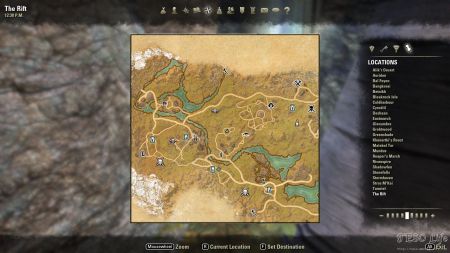
Start at Ragged Hills Wayshrine and go to Treva’s Farm, following the road going north. At the farm follow the path going northwest. You can see on your map that this road forms two loops, looking like number 8. The skyshard is in the middle of the left loop, lying on the ground at the base of two rocks and a tree. Be careful, a mammoth is roaming nearby.
Cultists’ prize near Ragged Hills.
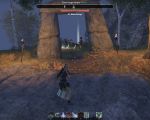
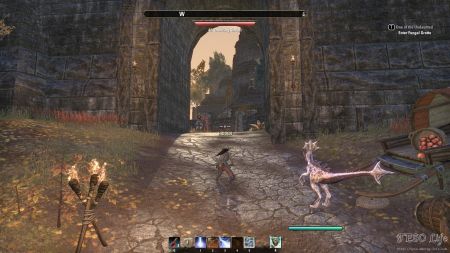
Start at Ragged Hills Wayshrine, and follow the path going south of the main road. It will lead you to the top of the hill, passing through the stone gate with torches on both sides. Continue forward until you reach the edge of the hill and you will see the skyshard down bellow it, on the ground.
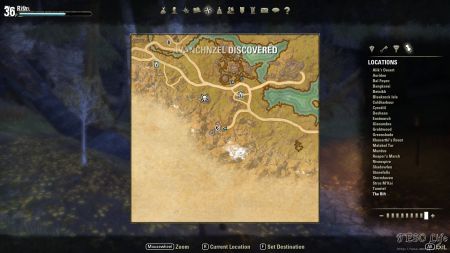
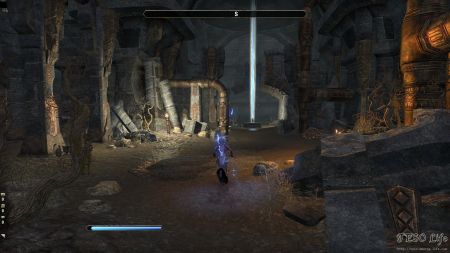
Scour the crags near Avancheznel.
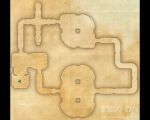
Start at Honrich Tower Wayshrine and follow the road going southwest. It will lead you straight to the Avanchnzel public dungeon entrance. Before the entrance turn right towards the stone pillar illuminated by a torch in the ground. There is also a quest giver lying on the ground in the middle of the passage between two huge rocks. The skyshard is on the half-buried stone table, next to a broken stone pillar. The Dwemer Inquiries Volume II lorebook is next to it as well.
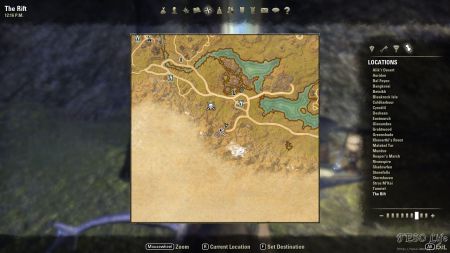
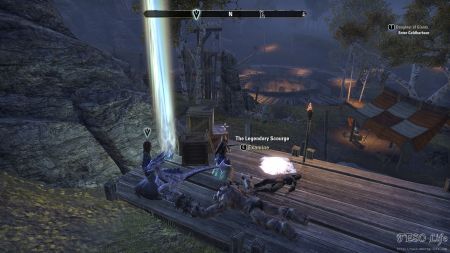
South where worms swarm the barrow.
Start at Taarengrav Wayshrine and head southwest. You have to pass through a camp full of worm cultists. In the middle of the camp there is a barrow, surrounded by torches. Directly south of the barrow there is a wooden platform, with wooden crates and The Legendary Scourge lorebook on them. The skyshard is behind those boxes.
Southwest from the Taarengrav Wayshrine, Southwest from the Taarengrav map marker, on a wooden walkway to the Southwest of the camp.
A prospect found.
Start at Fullhelm Fort Wayshrine and follow the road going northwest. At the crossroads go north but stay off the road, on its right side. After a very short period of time you will see a wooden door in a rock on your right. Pass next to the door and the skyshard is just a bit further ahead, lying on the ground.
Walk above the clouds.
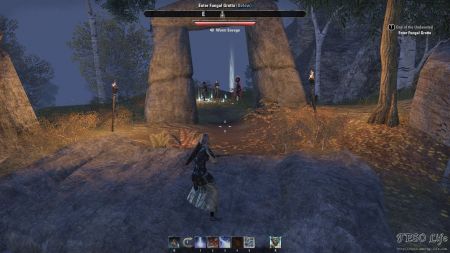
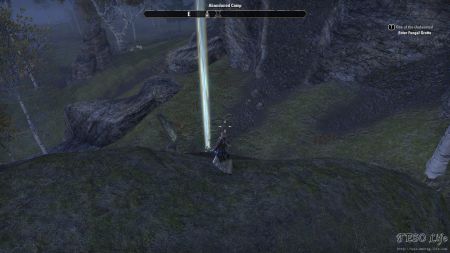
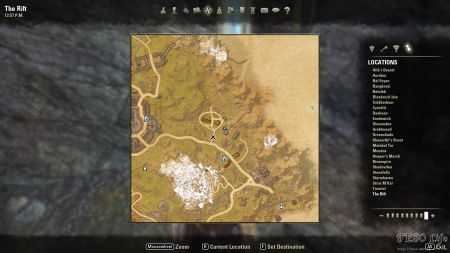
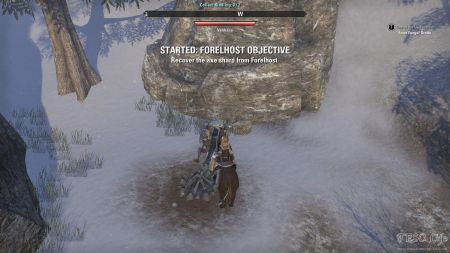
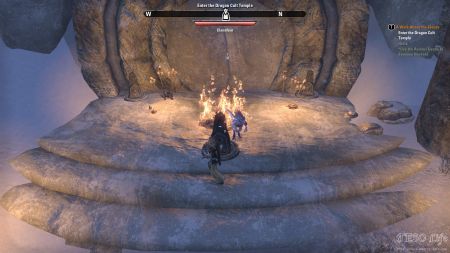
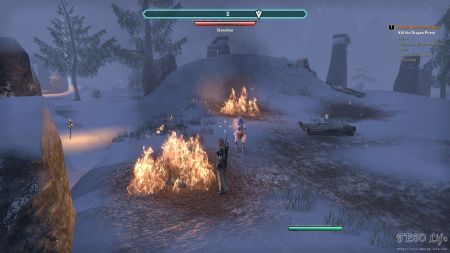
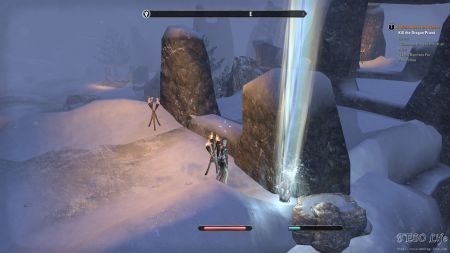
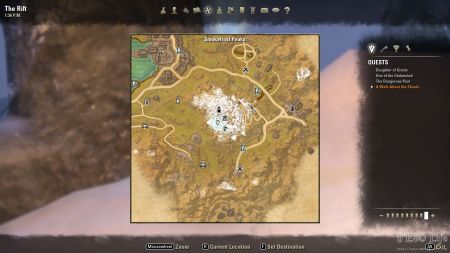
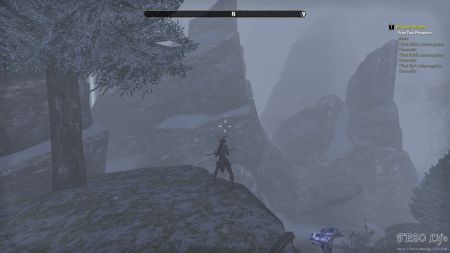
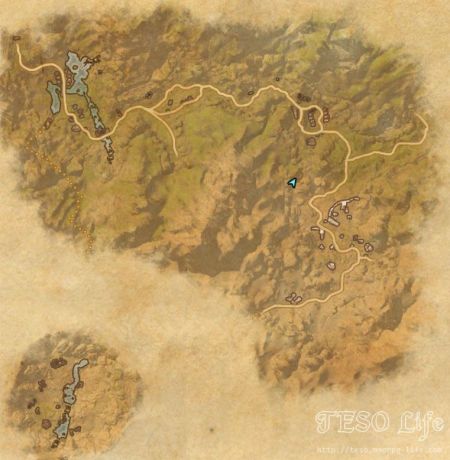
It’s a little tricky to get this skyshard. First, start at Trolhetta Wayshrine. Follow the road going northeast and at the first crossroads turn left. At the second crossroads turn left again. During this journey, at the point where road turns north for the second time, you will see Veldrana. She will give you the A Walk Above the Clouds quest which starts the Forelhost objective. This quest will help you on your way to get the skyshard. At the end of the road, climb up the stairs. In this area there is a hidden effect which rapidly reduces your health if you are in the open. The only way to prevent this is by standing near a source of fire. The area is dotted with torches dug into the ground, so what you have to do is run from one to another tourch and regenerate HP you lost while running between them. The quest you picked up will let you ignite a campfire at some places, too. As you advance through this quest, it will eventually lead you in front of stone doors. You have to solve a mini-puzzle to open the door (Snake in the middle, Eagle on the right, Whale on the left). After that, you have to pass through a dungeon to reach the exit. Once you exit the dungeon, you still have to be near a source of fire to prevent HP loss. Once again, quest will let you ignite campfires around. There is one torch on the left, and further ahead (to the south) you can see a stone gate with two more torches in front of it. The skyshard is lying on the ground next to them.
Area where the skyshard is located. You can see it’s above the first area where you arrive at after climbing up the stairs.
Stay alert between Riften and Greenwall.
Start in Riften and follow the road going north. Right across the watch tower, on the other side of the road, there is a huge rock formation consisting of one big and two slightly smaller cone-like rocks. The skyshard is right in the middle of the formation.
North of Riften Wayshrine, South of Fort Greenwall, about half way. It is on the West of the road across from a guard tower, among rocks.
Clank of gears and hiss of steam.
Start at Honrich Tower Wayshrine and follow the road going southwest. It will lead you straight to the dungeon entrance.
Once you enter the dungeon, turn left and follow the path. The shard is located inside the first room, in the southwestern dungeon.
Guarded by bears in the hollow.
Start at Trolhetta Wayshrine. Follow the road going northeast and at the first crossroads turn left. At the second crossroads just continue forward and you will soon stand right in front of the dungeon entrance.
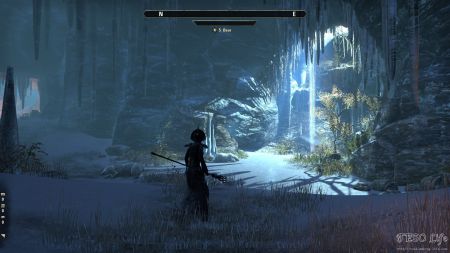
This and all other shards inside solo dungeons have had their locations changed due to post-launch dungeon remodeling. This one was relocated to the eastern part of the cave. This is the brightest part of the cave, since the ceiling is broken and the sunlight enhances the glow of the shard.
Deep in the roots of the tooth.
Inside the Faldar’s Tooth public dungeon. Follow the road going east-northeast, across a river, of Honrich Tower Wayshrine. It will lead you to the fort ruins, where you can find the entrance to the dungeon. The entrance is inside a broken tower, that can be seen through the fort gate.
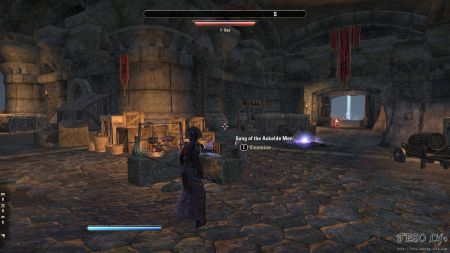
When you enter the dungeon, turn right. You’ll know you are on the right path when you come in contact with the lorebook “Song of the Askelde Men”. As you go through the first large entrance, you’ll find yourself inside a small room. This is where the shard is hidden.
Where green grows in the fort’s wall.
Start in Riften and follow the road going north. After a while, you will arrive at the closed southern gate. You’ll have to go around, to the east, following the fort wall. There is a crumbled part of the wall on its eastern side where you have to climb up and enter the fort courtyard. The entrance to the dungeon is just straight across that point, to the west.
Once you enter the dungeon and approach the first intersection, go into the hallway to your right. At the center of this hallway is a giant hole. Jumping into it, you’ll enter the lower level of the dungeon and the exact location of the shard.
Crumbled wall on the eastern side of the fort. Be careful when you climb up, there is a group of NPCs right above.
Take a shrouded approach.
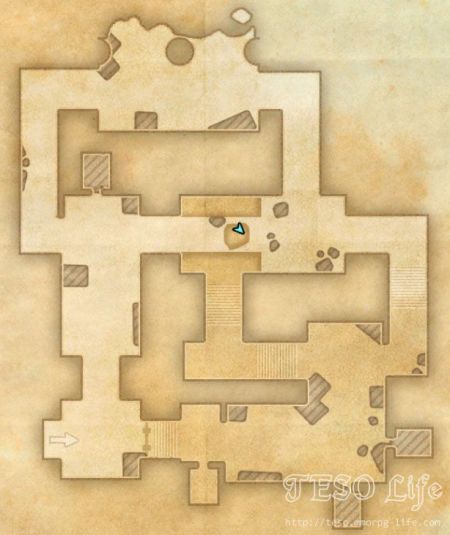
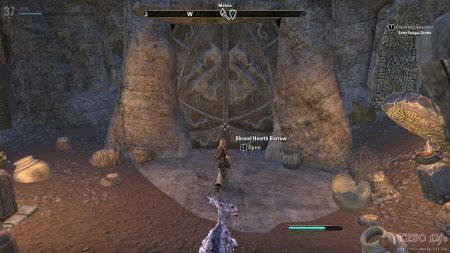
Inside the Shroud Hearth Barrow public dungeon. It’s a round building, part of the Ivarstead settlement on its northeast. The entrance is in the middle of the building. In this dungeon you can get the Shroud Hearth Barrow quest from Brendar (if you didn’t get it from Malma in Ivarstead).
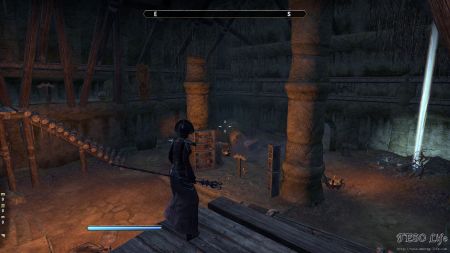
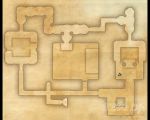
As you enter the dungeon, you’ll notice two side roads leading to the large central room. Turn right and head toward the eastern part of the cave. You’ll find the shard inside the room with two large central pillars.
Tread carefully; don’t break a leg.
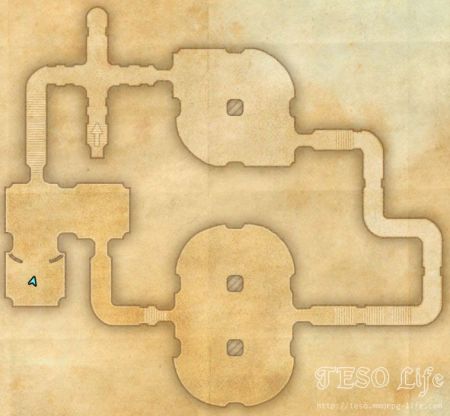
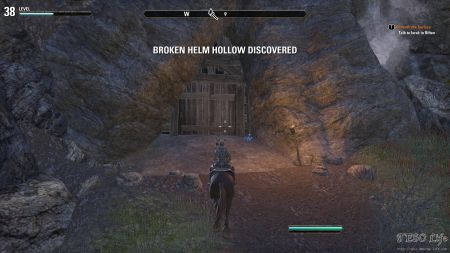
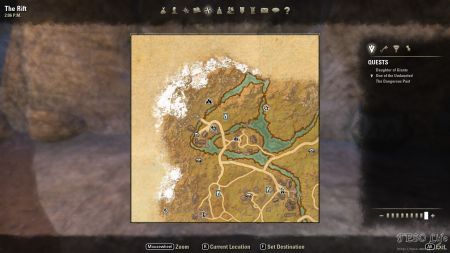
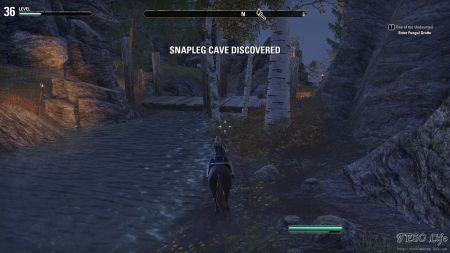
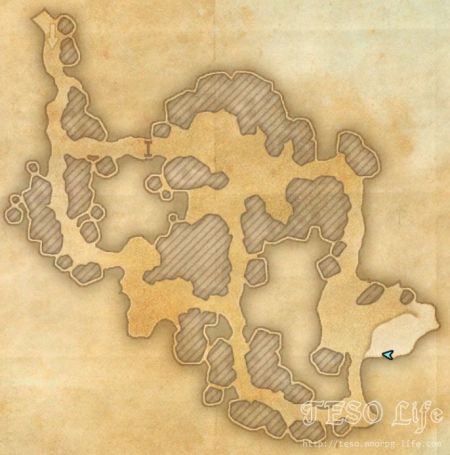
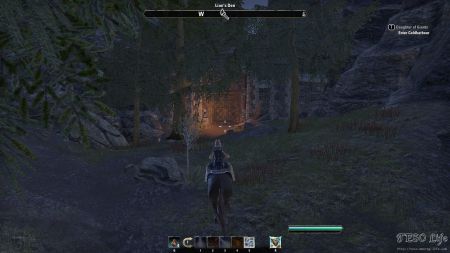
Inside the Snapleg Cave public dungeon. Start at Northwidn Mine Wayshrine and follow the main road going west until you reach a river, then hug the eastern river bank and head north. The entrance to the dungeon is where the river goes off the map, represented by a wooden door in a cliff.
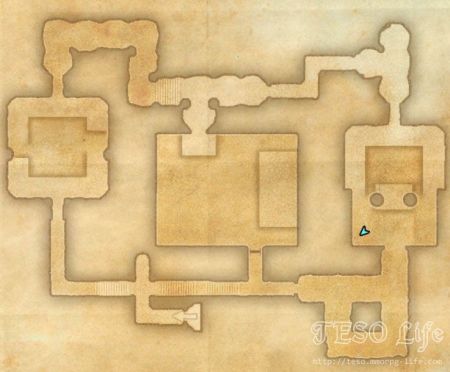
In order to grab the shard, you have to find an open part of the cave. This part of the dungeon is found in the southeast. Once you reach this section, you should notice the shard. It is on a tiny hill, next to the large tree.
Protected by wraiths in a beast’s den.
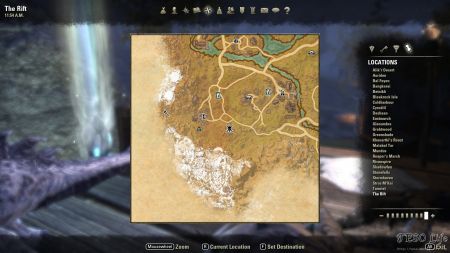
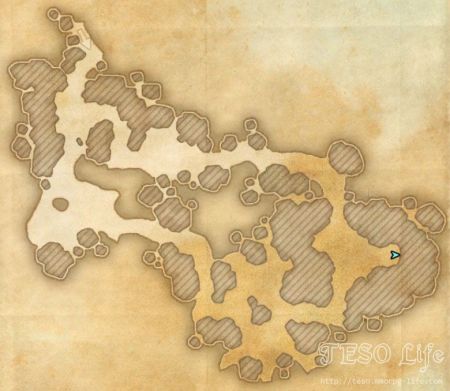
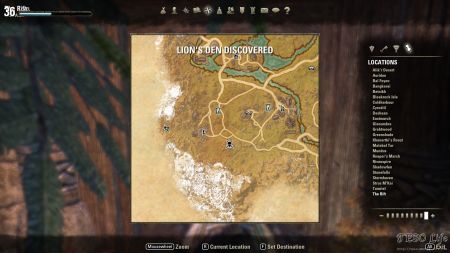
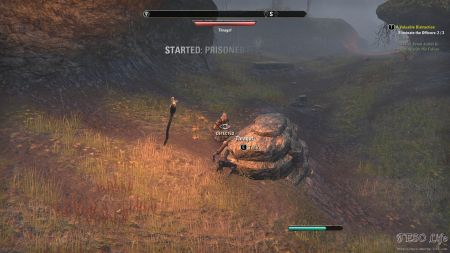
Inside the Lion’s Den public dungeon. It’s very difficult to solo this dungeon, especially if you are underleveled (this is lvl 39+ dungeon). Bosses are strong and there are numerous, tightly packed NPC groups which are bigger than usual, approximately 6+ group members. Our advice is to bring a helping hand. Start at Taarengrav Wayshrine and head southwest. You have to pass through a camp full of worm cultists. In the middle of the camp there is a round barrow, surrounded by torches. Head west, uphill, from the barrow moving toward the end of The Rift map. The entrance (wooden doors) lies between two white patches representing snow-covered hills and mountains. The A Valuable Distraction quest can be obtained as soon as you enter the dungeon. Getting this quest will help you navigate through this dungeon, since it’s an open area and its map is not like conventional dungeon maps where dungeon borders are visible. Head east toward the third circle, representing the area where this quest objective is located. In that area you can pick up another quest, Prisoner Dilemma. This quest leads you to the prisoner camp, south of your current location. Head toward the camp, but don’t enter it. Instead, head uphill, northwest of the camp entrance. Pay attention to wraith packs, they can be quite a challenge. Next to one of them there is a small passage where this skyshard is located.
Prisoner Dilemma quest giver.
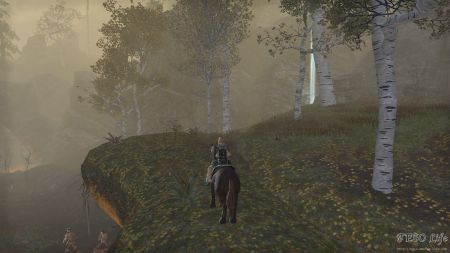
View of the area where this skyshard is located. Bellow is a path going uphill, northwest of the camp entrance.


Is it possible to go back to trolhetta summit after you complete the quest to get the skyshard? I have tried with no success.
Yes it is just finished going back and getting it oh bring a healer if you are not one or the mountain will kill you