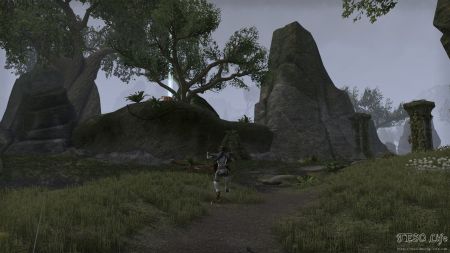
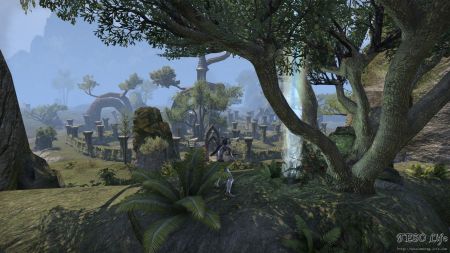
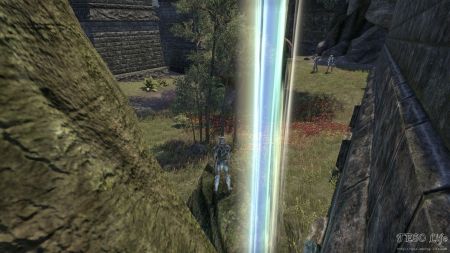
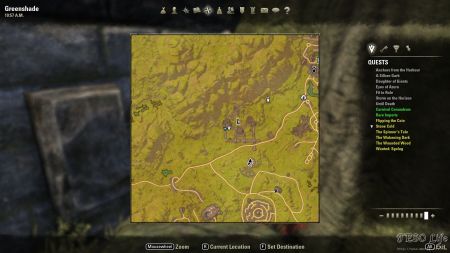
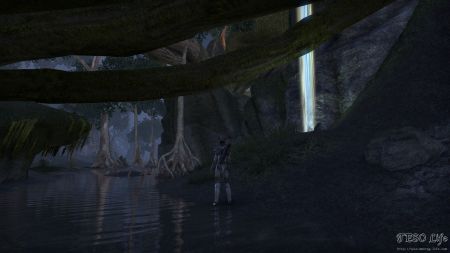
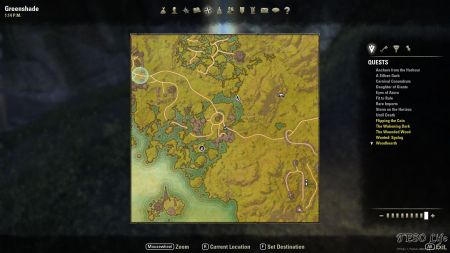
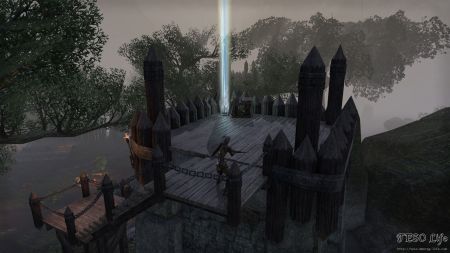
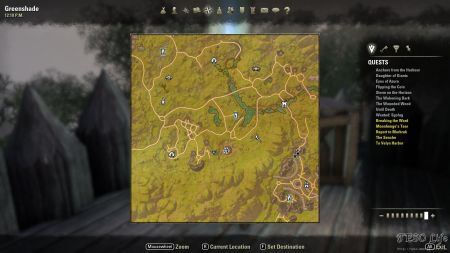
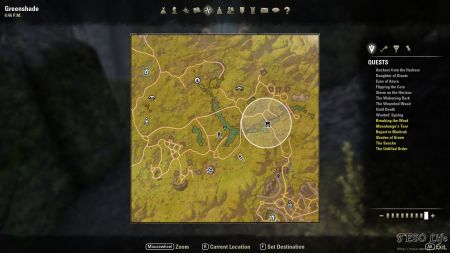
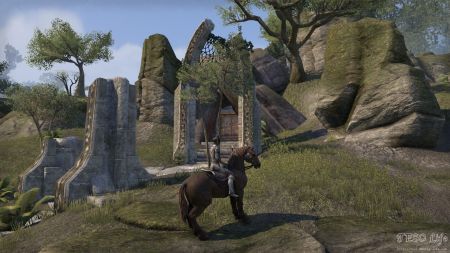
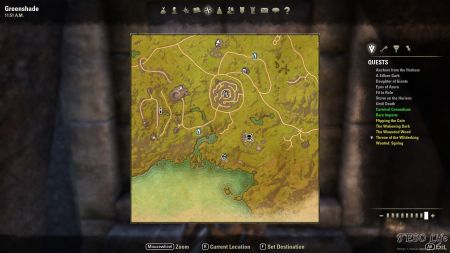
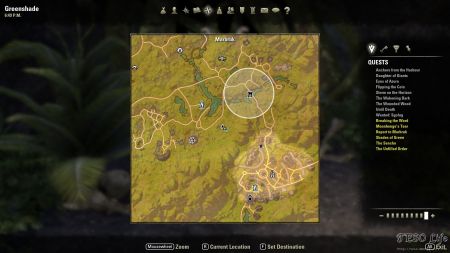
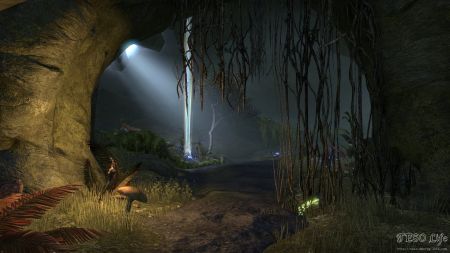
Greenshade is Aldmeri Dominion zone with sixteen skyshards. You will find players level 24-32 adventuring in this zone. Skyshards are scattered among open areas and solo dungeons as usual. We recommend you visit Rulanyil’s Fall public dungeon while collecting shards and bring a few friends along so you are able to complete the two quests found inside. The reward for one of these quests is quite cool, so going that extra step to completing the public dungeon and its quests is worth it. We hope the location guides with screenshots you will find bellow will help you collect all the shards in Greenshade and if you have any feedback or need more clarification for any of them feel free to leave a comment.
Flee the labyrinth of words and stone.
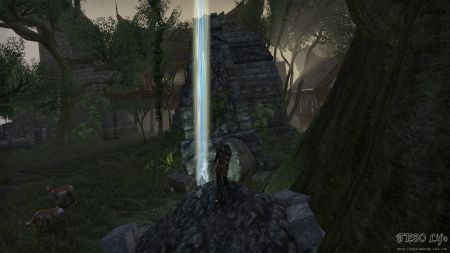
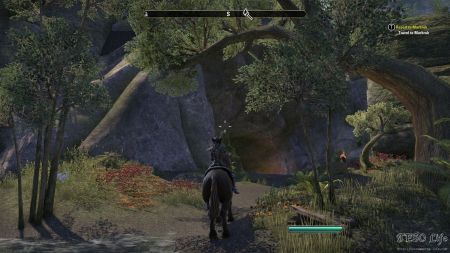
If you reach the nearby Labyrinth, that is a large, circular, maze, head east of it. Walk up a small hill, kill two tigers and the collectible is yours. Although it is really close to the main road you basically can’t see it because the view is blocked by a large tree that surrounds it. Few steps away from it you can notice “Visions of the Green Pact Bosmer” lorebook.
In crumbled keep where shadow creeps.
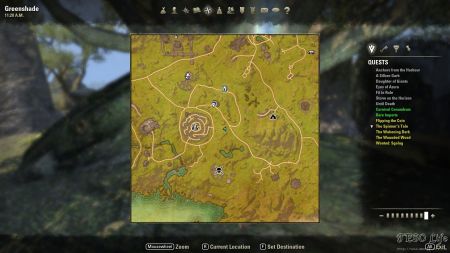
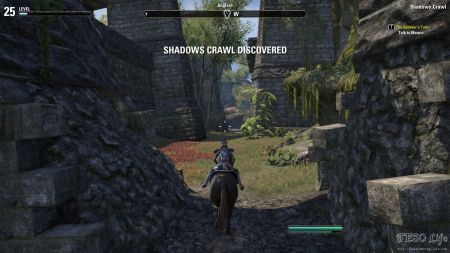
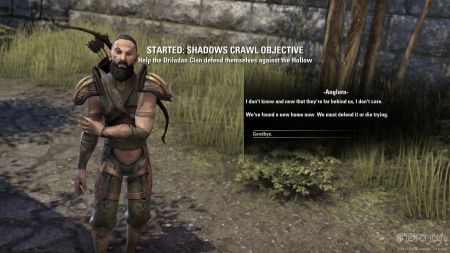
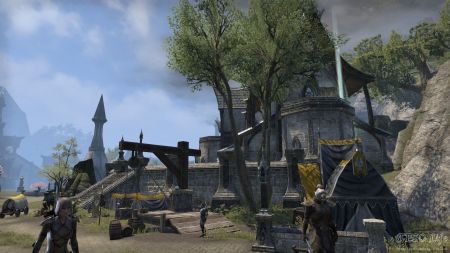
This is one of the first locations you visit as you start your journey through Greenshade. Shadows Crawl is a large keep. If you follow the keep’s wall you should be able to find the entrance without much trouble. As you enter the shrine NPC comes your way. His name is Anglorn. He gives the quest “Stone Cold“. This quest is part of the Shadows Crawl Objective. Next to the large tree, where the first “Stone Cold” objective NPC Indanas is, you can find the collectible. It is on the ground, in the corner, between the large tree and keep’s wall.
Breath of fresh air for Marbruk’s mages.
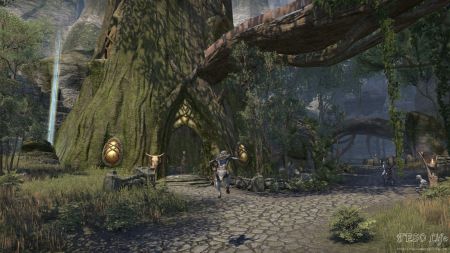
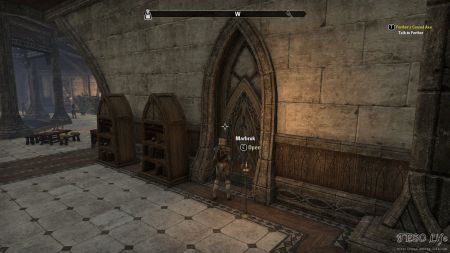
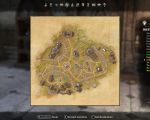
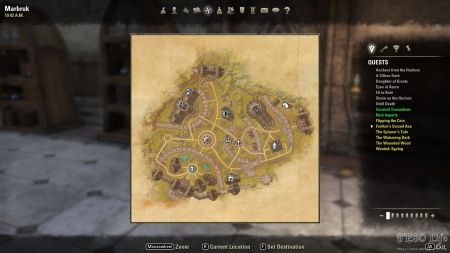
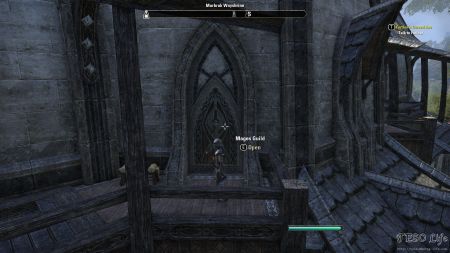
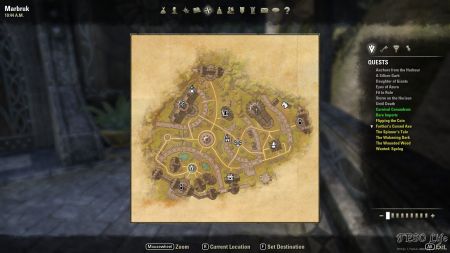
You can find this shard on the second floor of Mages Guild house. Once you enter the Mages Guild proceed toward one of the tree doors that lead to Marbruk, next to the one you just entered. Climb to the top of the stairs. There are doors that lead to the second floor of Mages Guild. From there head toward the northern door. This door leads to the collectible’s location.
Enter Mages Guild. Find one of the three doors next to the one that you just entered through. They lead to Marbruk.
Find an eclectic outskirt by the sea.
This is one of those shards you can’t miss if you walk anywhere near them. Unfortunately there are no nearby quests or roads that take you directly here. Collectible is located at the end of a small wrecked stone wall, close to a large nearby tree, just east of Five Claws Inn (beer mug icon).
Where moor becomes moat.
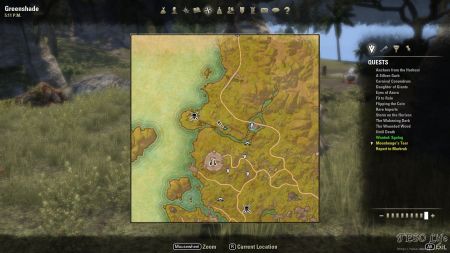
While searching for this collectible you are going to end up on an island with a circular crossroad. Following the main road that goes east of this island you can notice the wooden bridge. This wooden bridge connects the island with southern Greenshade. Just bellow it is the skyshard. Further more to east you can find Heluin NPC. Heluin gives the quest “Mist and Shadow“. This quest is part of a nearby POI Shademist Moors objective.
Stay dry where the Wooded Eye wards.
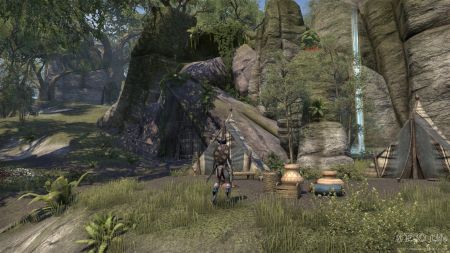
If you are at Serpent’s Grotto Wayshrine simply go south. There, at the edge of Rootwater Grove, you can spot the collectible. It is hidden between two rather large boulders. Although you are close to nearby main road this shard is difficult to spot due to the fact that these boulders almost completely hide it.
No longer entrenched.
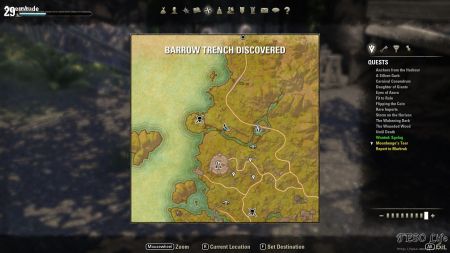
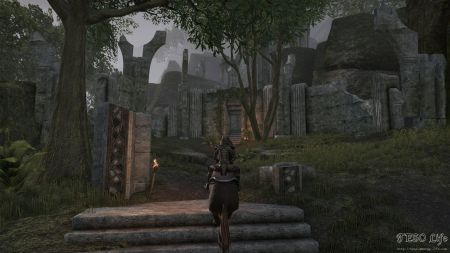
Shard is located just east of the entrance to Barrow Trench public dungeon (but outside the dungeon, not inside. There’s another one inside).
Unheeded by Wood Orc lookouts.
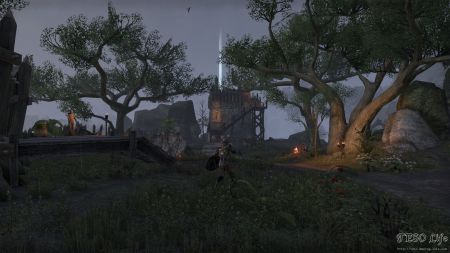
You can approach the shard’s location from the north. Find an area west of Green’s Marrow Dolmen. Go up a small hill. There, in the distance, on top of a tall tower, you should notice the collectible. Area around it is populated with hostile humanoids. Although the wayshrine is close, try not to rush into death. Repairs are expensive, aren’t they?
Down in the gorge of rope bridges.
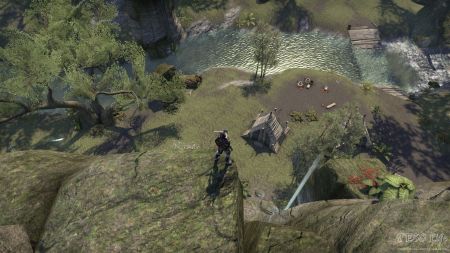
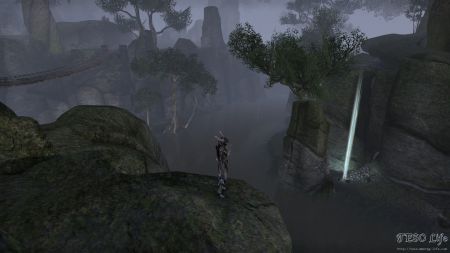
Shard is located on a shore of a nearby river. Riverbed in this area is surrounded by large cliffs. These large cliffs are connected via rope bridges, thus the journal hint. If you find yourself in a position where you want to drop down to collect the shard, be careful. You don’t want to die because of a silly jump.
In Gurzag’s supplies.
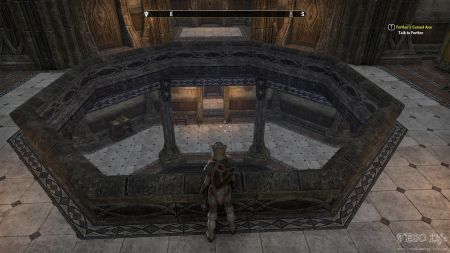
Found inside Gurzag’s Mine solo dungeon. Approach the dungeon from south. Collectible is on top of a tall platform, inside the last and the biggest cave room. This place is guarded by cave boss – Retribution, who gives cave completion achievement once killed. Inside the same room, you can find a backpack. This backpack stands next to a small tent. It gives the quest “Forthor’s Cursed Axe“.
Halls ruined further by blue-skin brutes.
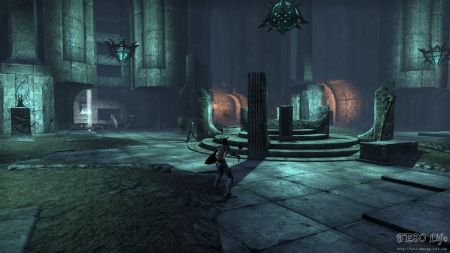
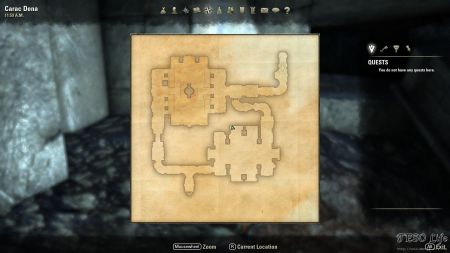
Found inside Carac Dena solo dungeon. This is an Ogre cave. They usually stand alone. Groups of two or more are rare. Collectible is, as in many other dungeons, inside the last cave room. Specifically, it is in the northwestern corner of the last room. This is a rather large room. If you are not looking for the shard you can easily skip it. The last room is guarded by Urumaz the Terrifying. This mob grants “Completed: Carac Dena” achievement upon death.
A pretender in Naril Nagaia.
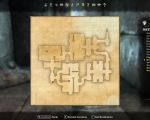
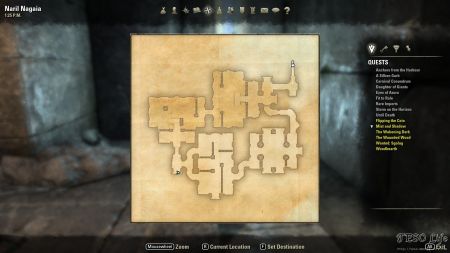
This shard is found inside Naril Nagaia public dungeon. Entrance and approach to this dungeon is on the southern side, close to water. Dungeon is populated with level 28 humanoid enemies. They usually come in groups of 2 or 3. This is one rather large public dungeon that is good for earning experience and gaining loot. The collectible is not in the last room as you might expect, so you might miss it on your way through the dungeon. It is located in the southwestern part of the dungeon. It is well tucked between a stone pillar with a metal top and a nearby wall, in the corner of the room.
Enemy that you want to kill for achievement and completion of Naril Nagaia is found in the last cave room. His name is Archmage Camaano. He stands on a large circular platform, next to Mercano’s Journal. This journal starts the quest “The Misuses of Knowledge“.
Under root, but hidden high.
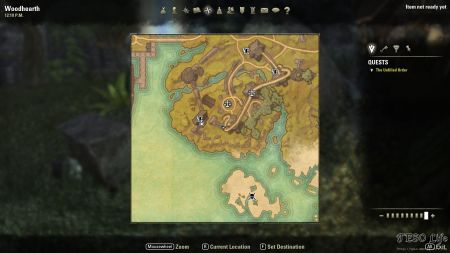
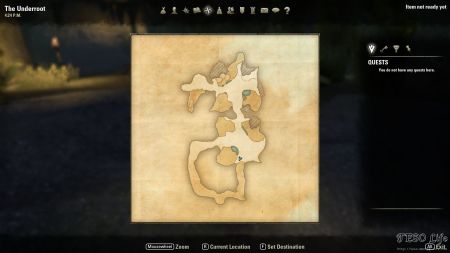
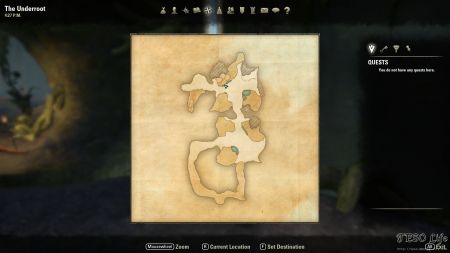
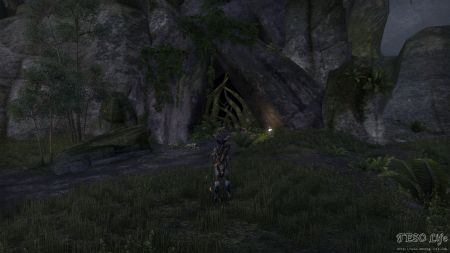
Shard is found inside The Underroot solo dungeon. Entrance to this dungeon is approachable from north, but there are also two ways to reach it from south. Tunnel entrance close to Serpent’s Grotto Wayshrine or tunnel entrance north of Woodheaerth settlement (follow shore) lead both to a Binding Pool. This is the westernmost part of Greenshade. After you reach this point of the map continue north. Another stone entrance leads to the main road that connects this part of the zone with large island to the north. This is the area containing Seaside Sanctuary POI and The Underroot solo dungeon.
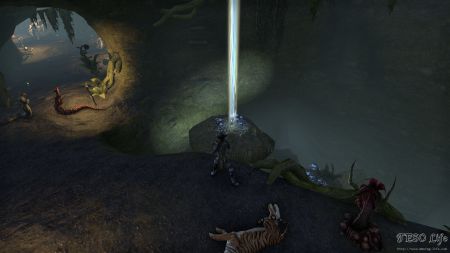
You’ll find the shard inside this cave on top of a large rock. This rock is located between the first and the second dungeon floor. As you enter The Underroot keep clearing your way toward the southern part of the dungeon. You are going to end up in a long tunnel. This tunnel leads to the second dungeon floor. Now start clearing your way toward the northern part of cave. As you reach its end you can spot the shine of the collectible in the distance. Exact spot on the second floor from where you should jump onto the rock with the collectible on it is at the entrance of the last cave room. This is the part of the cave where you can find Domina Ssaranth mob that, once killed, marks this dungeon as completed.
Batted around in the purring lair.
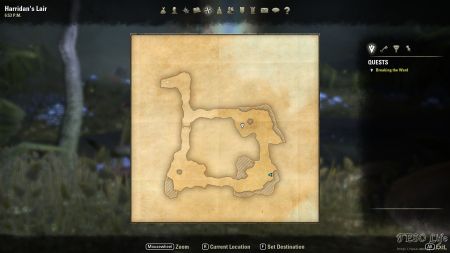
Harridan’s Lair solo dungeon contains the shard. You can reach its entrance from north. This is an easy solo dungeon. Level 30-ish tigers in groups of maximum two are your only obstacle. Collectible is inside southeastern part of the cave. Bright glow from cave’s ceiling enhances the glow of the skyshard. In the next cave room, you can find Razorclaw, which is the mob you need to kill for dungeon’s completion.
Mined up in a barrow.
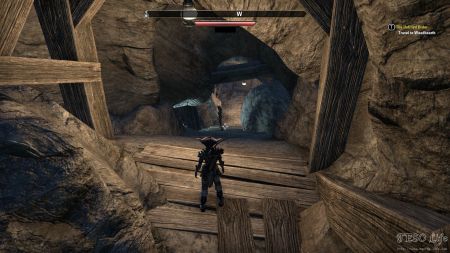
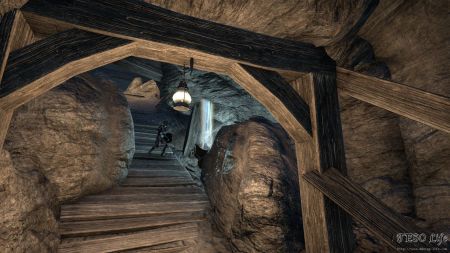
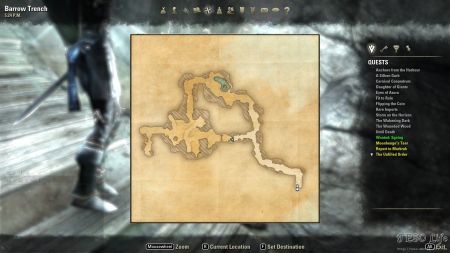
Shard at this location is found inside Barrow Trench – public dungeon. The dungeon entrance is close to a nearby river. This is a location of map that is most rewarding with their shards. Just before you enter the dungeon you can grab an additional shard “No longer entrenched”. When you enter the dungeon, grab a “The Unfilled Order” quest from a delivery contract at the start of the cave. This quest leads you toward the last part of the cave. This is where the most of the public dungeon shards are found. In this case, this is not the same situation.
As you enter the dungeon, turn left at the first crossroad. Just before the door that helps you escape the last cave room, is the collectible we are searching for.
Outside the Harbinger’s chamber.
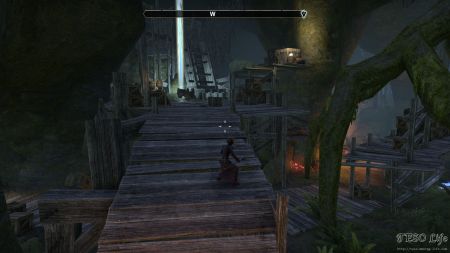
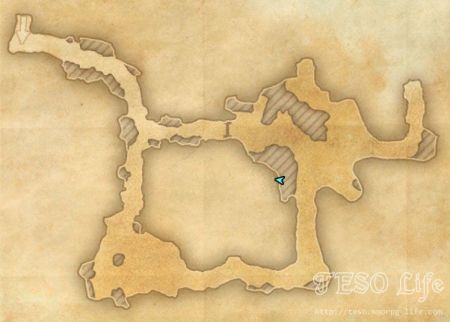
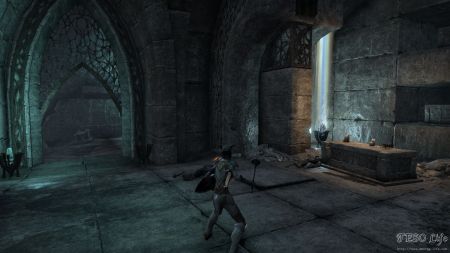
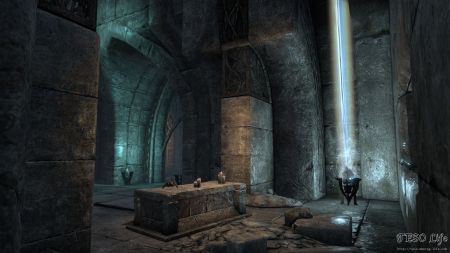
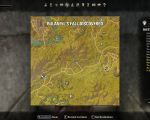
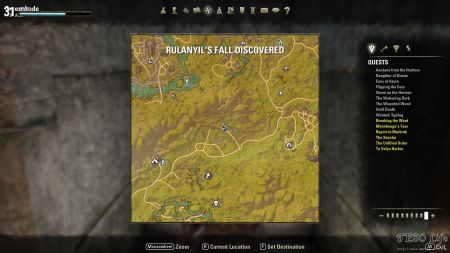
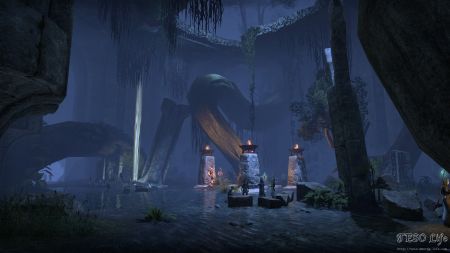
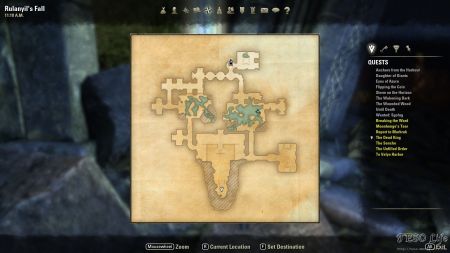
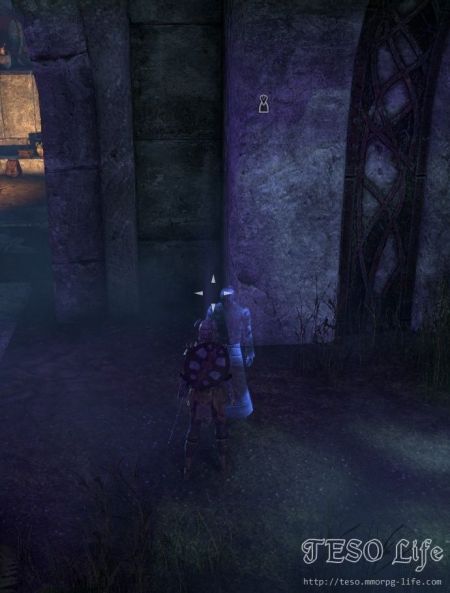
Shard is found inside Rulanyil’s Fall public dungeon. You can reach the entrance if you follow the main road from south. This is a public dungeon with bigger groups of enemies and bringing a friend is a good idea. It also yields higher number of loot and exp. There are couples of strong mobs in the dungeon as well. It is probably the best to enter this dungeon at level 25+.
When you enter the dungeon, turn left and proceed toward the first room. Inside eastern part of this part of the cave, you are going to find the collectible.
There are two quests you can accept inside the dungeon. One of them is called “The Dead King“. It is given by Endarwe at the start of the dungeon. This quest has an awesome reward once completed. It gives the “Nanwen’s Crown” trophy. This trophy, when used, summons the ghost of Nanwen. The second quest is called “The Merethic Collection“. You can obtain it once you find NPC Dulini and talk to him. He sits in a corner of a passage that connects the room with the skyshard with the room to the south. Completing both quests you gain “Completed: Rulanyil’s Fall” achievement.

