Grahtwood is a level 16-22 zone for the Aldmeri Dominion. Dominated by the Elden Root, center of the Aldmeri Dominion, and its jungle surroundings. There are sixteen skyshards to be found here and a lot of them are in scenic open areas. We managed to find all of them and get screenshots to help you find them. We hope you enjoy our Grahtwood Skyshards guide and if you have any questions make sure to ask them in the comments section bellow.
Granted safe haven by the mages.
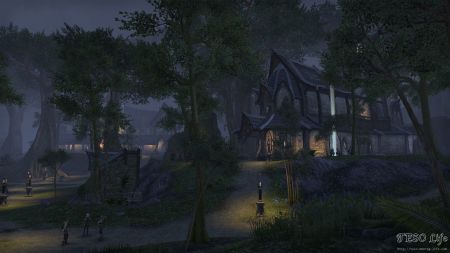
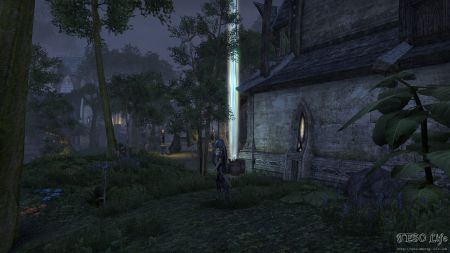
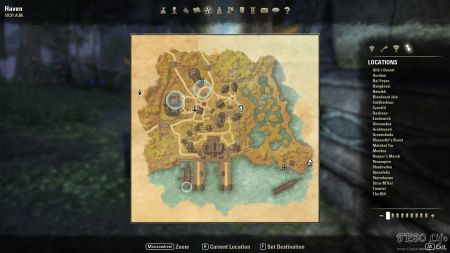
Haven is the first settlement you reach after you leave Auridon. As you reach this area for the first time, you can notice a lot of enemies in Haven. In order to clear them up, you need to progress the quest “Unsafe Haven”. This, however, doesn’t affect the ability to collect the shard. As you arrive in Grahtwood from Auridon, you find yourself in southeastern Haven. You want to reach northwestern Haven for the collectible. It is on the ground, close to the eastern wall of what is supposed to be the Mages Guild house.
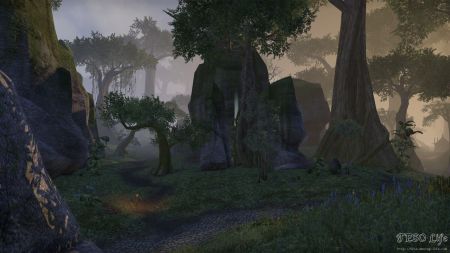
The shrine of the south leads north.
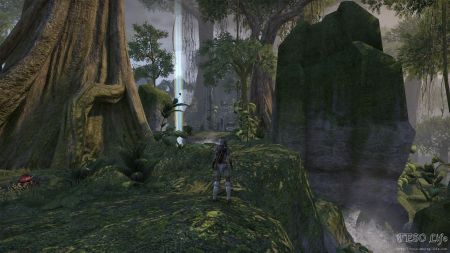
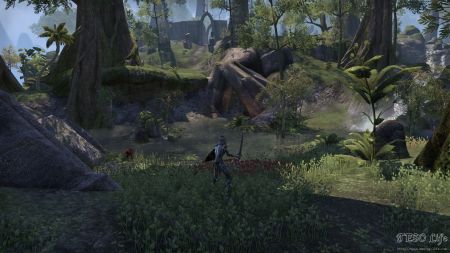
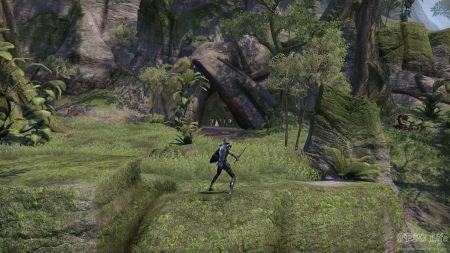
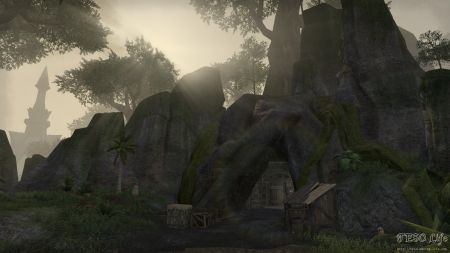
Although this collectible is close to the main road, it can be easily missed as you run by. What makes it so well hidden are boulders as tall as trees that surround it.
East of this location, at the start of a dirt road, you can find Dringoth (skull on ground). It starts an awesome quest “Keeper of Bones” that is part of Bone Orchard Objective. This is one of those quests you’ll remember down the line and that enhance the game experience.
Cooling off on the way to the Tower.
The Tower that is mentioned in the name of the shard is actually the nearby Mundus Stone. Collectible is on the edge of a small pond. You can hardly miss it if you scout around this area. Nearby Mundus Stone, that this collectible got its name from, awards increased maximum stamina buff.
Where the road to the root is an isle.
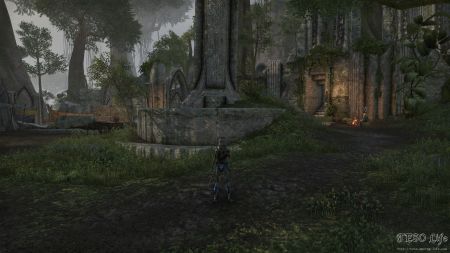
You can find the shard on a small island in southeastern Elden Root. This small island has one road going into Elden Root and out of Elden Root toward southern Grahtwood. It really lives up to its name because of its location on a small island.
Find a small island in southeastern Elden Root, close to a road, next to a large tree and a stone structure…
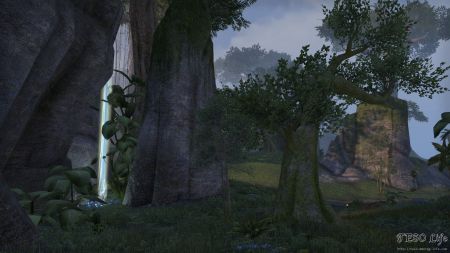
Atop falls that feed the temple.
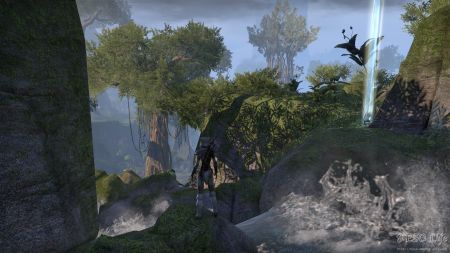
If you reach the Elden Root Temple Wayshrine head west. At the first crossroad turn north. As you climb the hill turn east. Proceed toward the skyshard’s location. Try not to fall down the falls while jumping over the rocks. You can now start figuring out where the idea for the shard’s name comes from. Water from these waterfalls fills the lake around Elden Root Temple Wayshrine. This is one well hidden collectible as the nearby area seems to be deserted and you are unlikely to come across it while following the normal adventuring routes.
Spotted from a treehouse vantage.
Head north of Elden Root and follow the main road. Just before the first crossroads that leads east to Karthdar you can spot the collectible east of the road. This part of the road is actually a wooden bridge.
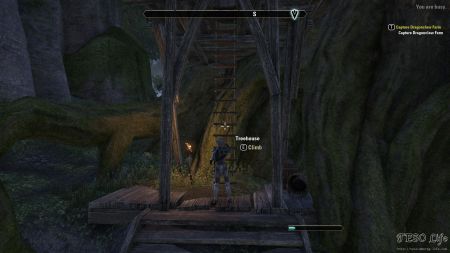
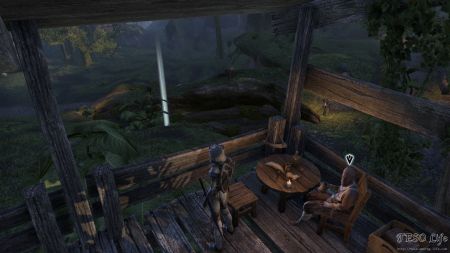
You may wonder how this skyshard got its name. Just east of the collectible’s location you can find NPC Afwa (quest giver). He gives the quest “Eyes of Azura” – quest objective of Laeloria POI. Afwa is found on top of a treehouse that you can reach via a nearby ladder. Standing next to Afwa you can clearly spot the shard in the distance and that’s where its journal tip comes from.
A doorway to trolls near Redfur.
Collectible is located on top of a wooden platform. This platform is close to the entrance to Abandoned Iron Mine. Iron mine is part of the quest “A Chief Concern“. One strong Troll mob can be found in front of this cave’s entrance. He guards the lorebook “Before the Ages of Man: Merethic Era“.
Among ancient words in the stones.
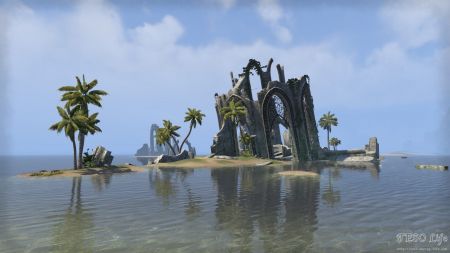
It is at the center of a small island. You can spot this island easily from distance. What makes it differ from its surroundings is one large, old, stone compound. Its central part is circular and it’s surrounded with large stone arches. Couple of palm trees are scattered on the island.
Quest that takes you toward this area can be acquired from a small runestone fragment. This small rock is found on the shore, just northeast of this compound, west of nearby “The Lord” mundus stone.
Above a seasonal site of return.
This area is part of eastern Falinesti Winter Site. You can approach it from the west. There is a tall wall in western Elden Root preventing you from approaching this location. Collectible becomes visible as you reach the end of a main road northwest of the shard’s location. Small camp with neutral NPCs can be found there as well. Lorebook “Monomyth: Lorkhan and Satakal” is spotted in the area.
Where Covenant forces pour forth.
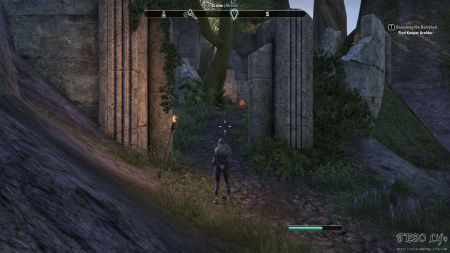
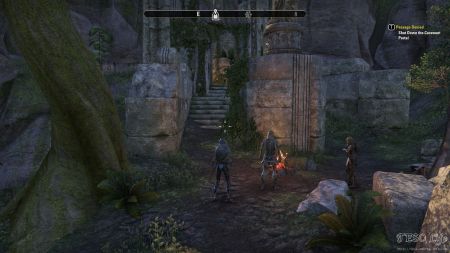
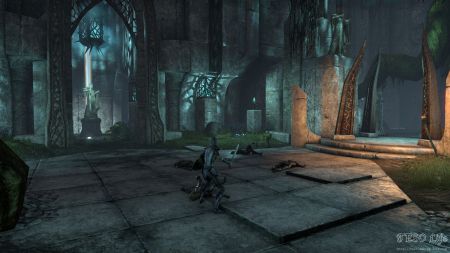
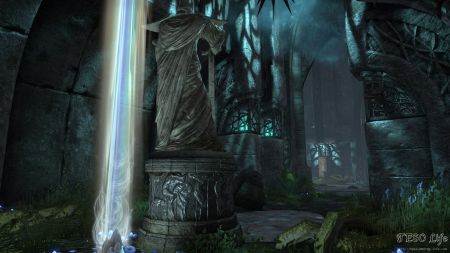
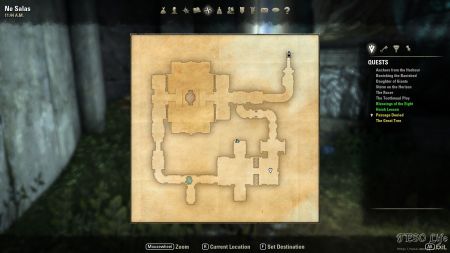
Found inside Ne Salas – public dungeon (torch icon). You can reach this area from the west. There is a small dirt road that leads to this place. NPC Cirmo that gives the quest “Passage Denied” is also found in front of the entrance of the public dungeon. Grab it before you enter.
Once you enter the dungeon proceed to the last part of the cave. The collectible is inside northern part of the last room. This is the room with four large metal spikes that come out of the ground. This area is also guarded by Lieutenant Khari. Killing him completes Ne Salas. Shard is hidden behind a stone statue.
A scrabbling, a skittering, a scurrying.
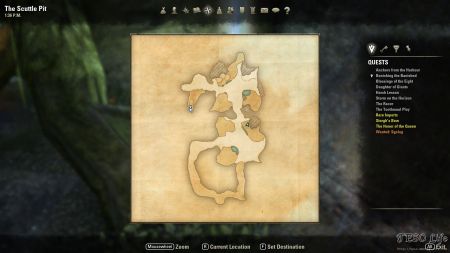
Found inside The Scuttle Pit – public dungeon. Entrance to this cave is hidden inside a small hole. You can approach it from the south. As you enter the second largest cave room, turn left. There, in a corner, between a rock and plant’s root you can spot the familiar shine.
Six-legged thunder invades.
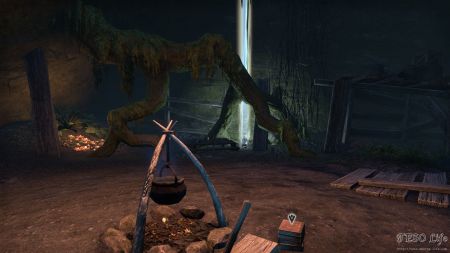
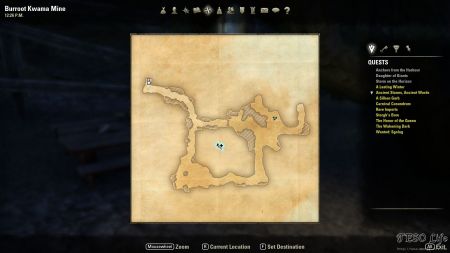
Inside Burroot Kwama Mine public dungeon. Entrance to this dungeon is close to a nearby lake. Approach it from northeast. Collectible can be found inside the last and the biggest cave room. This area is protected with strong creature Stormhead the Ravenous. It rewards “completed: Burroot Kwama Mine” achievement once killed.
Not yet dead on the vine.
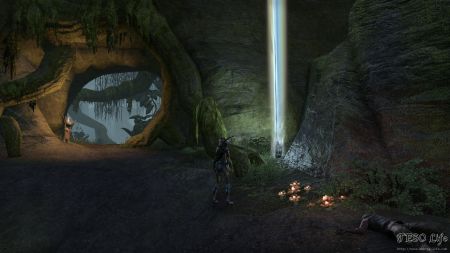
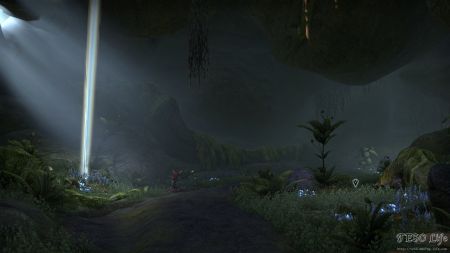
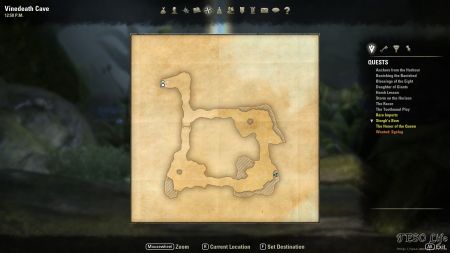
Inside Vinedeath Cave public dungeon. Follow the road that goes east of the crossroads, north of Eldern Root. Vinedeath Cave entrance is north of this road, at the bottom of a nearby mountain. Collectible is inside the southeastern room of Vinedeath Cave. It is not hidden behind any obstacles. Across the shard you can find Storgh’s Bow that starts a quest of the same name. Killing Madruin mob in the cave room after this one, rewards with Vinedeath Cave completion achievement.
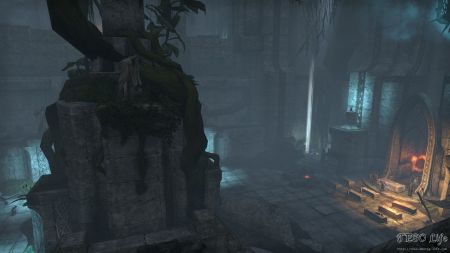
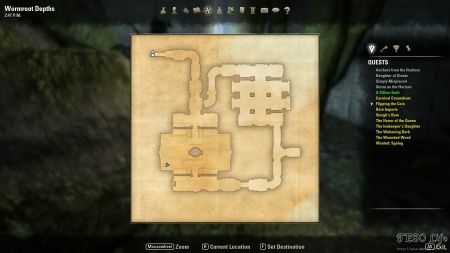
Stolen starlight in wormy depths.
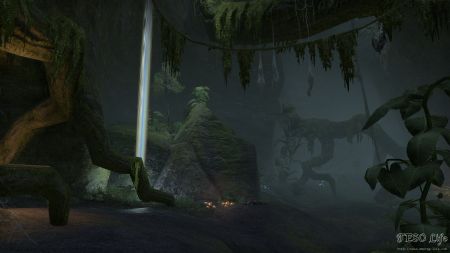
This shard is found inside Wormroot Depths public dungeon. There are stone stairs that lead to the entrance of this dungeon. They start from the nearby main road. Collectible is in the corner of the first larger room you come across. As you go down the first stairs inside Wormroot Depths, turn right and you can notice it easily. Patrols of nearby creatures are rare, and should not worry you at all.
Mined by the bandits of Mobar.
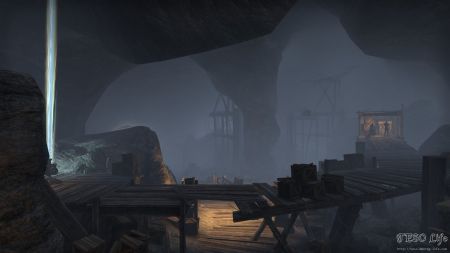
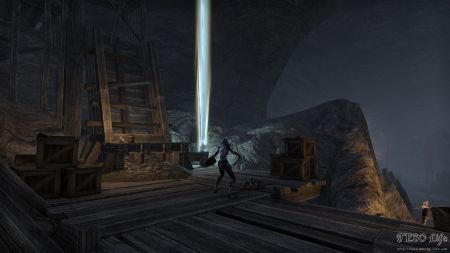
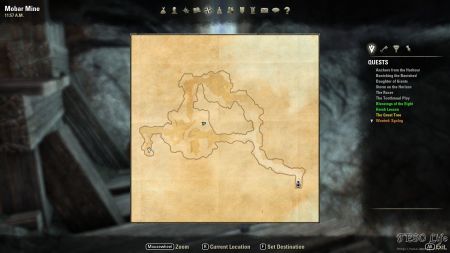
Found inside Mobar Mine public dungeon. Mobar Mine entrance is well hidden. There are no camps or any other distinct landmarks that point you toward the dungeon. This is one lonely entrance. Upon examining Adainurr at the start of the dungeon for the quest “Sgolag” proceed to the largest dungeon room. Up on a northern part of a wooden platform is where the shard is.
Crocs claimed a meal in the sunder.
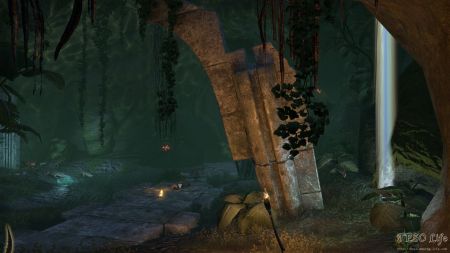
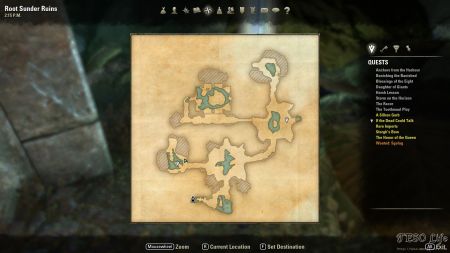
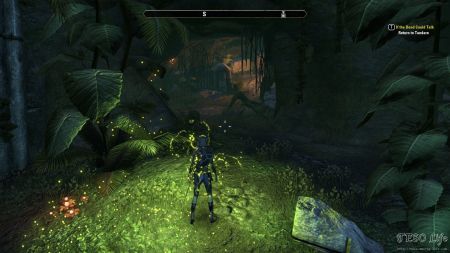
Found inside Root Sunder Ruins public dungeon. Entrance to this dungeon is in the center of large stone Ayleid Ruins. Female NPC Tandare that sits next to a campfire nearby, gives the quest “if the Dead Could Talk“. This quest can be done inside the dungeon. In northern part of the most southern cave room you can start another Root Sunder quest. Ghost NPC Sirdor gives the quest “Forgotten Soul“. Upon completion, he rewards you with Token of Root Sunder. This trophy, when used, makes you shine green. This is the best Grahtwood dungeon for leveling. What makes it unique are large groups of mobs. Creatures come in groups of 4-6. They reward a good amount of experience and loot. This is one of the dungeons you want to farm your level at if you are not too fond of questing.
Shard is found inside the most southwestern part of the cave, between the cave wall and a stone pillar. Inside this room you can find dead Researcher Ruurifin. He holds Ruurifin’s Journal that is needed for the quest “If the Dead Could Talk”.

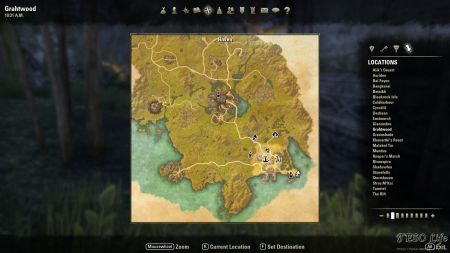
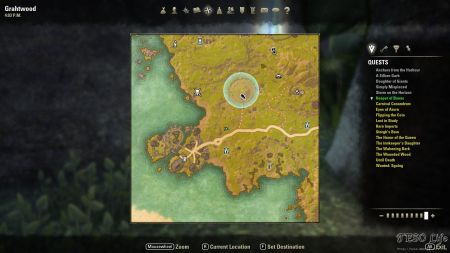
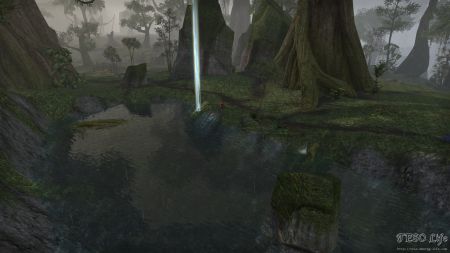
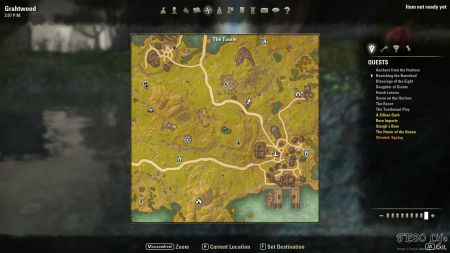
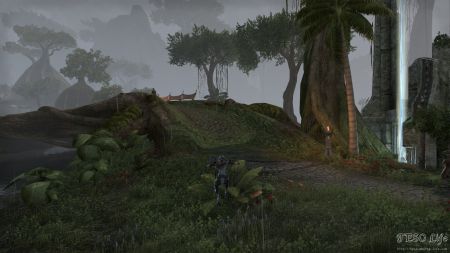
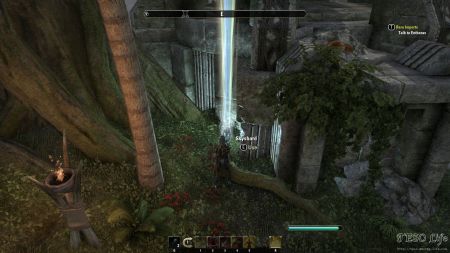
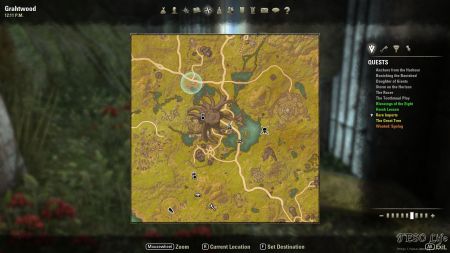
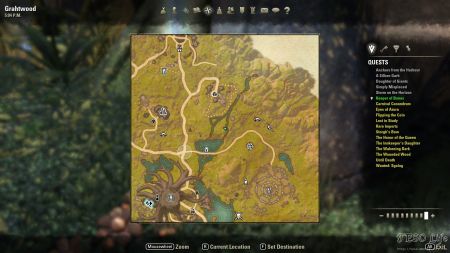
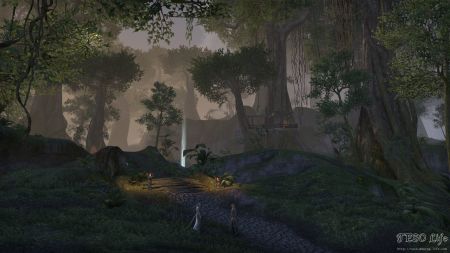
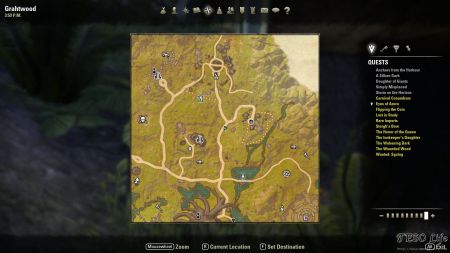
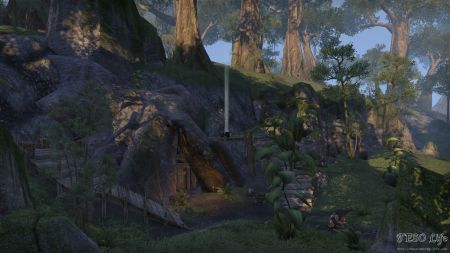
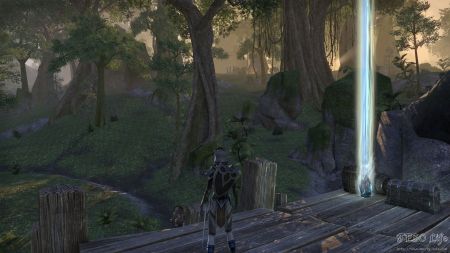
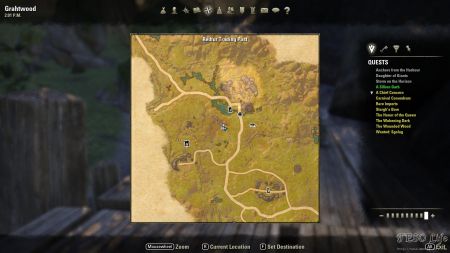
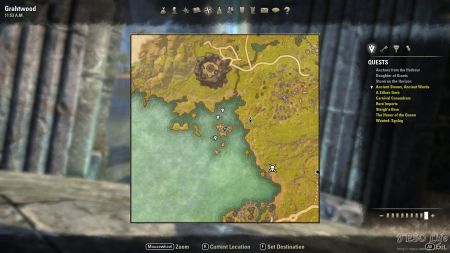
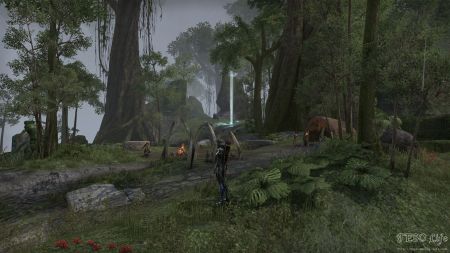
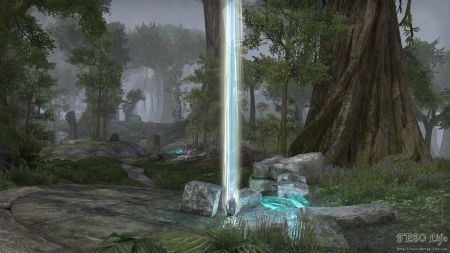
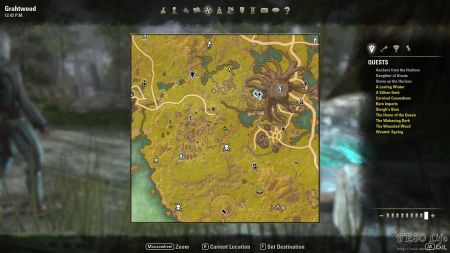
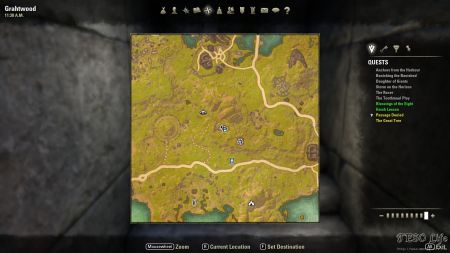
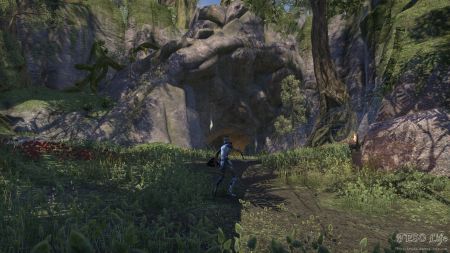
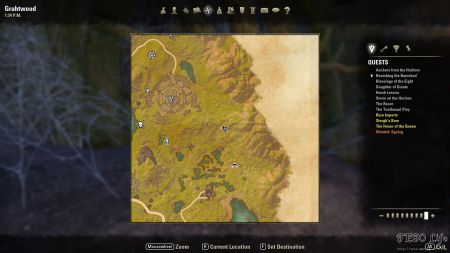
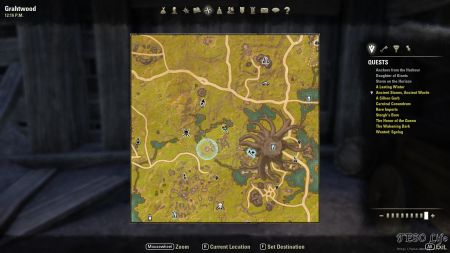
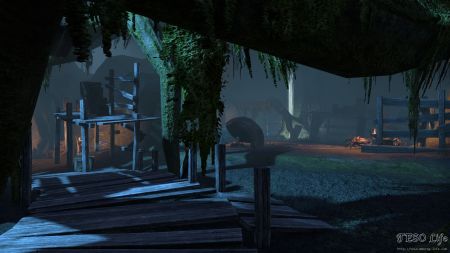
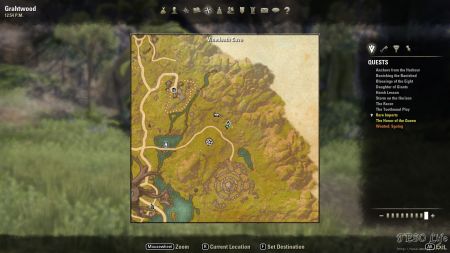
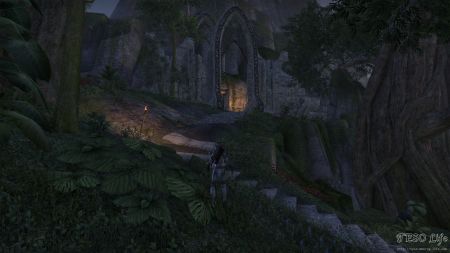
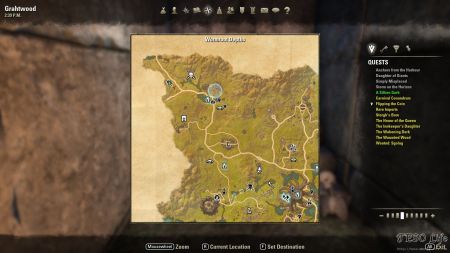
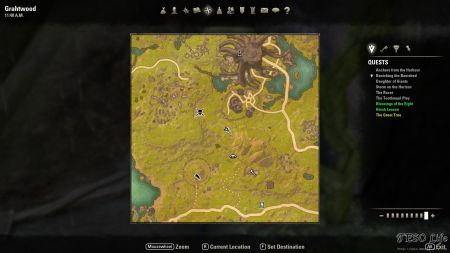
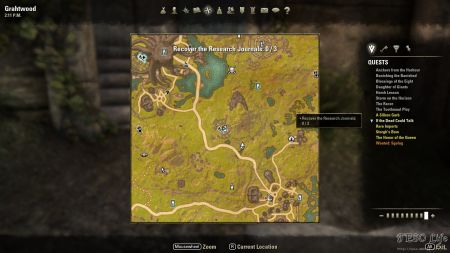
The map of shard #4 is incorrect. It (the blue circle overlaying the map) is shown at a crossroads north of Eldon Root. The actual shard is on the road south of the city. The screenshot is correct; it’s just its representation on the map that is a problem. Great job all-around, though. This is my main reference for finding resources in ESO.
Great
# 13.
Not a Public Dungeon. Just a Delve. 🙂