Bangkorai is level 37-42 zone for Dagerfall Covenant members and it is the last zone you get to visit in Nirn. There is a looming Imperial threat you have to take care of alongside regular problems with Werewolves, Hags and other hostile creatures. Skyshards are scattered across the land and sometimes easy to find. The last skyshard was a very hard find though so I would suggest looking up its location. There are screenshots and guides for each and every shard bellow and we hope they prove helpful to all Dagerfall Covenant members as well as Veteran Rank explorers.
1.
A scenic view of Evermore’s bridge.
Guide:
You’ll notice this shard if you ever approach Evermore from Stormhaven. Crossing the bridge from Stormhaven to Bangkorai gives a clear view of this shard, that stands on the outside of Evermore’s fortifications.
Collectible is on the outside of the wall protecting Evermore.
You can clearly see the awesome view of Evermore’s bridge from the shard’s location. This bridge takes you to/from Stormhaven
2.
Listening to Silaseli’s whispers.
Guide:
Found inside Silaseli Ruins POI (eye icon) northwest of Evermore. If you approach this location from north you’ll easily notice the shard at the bottom of the ruin’s walls. If you are roaming the ruins and approach it from the crafting station there you might see the shard’s shine from bellow.
View from the crafting station in Silaseli Ruins will reveal the shard’s location. You can craft the Night Mother’s Gaze Set here which provides a 20% Armor reduction for 5 seconds for each Critical Attack and requires 6 researched traits to craft.
If you approach the ruins from north you will clearly see the skyshard next to the walls.
3.
Tossed into a coveside tower.
Guide:
Explore Jackdaw Cove POI northwest of Troll’s Toothpick wayshrine in northern Bangkorai to obtain this skyshard. It is found inside a destroyed tower.
Destroyed tower is between Jackdaw Cove POI icon (camp fire) and Gjarma’s Rock icon (eye icon to the northwest). You can easily miss it because the shine is not visible from the outside unless you are looking at the tower’s entrance.
4.
Answer the call to battle.
Guide:
Martyr’s Crossing is a POI south of Viridian Woods Wayshrine. It is a camp surrounded by wooden walls. On the outer side of eastern camp walls is where the shard is hiding.
You can see the shine as you exit Martyr’s Crossing eastbound.
5.
Secret shrine by Pelin’s Church.
Guide:
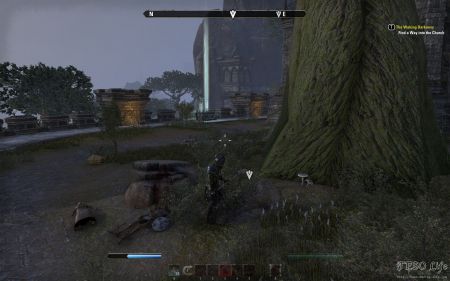
Found inside Pelin Gravreyard POI, south of Evermore. Go behind the church in east part of the graveyard to find the collectible.
You’ll prob ably notice the shard as you do the Pelin’s Graveyard quest.
Zoomed in map of the shard’s location.
6.
Hears hags but sees mobile limbs.
Guide:
Found in between Viridian Woods and Northglen. It is positioned close to a small cliff overlooking Northglen, which is occupied by hags. You best approach it from south and Viridian Woods Wayshrine.
Approaching this part of the map from south will give you a clear view of the shard.
7.
Waiting to be inducted to the Hall.
Guide:
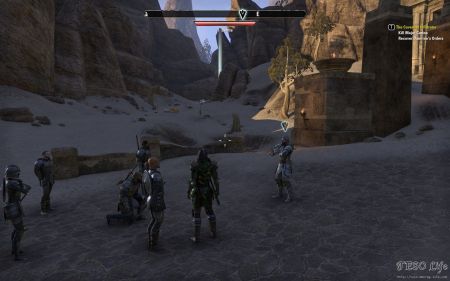
As you go through the main quest for Bangkorai you will visit this part of the map. King will be waiting for you to finish the job with the Imperials and if you look to king’s right you will see the shard shining. You can talk to the king then and get theAll this happens during “
Trials And Tribulations” quest. There are no prerequisite quests you have to complete to be able to access this area though. It just so happens that the final Bangkorai quest unravels here.
King awaits for you to speak to him and end the Imperial threat in Bangkorai. I think you have enough time to pick up one little skyshard though.
8.
Take a fall from the grotto.
Guide:
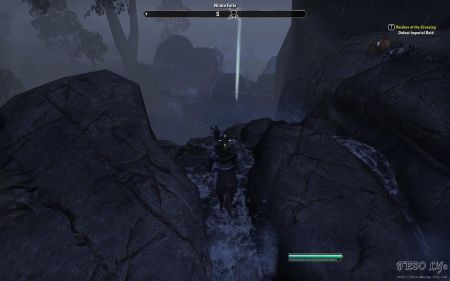
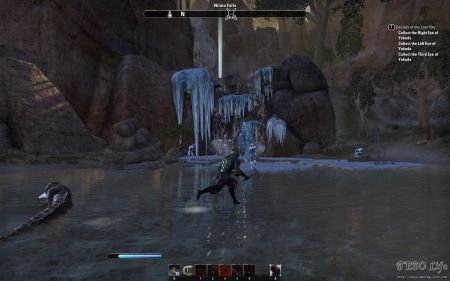
From Bangkorai Garrison Wayshrine there is a passagaway that takes you to the southern part of the map. This takes you through the Fallen Grotto POI. There is a lake in Fallen Grotto that flows south and falls over a cliff as a waterfall. You will notice the Nilata Falls group enemy POI icon close. You can see the skyshard from the top of the waterfall out of Fallen Grotto. You can jump from there or go through Sunken road to the south part of the map and climb up to shard’s location.
View of the skyshard from Fallen Grotto waterfall. You can carefully jump down from here.
You can also approach the shard from the south avoiding the Nilata Falls group boss.
9.
Nested in an Imperial camp.
Guide:
Shard is found southeast of Basking Grounds POI (eye icon) near the Old Tower Wayshrine.
You’ll see some imperial tents off the road near Basking Grounds and the skyshard right next to them.
Zoomed in map of the location
10.
Sent away to stay with the dead.
Guide:
Found inside Crypt of the Exiles solo dungeon. You’ll find its entrance south of Pelin Graveyard POI. It is a cellar door inside a crypt like structure.
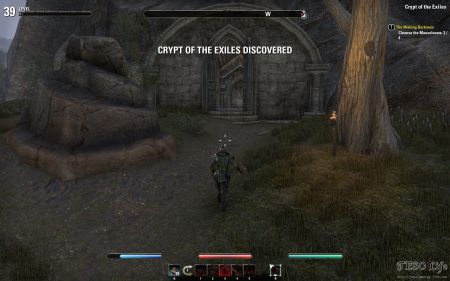
Entrance to Crypt of the Exiles is inside this stone structure build into a cliff.
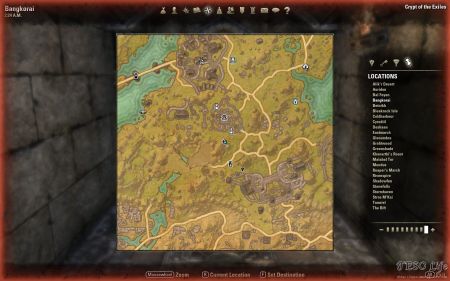
Crypt of the Exiles entrance map location
Shard is in the large cave at the end of the dungeon. Take a left turn as you enter the cave. On the screenshot above you can clearly see that the collectible is to the left in a dead end part of the room.
11.
Tragic tale of architect and princess.
Guide:
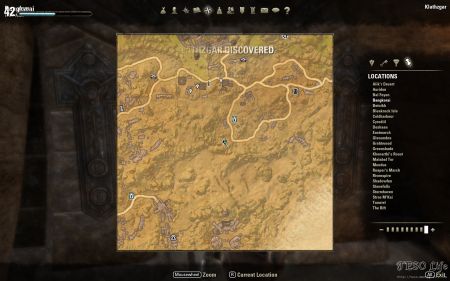
This shard is located inside solo dungeon Klathzgar. Entrance to the dungeon is marked on the big map of Bangkorai, while the collectible’s location is marked on the screenshot of the dungeon’s map bellow.
The skyshard you are out for is inside the southern part of the ruins. This is one of the most unique surroundings found in the dungeon. What makes it unique is the view from near the shard. A perfect place to make several screenshots.
Klathzgar entrance is off the road near the Old Tower.
In southern part of the ruins.
Klathzgar map showing the location of the collectible.
Scenery is absolutely amazing.
Guide:
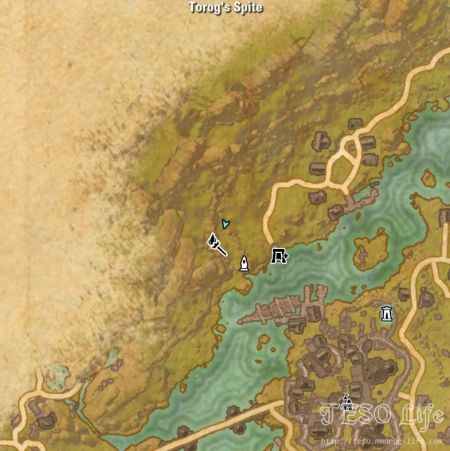
Inside the Torog’s Spite solo dungeon, in northwestern Bangkorai. You can swim from Evermore to its entrance.
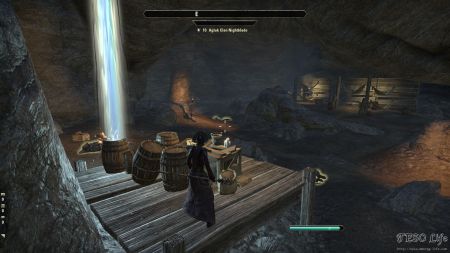
Like all Bangkorai solo dungeons, this one has undergone post-launch remodeling as well. This has also affected the location of our shard. Now, you can find it in the northwestern part of the dungeon. This area is full of enemies, be careful.
Find and enter Torog’s Spite.
Map location of Torog’s Spite.
Next to the platform with the wooden barrels.
Exact location of the shard.
13.
Where a stormy ritual brews.
Guide:
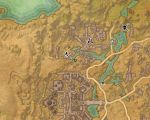
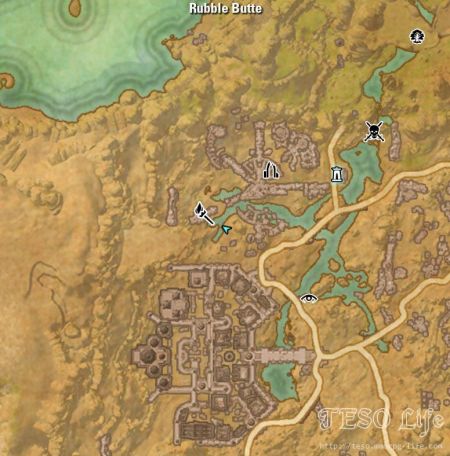
Find this skyshard inside Rubble Butte solo dungeon. Entrance to the dungeon is in southwestern part of Nilata Ruins POI, north of city of Hallin’s Stand.
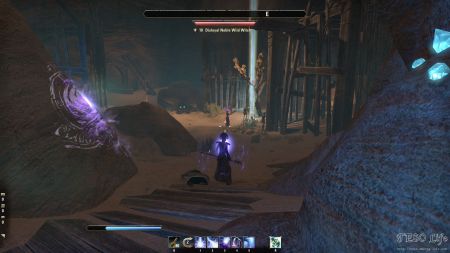
This skyshard has had its location moved due to post-launch dungeon remodeling. You can now find it in the southern part of Rubble Butte. It is just next to a tree, close to the wooden beam cave supporters.
Entrance to Rubble Butte dungeon.
Rubble Butte entrance map location.
Rubble Butte map showing the location of the collectible.
14.
Stuck in a troll’s maw.
Guide:
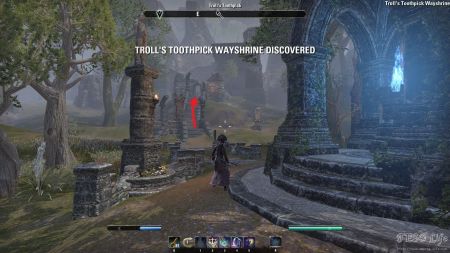
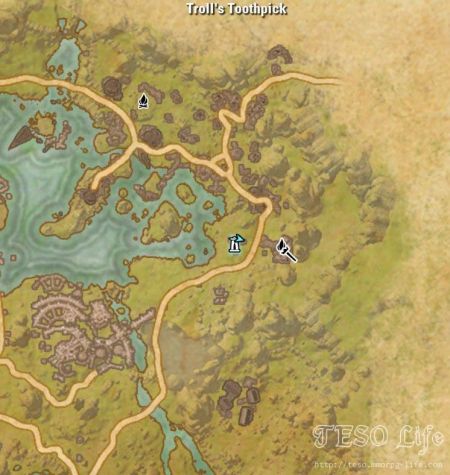
Troll’s Tootphick solo dungeon hides this skyshard. Entrance to this dungeon is just a few steps east of Troll’s Toothpick Wayshrine in northern Bangkorai.
Go up the steps into the ruin there and you should see the wooden doors that take you inside Troll’s Tootphick. Be careful of the Trolls inside since trolls regenerate their massive health pool and hit hard.
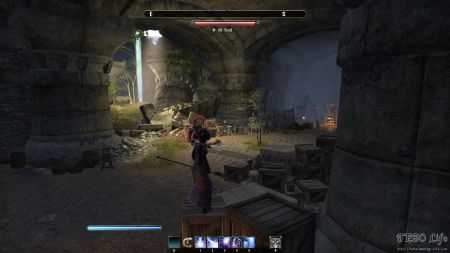
The skyshard is inside the small side room, in the northeastern part of the dungeon. This part of the dungeon has a cracked ceiling and the light is coming in from the outside.
Find and enter Troll’s Tootphick solo dungeon.
Troll’s Tootphick entrance map location.
If you are careful enough, the Troll won’t attack you.
Exact location of the shard.
15.
Bjoulsae bandits’ hidden lair.
Guide:
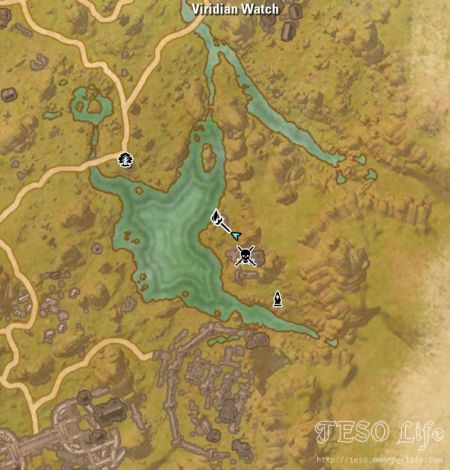
Enter and explore Viridian Watch solo dungeon east of Evermore. The entrance to this dungeon is inside the wrecked stone tower, close to the lake.
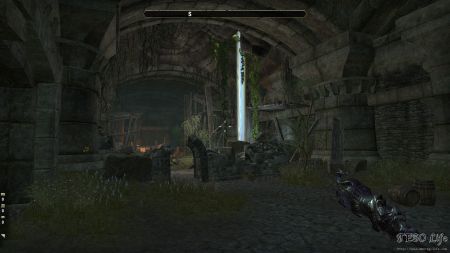
To find the shard, you need to reach the western part of the dungeon. You have to go downstairs, as this part of the cave is on a lower level. There is a rather large rectangle-shaped room in this area. What you are looking for is in the southern part of this room.
Find and enter Viridian Watch solo dungeon.
Viridian Watch map location.
There are no enemies nearby.
Exact location on the dungeon map.
16.
Meddling Imperials disrupt the wheel.
Guide:
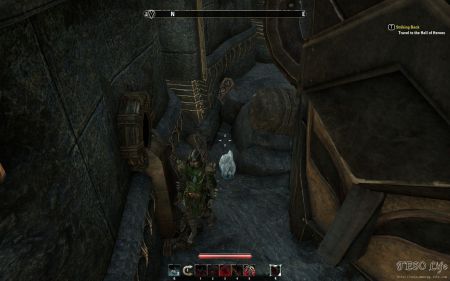
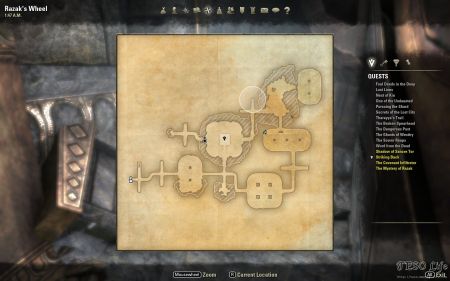
Found inside Razak’s Wheel public dungeon. Razak’s Wheel is full of level 40 mobs that come in groups of 5 or 6 members. There are epic bosses scattered all over so bringing a friend or two along will make this a much easier endeavor. Collectible is so well hidden behind some Dwemer machinery that I found it by pure luck. It is the room with Rkurdamz mini boss. Just check out the dungeon map screenshot to find it and make your life easier.
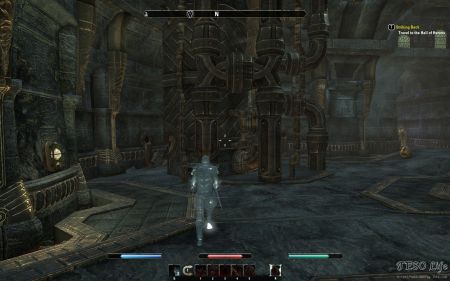
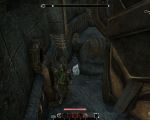
Skyshard is behind this piece of Dwemer machinery. You can’t see is shine until you go all the way behind that machine.
This is how well hidden the shard is.
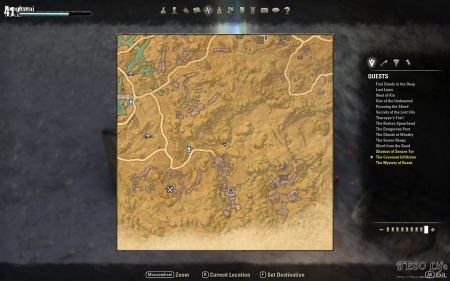
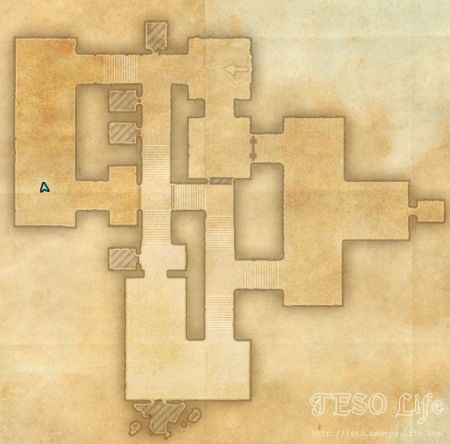
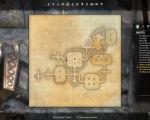
Exact location of the collectible on Razak’s Wheel map. Player location marks the shard’s location. Marked on the big map of Bangkorai is the entrance to the public dungeon.

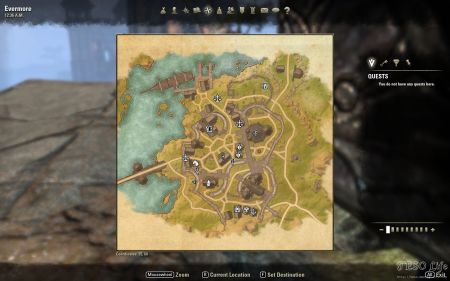
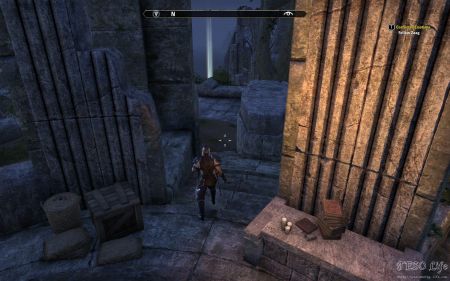
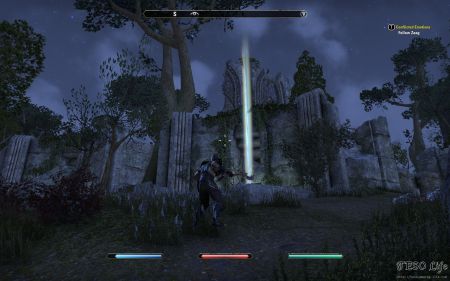
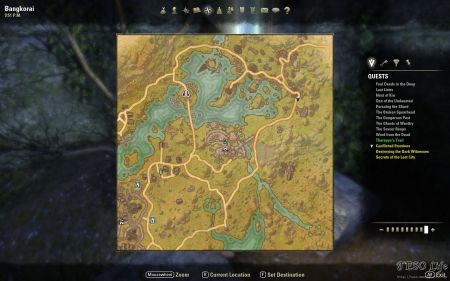
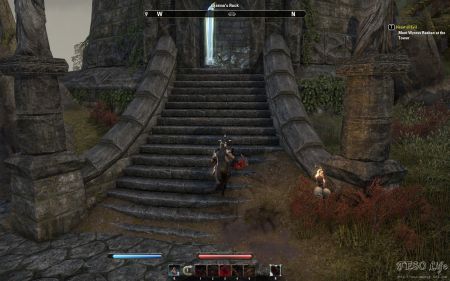
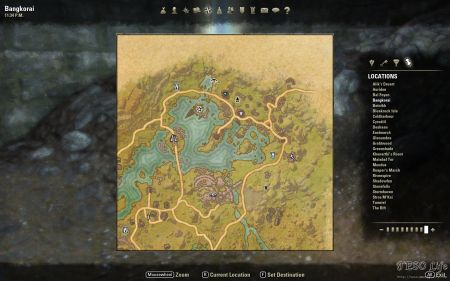
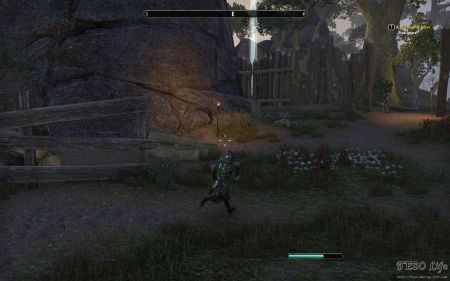
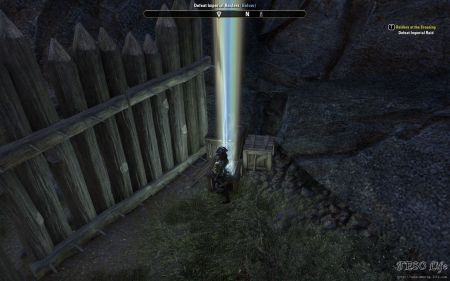
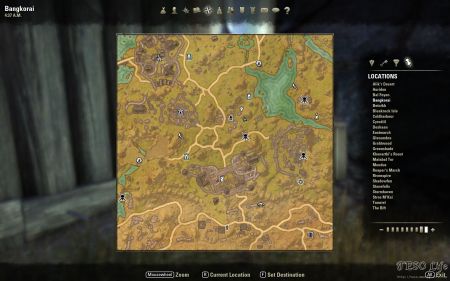
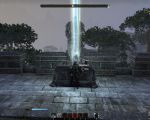
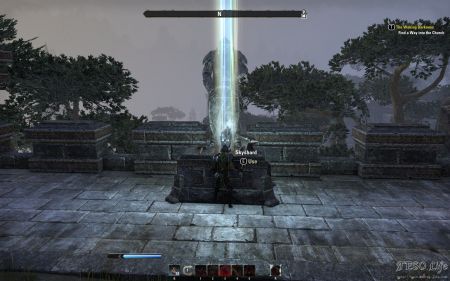
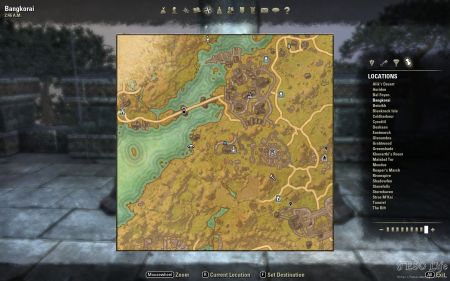
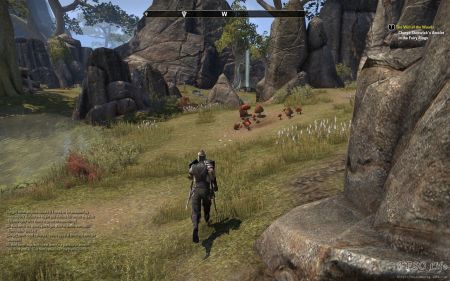
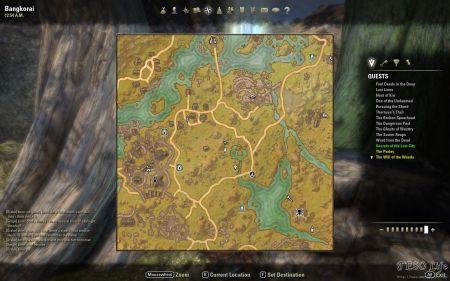
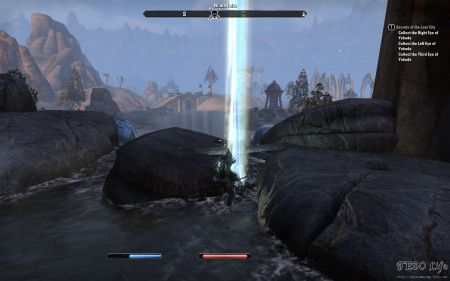
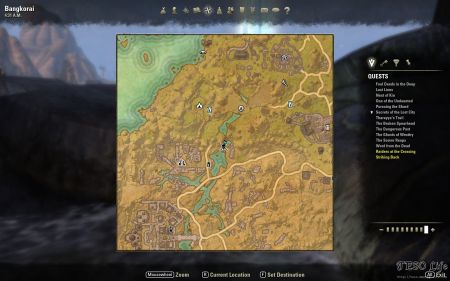
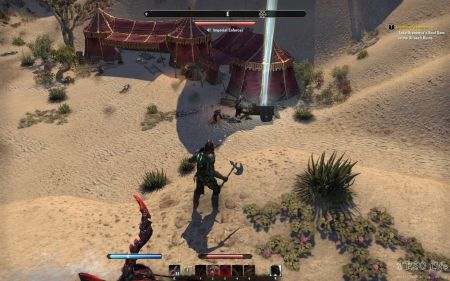
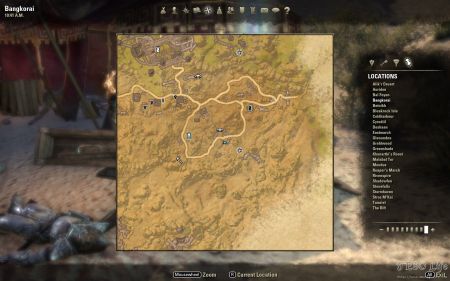
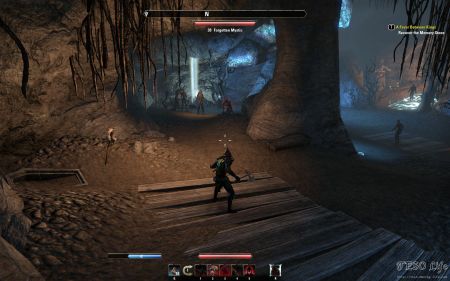
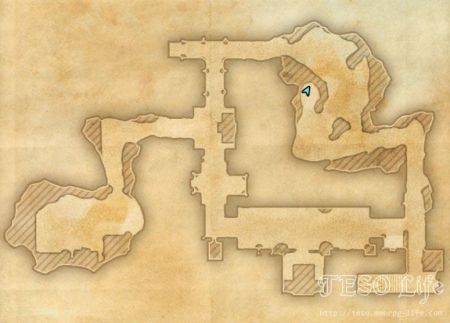
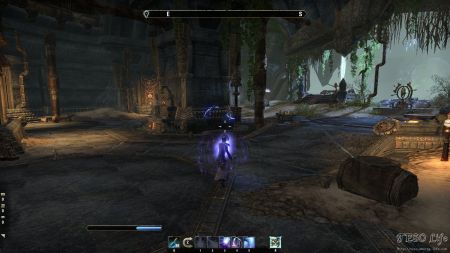
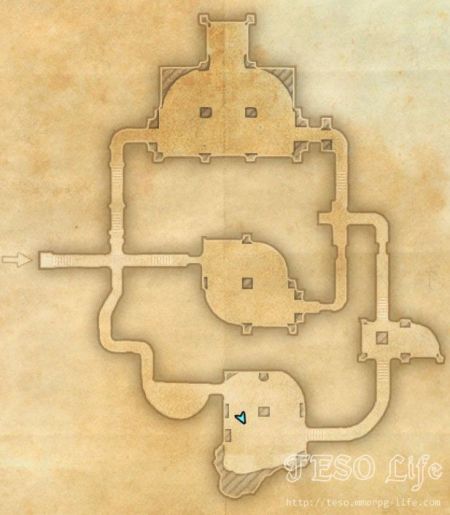
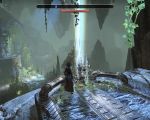
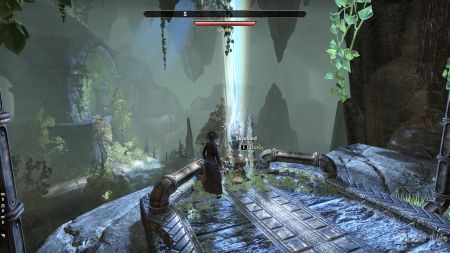
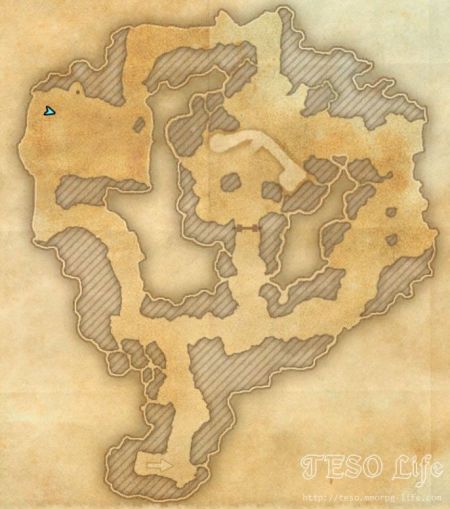
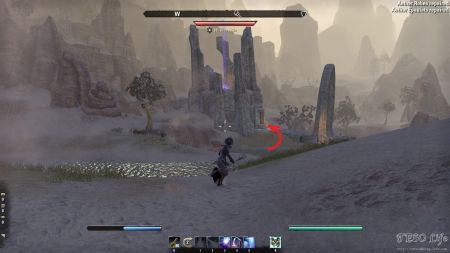
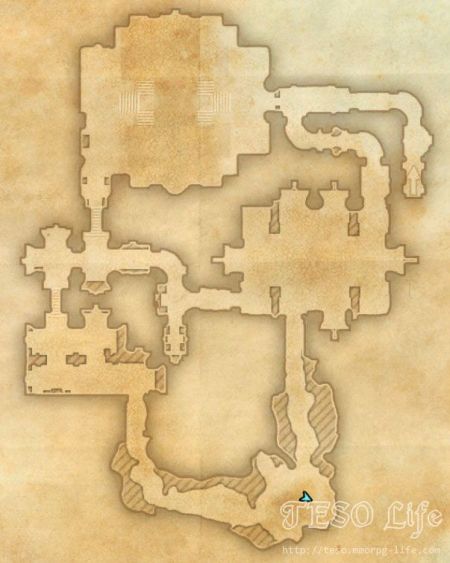
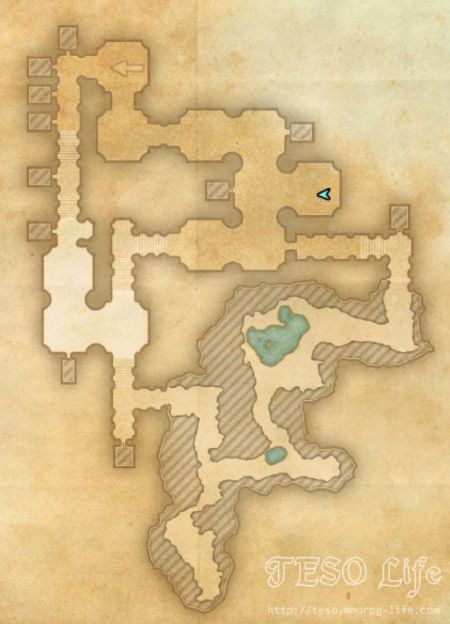
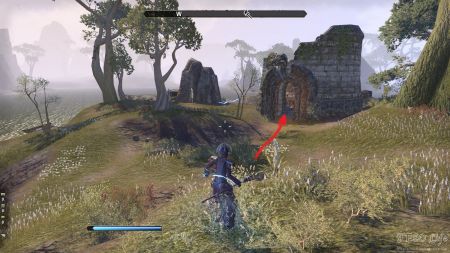
Troll’s Tooth dungeon has been remodelled and expanded. The Skyshard (14) has been relocated to a chamber on the east side of the dungeon.
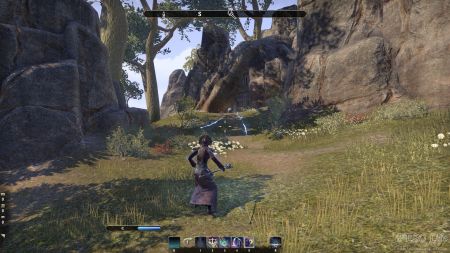
Skyshard (15) has been moved and is now located in the west room in the middle of the west wall.
Explanation for the Hall of Heroes is absolutely terrible. I had to look it up elsewhere. Keep in mind that not everyone does questing and skyshard hunting at the same time. There is no High King waiting for those of us who already completed the quests.
The fifth skyshard and the church it is behind is actually in the far West of the graveyard