East of the bastion of deceit.
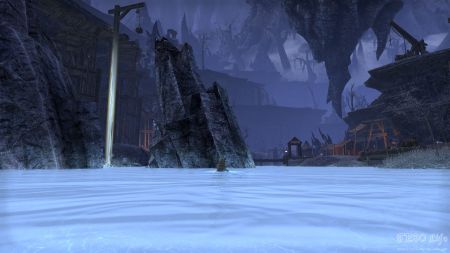
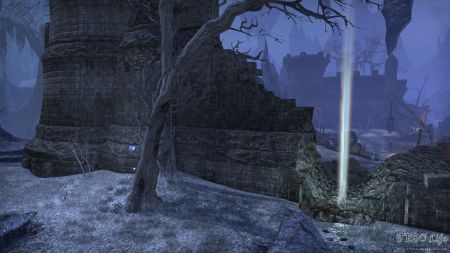
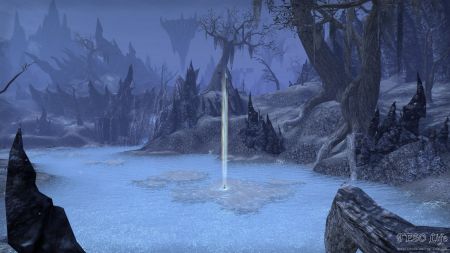
This shard can be found at the bottom of a waterfall. This is the waterfall in a northern part of the lake that is west of The Hollow City. It connects this lake with the lake inside Tower of Lies.
The most fun way to approach it is to jump toward it from a nearby cliff. If you follow the main road that goes from northwestern Hollow City, and turn north at the first crossroads, you are going to end up on a stone platform. There is NPC Gwilir that gives quest “Truth, Lies, and Prisoners” nearby. This is Tower of Lies objective quest. From his platform jump into the lake bellow. Swim to the bottom of a nearby waterfall and the collectible is there.
Discarded from the mages’ walls.
Although close to the main city this shard is not close to any quests or path that can take you near it. Even the nearby POI is reachable from within The Hollow City. You can find one brave Clannfear level 45 patrolling the area.
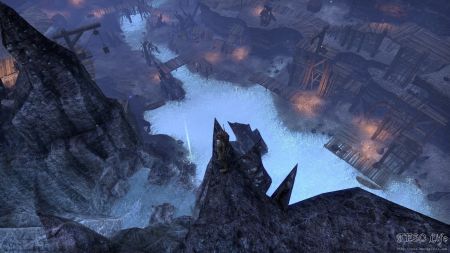
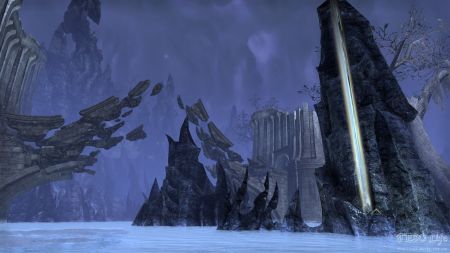
Seek a shattered bridge suspended.
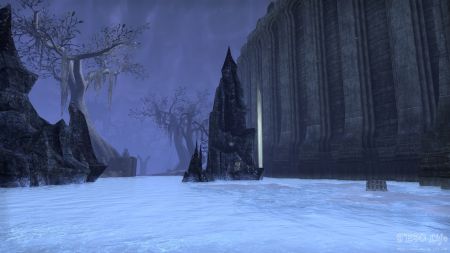
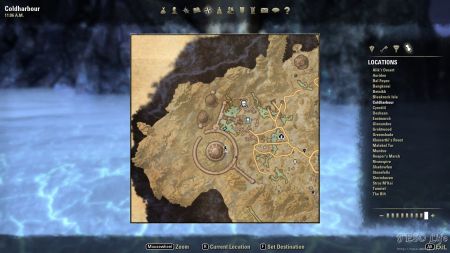
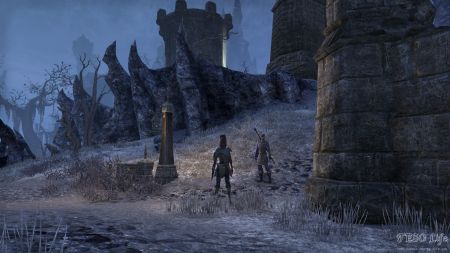
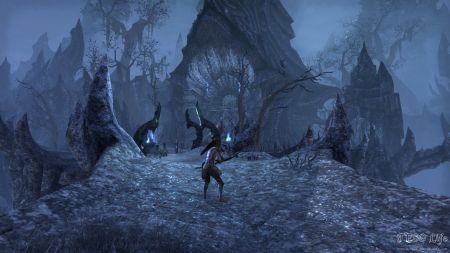
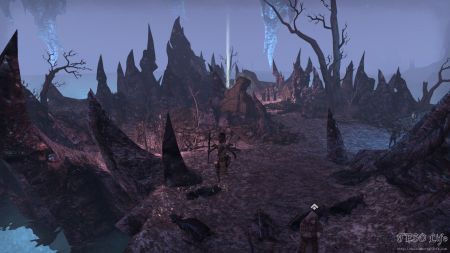
Skyshard can be found on water, close to the northern wall of The Lightless Oubliette POI. It is well hidden between this huge wall and a tall dark rock. If you wonder where its name comes from; when you reach its location turn north. You can see a shattered bridge in the distance. Quite an amazing view.
Unfit for court.
You can easily spot this collectible if you enter Court of Contempt from south. There is a part of the main road that leads to this area. You can find NPC Malkur Valos at this location. Malkur gives the quest “Hall of Judgment”. This quest is part of Court of Contempt Objective.
Shard is on a wrecked stone wall, Close to the tall stone towers.
Ejected from the Village.
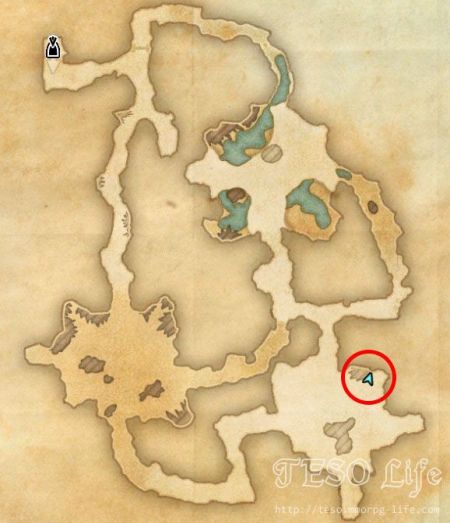
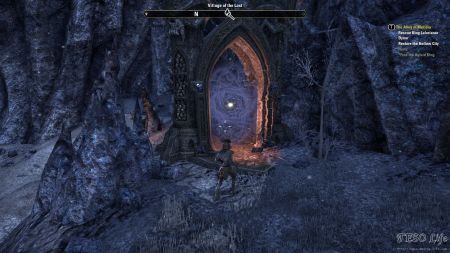
Skyshard is found in the middle of a lake. Its journal tip “Ejected from the Village” comes from a nearby dungeon. This dungeon is called Village of the Lost. This makes two shards in total for this tiny part of the map. Standing on top of a shard location you can have a clear view of the dungeon’s portal entrance.
Among the vessel’s burnt cousins.
Follow the main road that takes you to this part of the map. As you reach this area head to the westernmost house. This is a burned down house with a stone foundation. Inside this house you can find the shard.
Quest “Special Blend“, step “Find the Thane’s Lair”, takes you to the vicinity of this house. This quest is part of The Everfull Flagon objective. You can accept it from dead Gamirth just in front of the entrance to the main Everfull Flagon building.
In the Chasm’s western watchtower.
Go inside the large West Portal watchtower to find this skyshard. This is the portal that you need to close for the quest “Crossing the Chasm” – the first quest you receive upon completion of the main quest “The Army of Meridia”. Shard’s journal tip kinda tells the whole story.
Note: In order to reach this part of the map you need to complete the main quest “The Army of Meridia“. Next quest unlocks the entrance to this area in northern Hollow City.
Not invited into the plotting wives’ home.
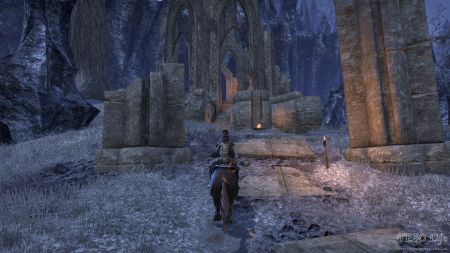
Skyshard can be found inside the temple ruins. Follow the main road and it will take you to this locationn. NPC Fatahala, that stands at the last crossroads before the Manor of Revelry, gives the quest “What the Heart Wants”.
Note: In order to reach this part of the map you need to complete the main quest “The Army of Meridia”. After “The Army of Meridia” you can get the quest that unlocks the entrance to this area of northern Hollow City.
Washed to strange shores with the fleet.
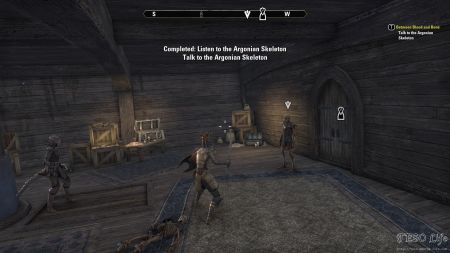
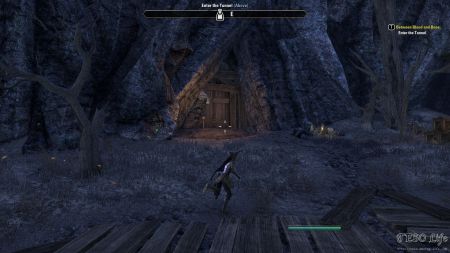
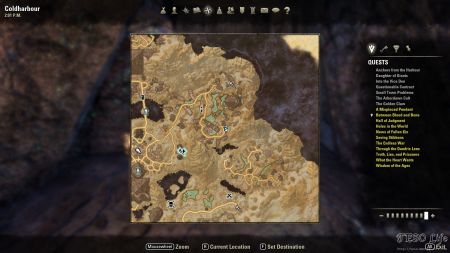
Skyshard is on the water, next to corals. This part of the map is called Coral Tower. You need to be on a certain quest that lets you climb the Coral Tower through Coral Tower Tunnel.
This quest is called “Between Blood and Bone“. You can accept this quest upon successful completion of “A Graveyard of Ships” quest. Get Graveyard of Ships from Captain One-Eye. You can find Captain One-Eye in a small camp, next to the road that leads to center of The Lost Fleet (Lighthouse POI).
Note: In order to reach northern part of Coldharbour you need to complete the main quest “The Army of Meridia”.
Update 1: Just west of solo dungeon Wailing Maw map mark there is a large wooden pole. You can use it to climb toward the platform with the shard on. Keep on mind that you have to make one final jump from the pole’s top in order to reach the platform.
Among the bones of Aba-Loria.
Go inside Aba-Loria solo dungeon to pick up this shard. Entrance to this dungeon is at the end of the northernmost main road in western Coldharbour. It looks like an Ayleid Ruins area. Enemies inside are level 45 Salaches that come in groups of three.
Collectible is inside a corner of a small room in western dungeon room, next to two small bookshelves.
Enduring Forgefire’s flames.
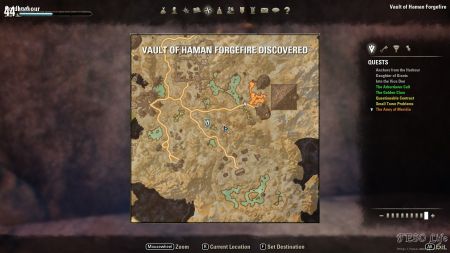
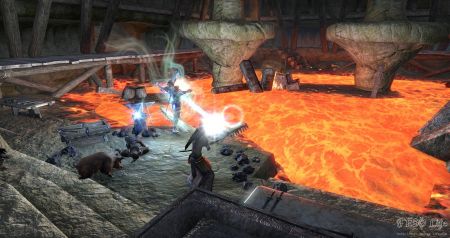
Enter Vault of Haman Forgefire solo dungeon to find this collectible. There are small stone stairs leading up to the entrance of the dungeon. Skeleton Draugrs inside don’t usually come in groups. They are level 47. Collectible is inside the northern cave room. This is part of the cave that comes before area where Haman Gorgefire resides. His death, beside loot, rewards “Forgefire Vault Exporer” achievement.
Seek the deepest depravity.
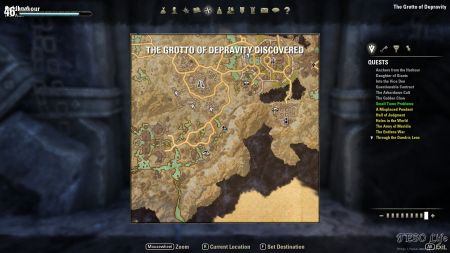
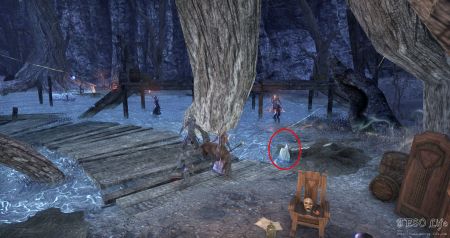
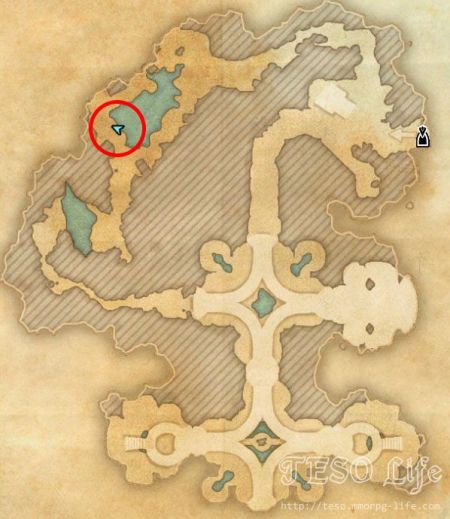
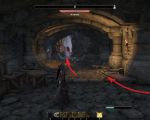
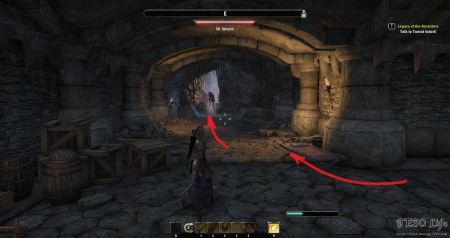
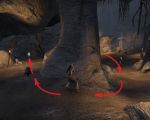
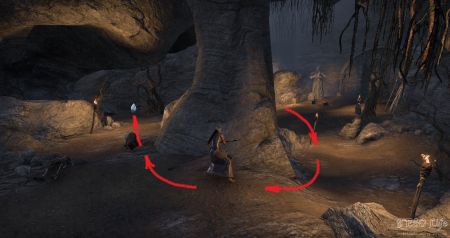
Go inside The Grotto of Depravity solo dungeon. Enemies inside are level 45 Seducers and they come in groups of two. Collectible is inside the room with the largest pond, northwestern Grotto of Depravity. There are many enemies here. Shard is at the bottom of a large tree, near an edge of the pond, across the small wooden bridge.
Entombed in the Orchard.
Found inside Mal Sorra’s Tomb solo dungeon that you can’t approach from south since there is a large gap in the ground. Just before the entrance to the dungeon you can collect the lorebook “Protocols of the Court of Contempt”.
Once you enter the dungeon head left. Keep following the cave wall to your right. After couple of steps turn hard right. There is a small cave dead end. Our shard is here.
Note: In order to reach this part of the map you need to complete the main quest “The Army of Meridia”.
One of the hunters’ many prides.
Shard is found inside The Cave of Trophies solo dungeon. Entrance to this dungeon is at the end of a main road that goes northeast of The Hollow City. Mobs that are level 47 fill the dungeon and sometimes come in groups of three.
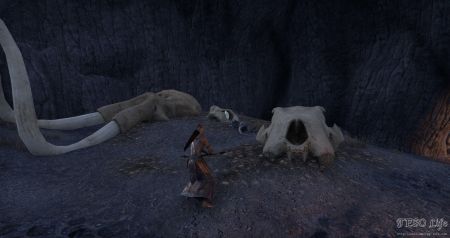
In order to collect the collectible you need to reach the southern part of the cave. Shard is on ground, between two large mammoth skulls. One of this skulls has large tusks.
Where endless cries issue forth.
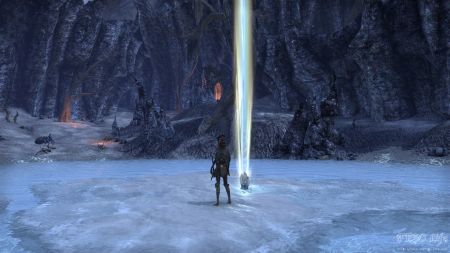
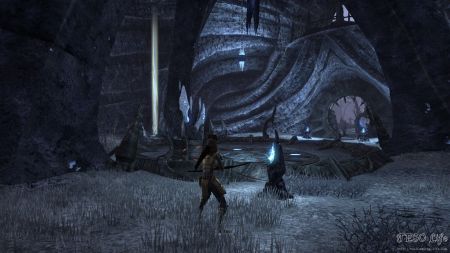
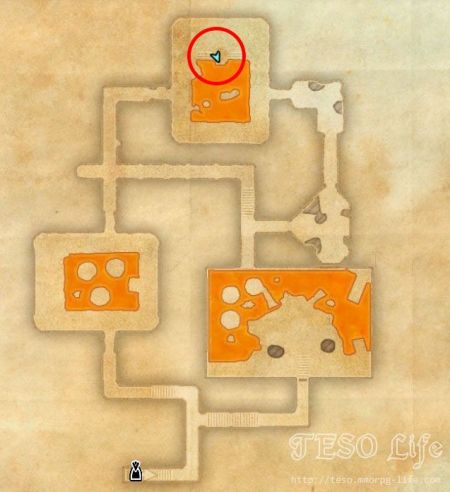
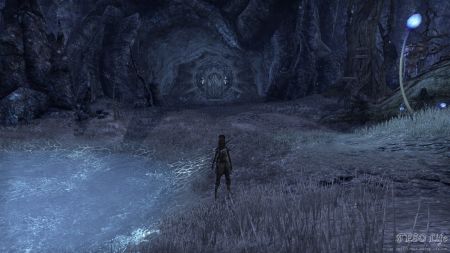
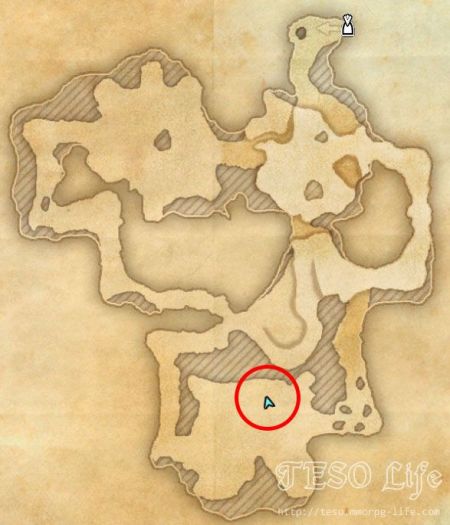
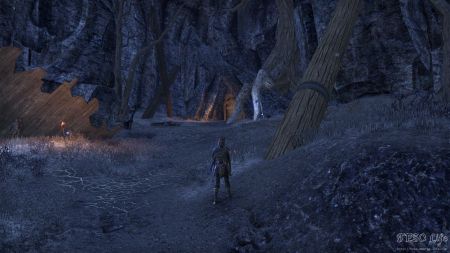
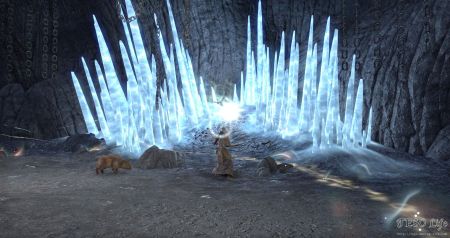
Shard is found inside The Wailing Maw solo dungeon. This dungeon is made unique by its bright ice crystals. Dremora enemies inside are level 50 and so is their boss Marwoleath.
Collectible is on ground between two large white/blue stalagmites, southeastern part of the cave. Just because the nearby crystals shine so bright skyshard’s shine is not as visible. For some reason this shard may appear as if it is collected even before you collect it (could be a bug from the beta).
Note: In order to reach this part of map you need to complete the main quest “The Army of Meridia”.
Behind disaster-claimed Dunmer hall.
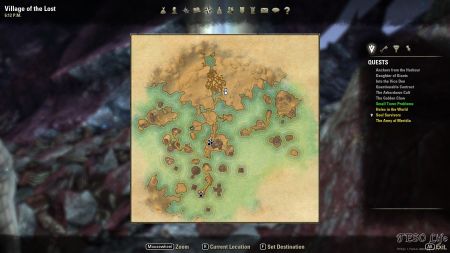
Enter Village of the Lost public dungeon to find the last skyshard. This is a rather large dungeon. Shard is deep inside the dungeon. At the first main crossroads inside the dungeon turn west. Crossroad comes soon after you pass the large building with two portals to Khajiit Ruins and Orc Ruins. Collectible is in a corner of a dead end road. This dead end road forks from the main road just before the main road takes you to the northern part of the dungeon.
Level 45 mobs come in group of five and more in here. They tend to pull nearby groups when they are low health. Be careful not to pull more than one group if you can’t handle them both solo.

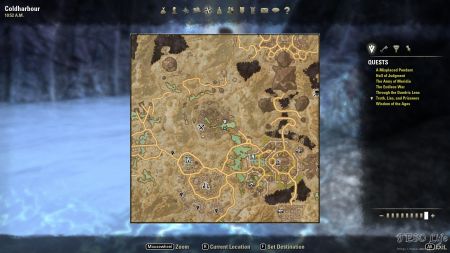
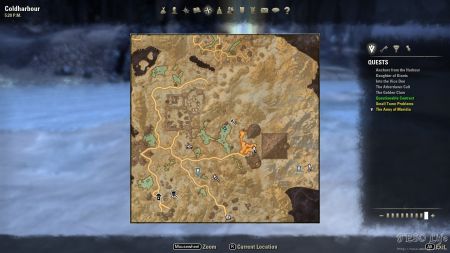
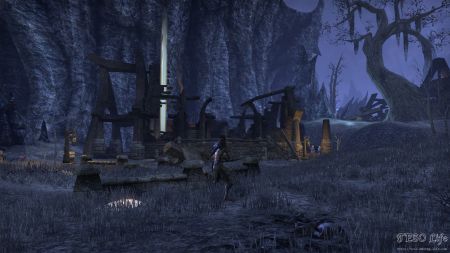
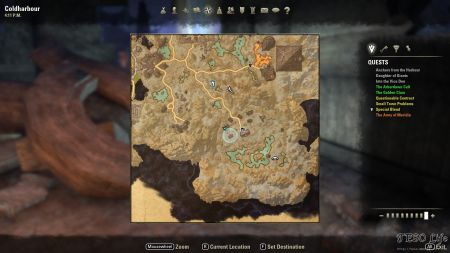
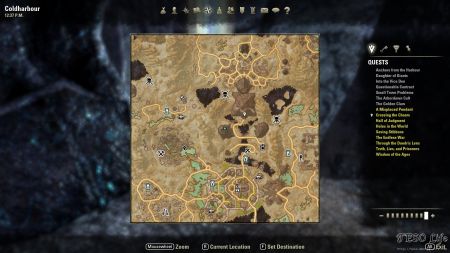
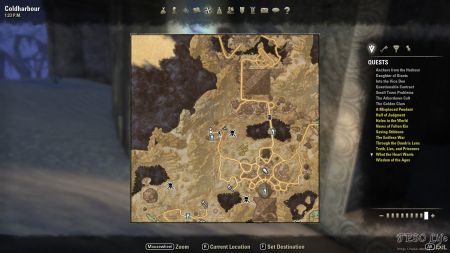
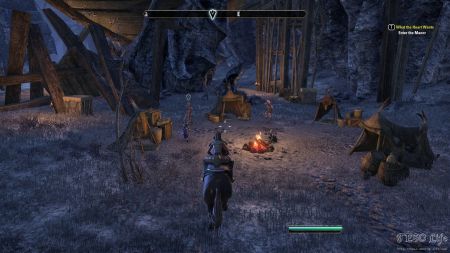
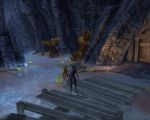
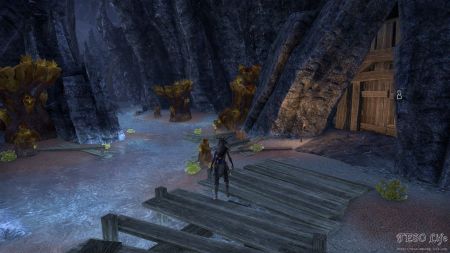
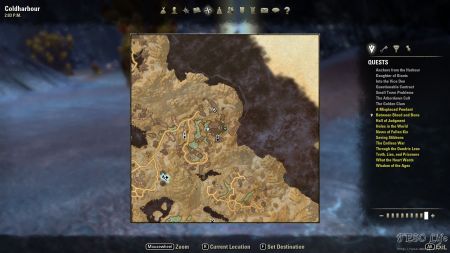
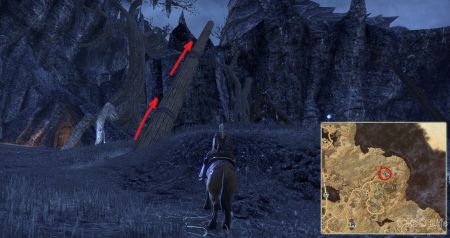
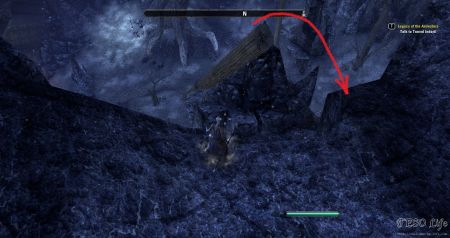
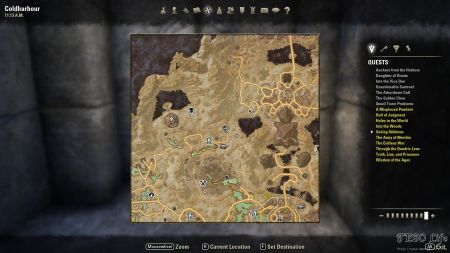
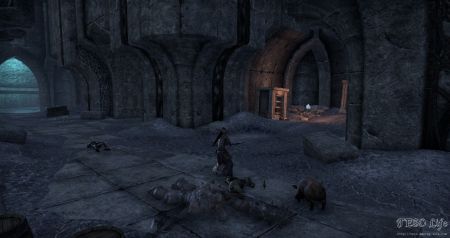
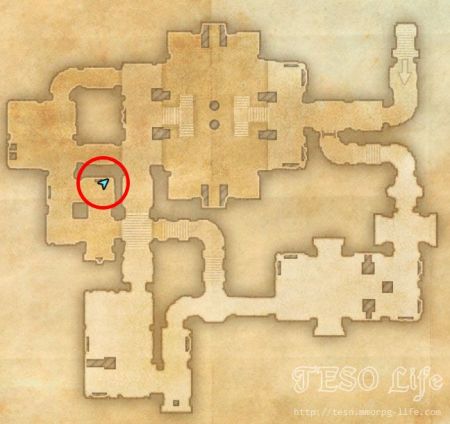
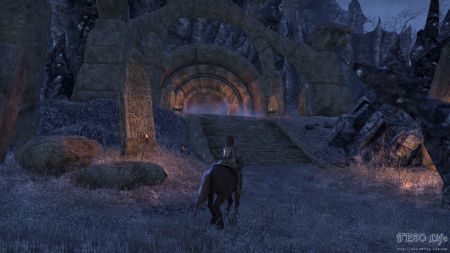
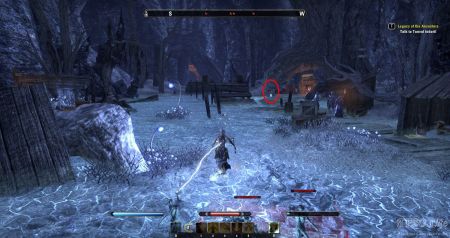
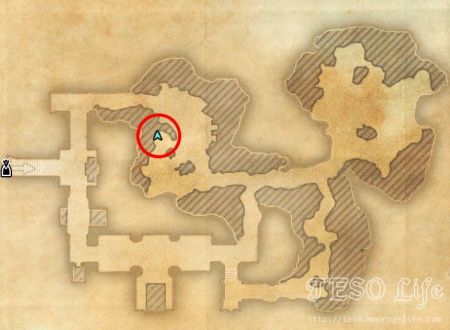
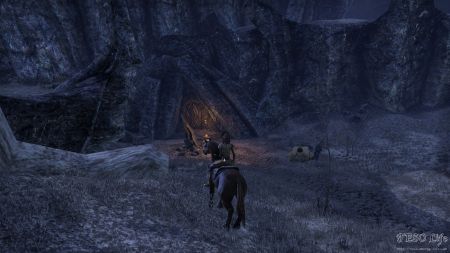
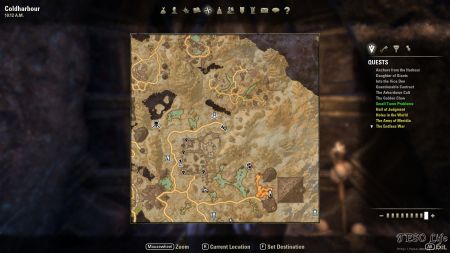
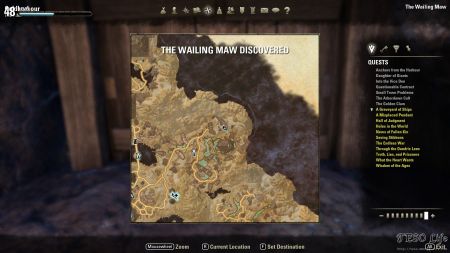
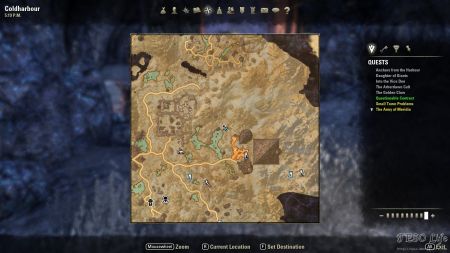
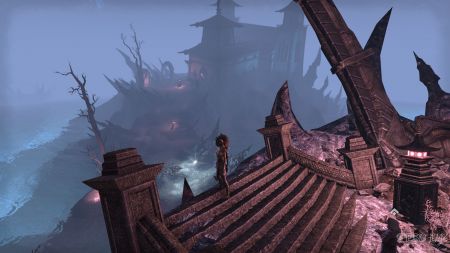
I just want to point out that you don’t have to go through all the questing to get shard number 9 if you don’t want to . There’s a large pole just west of Wailing Maw that you can run up that will take you to the shard.
Just noting, I needed to use my mount to make the jump. Couldn’t quite get there on foot.
Spent 15 minutes trying to make the jump off the stupid pole to get 9, finally gave up.
Use the cave entrance to get up there instead. It’s near the far end of the Golden Era ship.
#16 is do-able solo here in Cold harbour, I used 5 Grand soul gems. When you get to the little area the Skyshard is at the back, can’t swim past, I just ran straight for it by dieing using a gem running ( rinse/repeat) till you get to it. Kill mobbers there, use soul gem to stay there, (rinse/repeat) till you kill all 6 or 7 and the Shatd is yours. Now swim all the way to entrance.
You can’t swim back to the entrance. Water that was shallow and safe on the way out is all slaughterfish surprise heading back. This is the most ridiculously overly difficult, sadistic delve in the entire game. It’s so bad it should be a group event. Not wise to attempt this dungeon solo if less than level 47 I’d say.
I hid behind a tall rock close to the sky shard at 16 after coming back with a soul gem and sucked it in from there the enemies nearby didnt notice me . So you dont have to keep dying there fighting them there until they are all dead
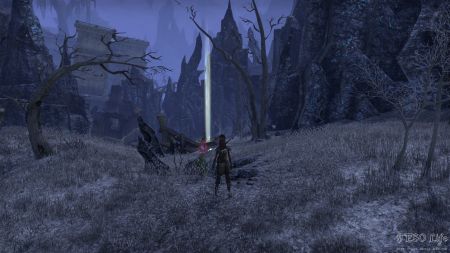
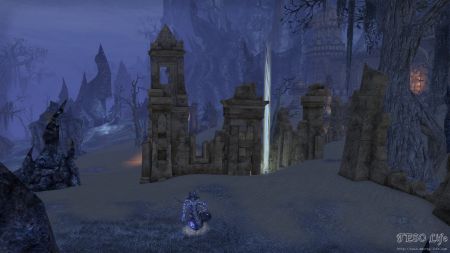
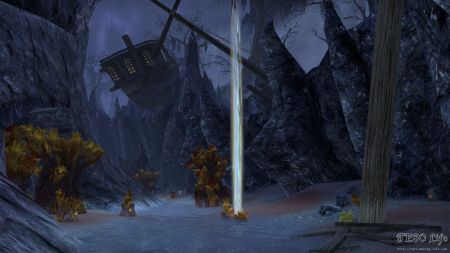
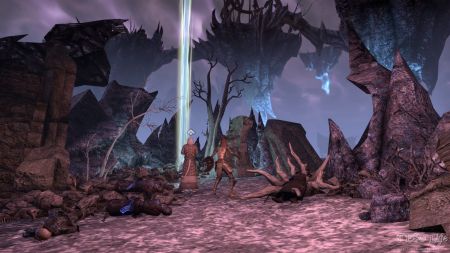
If you approach the Wailing Maw skyshard from the right angle, you can see it, light beam and all, despite the ice.
The Lost Fleet skyshard (#15) is visible, light beam and all, if you approach it from the right angle. I just finished that quest, and got the last skyshard in Coldharbour.
These instructions worked out great!