Rivenspire is level 23-30 zone with 16 Skyshards to be collected. It has one of the best zone questlines in the game and getting to some of the skyshards requires you to finish some parts of the main Rivenspire story, so make sure you do that (for both enjoyment and access). You will come across many types of undead in your adventures and vampires make a significant appearance. Bellow you will find guides on how to find each and every skyshard in this zone with detailed descriptions and screeenshots of locations.
1.
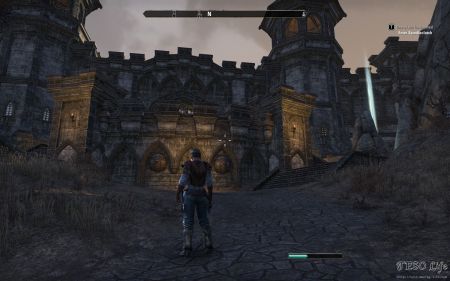
Just outside Shornhelm’s gate.
Guide:
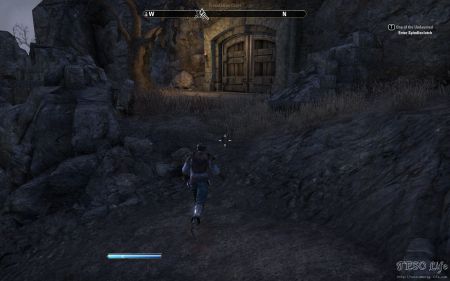
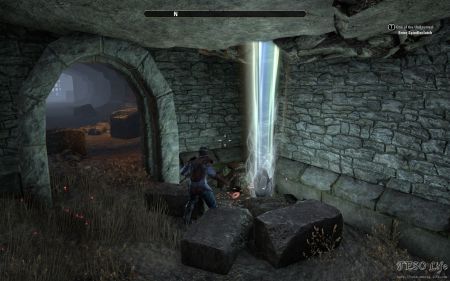
Found right of the main Shornhelm gate.
As you approach Shornhelm ‘s main gate you can clearly see the skyshard’s shine to your right.
2.
Honoring the dead in Eyebright’s west.
Guide:
Behind Eyebright Feld Dolmen in eastern Rivenspire. Clearly visible as you enter the Dolmen area.
As you enter tthe Eyebright Feld Dolmen area you will be able to see the shard in the back. On the screenshot above you clearly see Dolmen inscriptions on the ground and the shine of the collectible.
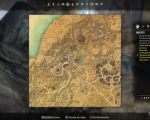
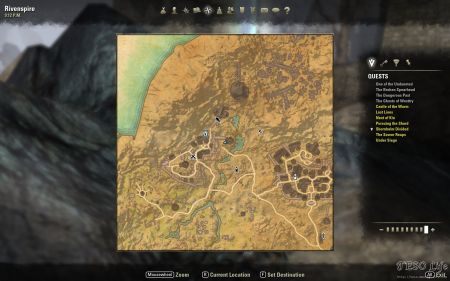
Exact location shown on a zoomed in map.
3.
Crumbled tower, Crestshade’s welcome.
Guide:
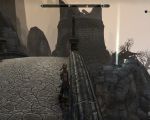
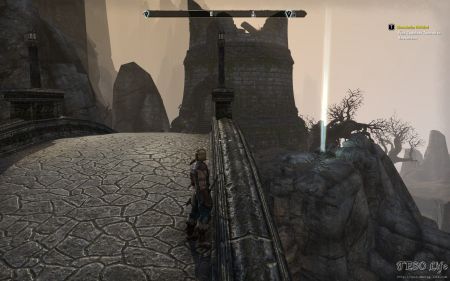
Found in Crestshade, across a bridge. Closest wayshrine is the Crestshade Wayshrine and just go east of it and across the bridge and you’ll see it. You might come acrosss this location as you look for mage’s staff for the main Crestshade objective.
Skyshard is just to the right of the bridge.
4.
Wolves howl at the Hoarfrost nearby.
Guide:
As you follow the road out of Hoarfrost Downs village north you will see the shard to your right in the mountain side.
Leaving Hoarfrost Downs via the north road shoul take you into wolf infested lands and just to the right of the road you should see the collectible shine.
5.
Cresting the wood of words.
Guide:
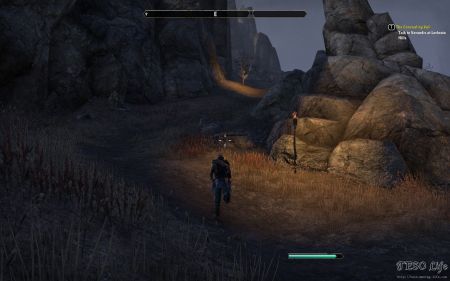
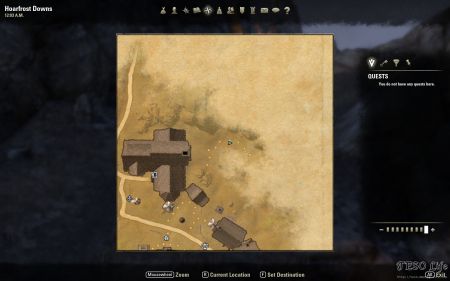
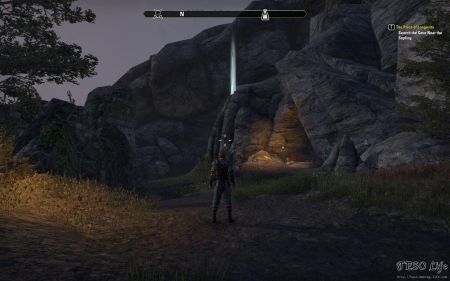
There is a semi-hidden path behind Hoarfrost Downs village. Go up the path and next to a strange looking tree that will give you a quest, a named troll and a cave you will find the skyshard.
This is the path you need to take to get to the shard. It is in north Hoarfrost Downs.
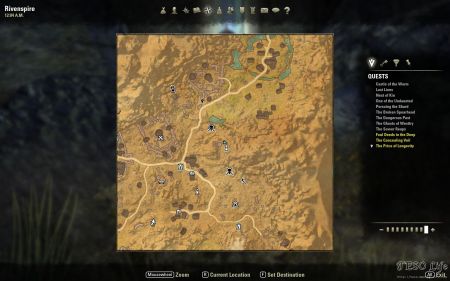
Map location of the start of the path.
Shard is slightly hidden behind a cave’s entrance. To the left is the named troll and behind the character in the screenshot above is the sick tree.
Exact location of the collectible shown on a zoomed in map.
6.
High in the debris of the hills.
Guide:
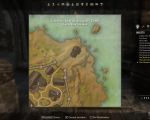
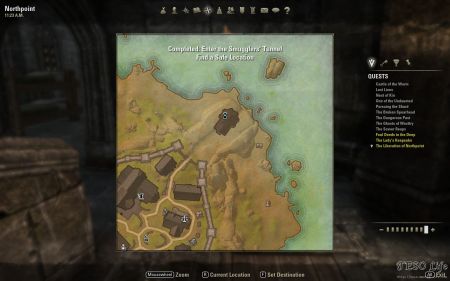
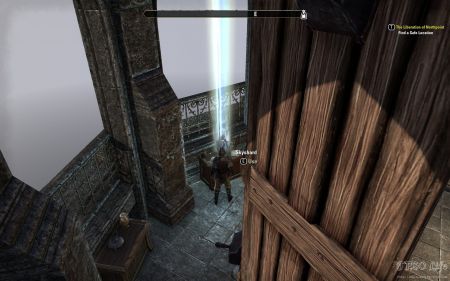
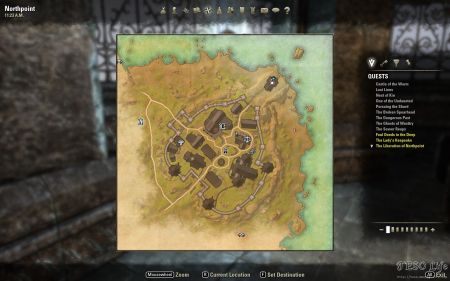
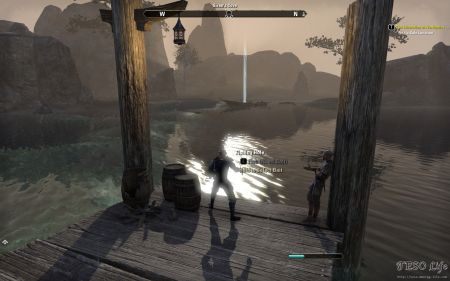
On top of the lighthouse at the northeast tip of Northpoint. If you can’t get inside Northpoint city walls you first have to finish the quest “Northpoint in peril” that will take you to using an old smuggler’s tunnel straight into the lighthouse.
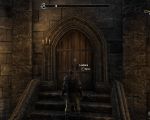
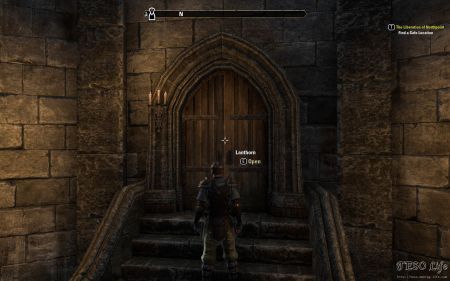
As you enter the smuggler’s tunnel for the quest “Northpoint in peril” you will spawn inside the lighthouse. All you need to do is now take the door to the top of the lighthouse.
Enter this door to climb up on top.
You will find the shard behind the wooden screen of the lighthouse.
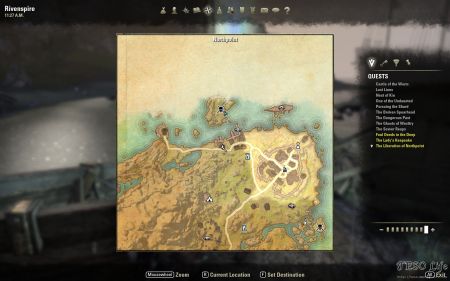
Northpoint map location of the shard
If you already gained access to the city you want to look for this building.
7.
Skittered over in the pass.
Guide:
In case you did not follow the main Rivenspire quest up to this section of the map you can reach the area where this shard is by following the north shore from Northpoint westward. Once you reach the Staging Point Wayshrine go inside the cavern and you will see the collectible fairly close to the entrance.
Enter the cave southwest of Staging Grounds Wayshrine.
You should spot the shard fairly quickly.
8.
Follow the song to the Landing.
Guide:
Found northwest of Northpoint on an island that has the group enemy Desuuga the Siren (Siren’s Cove POI). You can see it from the docks of the small fishing village.
If you walk the docks of the little fishing village northwest of Northpoint you will certainly notice the collectible in the distance. Swim across to get it.
Exact location on the zoomed in map.
9.
Ditched outside of Lorkrata.
Guide:
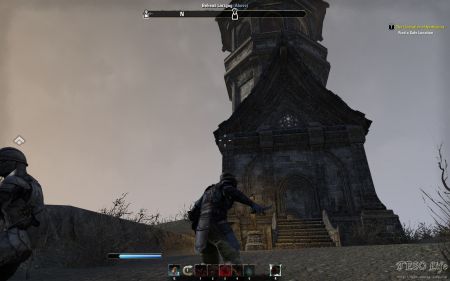
Found inside Lorkrata Hills POI west of Fell’s Run wayshrine. You want to look for the most westward tower inside Lorkrata Hills and go behind it to locate the shard.
Go up the stairs to the tower. Other tower approaches in Lorkrata Hills are similar so make sure you are at the right map location.
Go behind the tower to discover the shard.
10.
In the tunnels under Crestshade.
Guide:
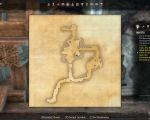
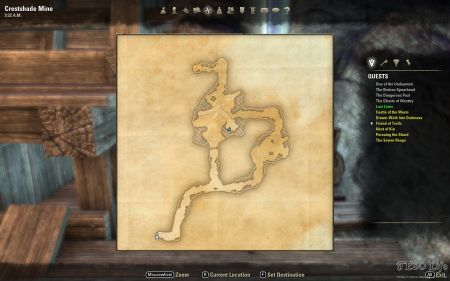
Inside Crestshade Mines solo dungeon. Entrance to the dungeon is marked on the interactive map, while the exact location of the shard is shown in a separate screenshot. Crestshade Mines is northwest of Shornhelm.
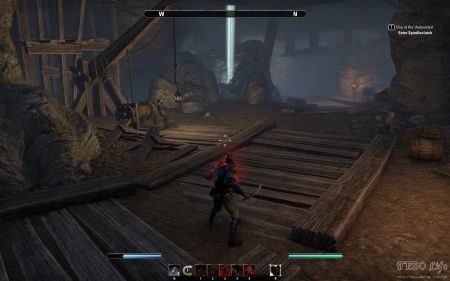
As you approach the end boss of Crestshade Mines you will see the skyshard on a wooden platform.
Exact location of the shard shown on the map of Crestshade Mines.
11.
Seek worms who burrow for a tear.
Guide:
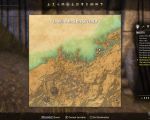
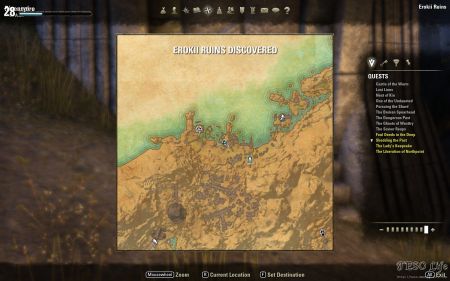
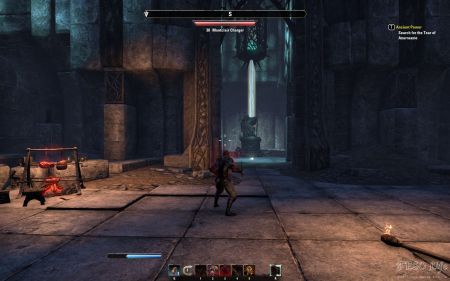
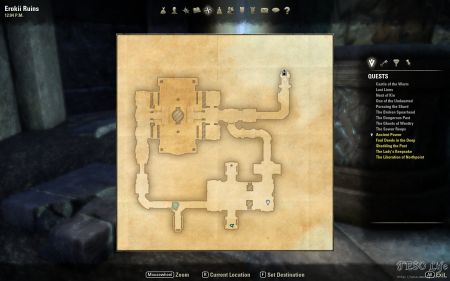
Found inside Erokii Ruins solo dungeon. You can reach this place by following the north shoreline from Northpoint. You can reach it from the south and Shornhelm
Enter Erokii Ruins (entrance marked as player location on the map screenshot above)
You’ll find the collectible near the end boss in one of the small side rooms.
12.
Among Flyleaf’s unearthed dead.
Guide:
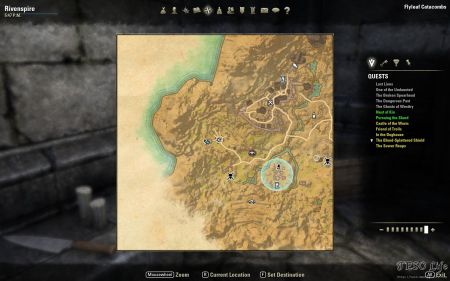
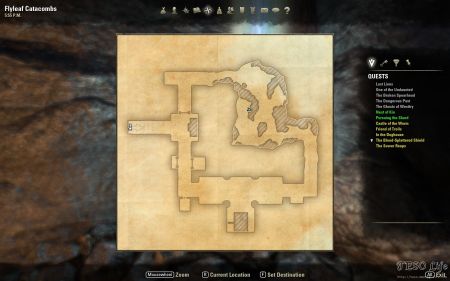
Inside Flyleaf Catacombs solo dungeon. Get to the central chamber and you should see it clearly. Flyleaf Catacombs are in eastern Rivenspire next to Eyebright Feld Dolmen.
Entrance to Flyleaf Catacombs
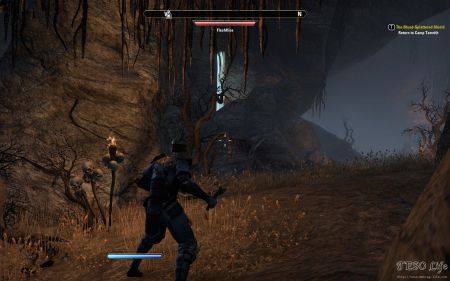
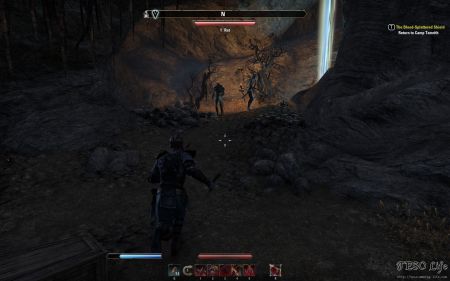
As you approach the final chamber you might notice the skyshard to your left, up in the rocks. Backtrack a bit and take the left road to climb up.
As you go up you have to get rid of some mobs.
This is the exact location of the collectible. Remember, turn left before facing the end boss of the dungeon.
13.
Secret in the blood-suckers’ hideaway.
Guide:
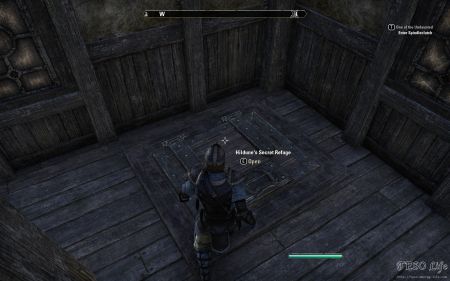
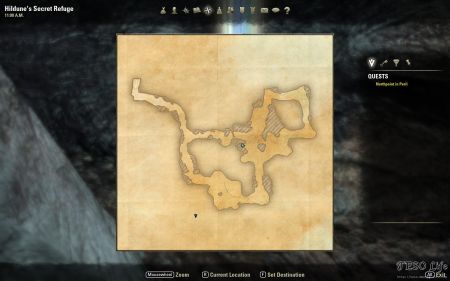
Found inside Hildune’s Secret Refuge solo dungeon. Dungeons’s entrance is inside an abandoned house in Northpoint.
To enter Hildune’s Secret Refuge you have to find this trapdoor inside an abandoned house on the west edge of Northpoint. Exact location is marked on the big interactive map.
Collectible is easily spotted as you approach the end of the dungeon.
14.
Look upon the Orsimer’s hand.
Guide:
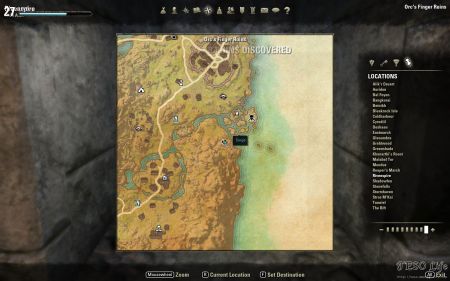
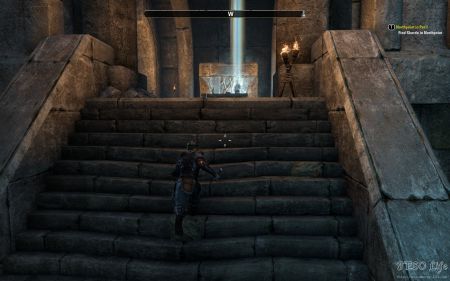
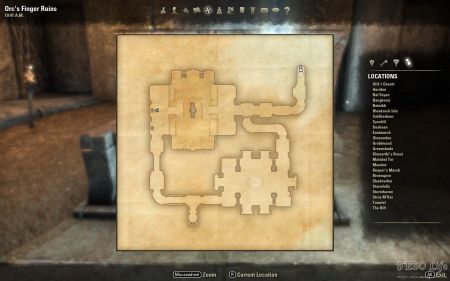
Inside Orc’s Finger solo dungeon. You will see it as you climb the stairs out of the first large room. Marked on the big map is the entrance into the dungeon.
You’ll find the entrance into Orc’s Finger at this location on the map.
As you climb the stairs you are greeted by the skyshard.
Exact location inside the dungeon.
15.
Conquer the crypt of trials.
Guide:
Inside Tribulation Crypt solo dungeon. Entrance into the dungeon is north of Sanguine Barrows and its wayshrine and is marked on the big map. Exact location of the collectible inside the dungeon is shown on the screenshot bellow.
Tribulation Crypt entrance (as marked on the interactive map)
You do not have to go too far inside the dungeon to pick up the shard. It is in the first small room you come across.
Map of Tribulation Crypt showing the exact location.
16.
Stolen by worshipers of Ashpit’s Lord.
Guide:
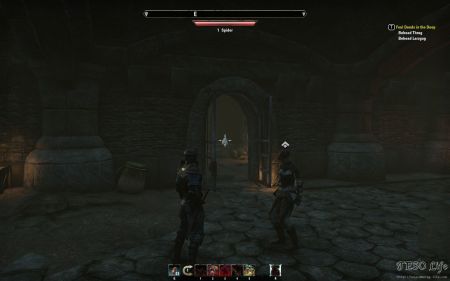
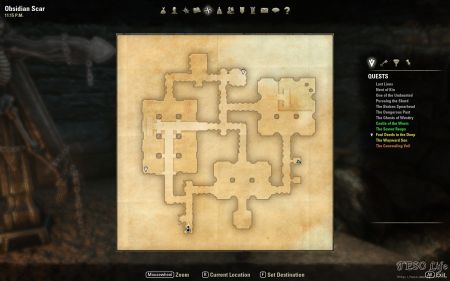
Inside Obsidian Scar public dungeon. This place is hard to solo so you might want to bring some friends. Good news is that the shard is rather close to the entrance so you might just be able to get it alone. Bad news is that at the time we played the shard was bugged and it was not emitting the familiar shine. This might get fixed down the line, but keep an eye out because you can easily miss it or think you already picked it up.
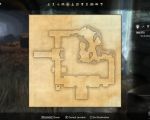
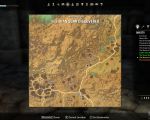
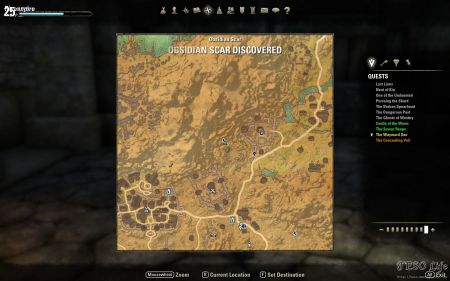
Entrance to Obsidian Scar map location.
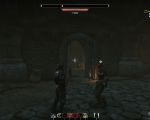
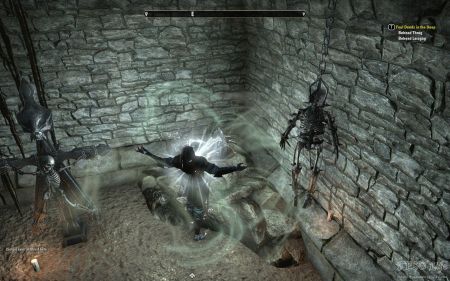
Skyshard is located inside one of the prison cells and as you can see it is not shining as others do.
Map location of the collectible inside Obsidian Scar
You can still pick it up although it is slightly bugged.


Number 6 is now called “In the Eye of the Point.”
9 Ditched outside of Lorkrata description is wrong.
>Found inside Lorkrata Hills POI east of Fell’s Run wayshrine.
it’s west, not east of fells run wayshrine
>You want to look for the most eastward tower inside Lorkrata Hills and go behind it to locate the shard.
look for the most westward tower not eastward
Eye of The Point skyshard is located in a tower named Lanthorn in the most northeastern point of Northpoint
#6 is no longer “High in the debris of the hills” is now “In the eye of the point.”
If you haven’t begun the quests in this area, Northpoint should be open and the people inside are neutral and ignore you. Just go to the lighthouse and get the skyshard. You don’t even need to pick any locks.