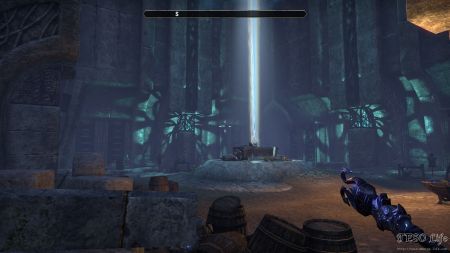
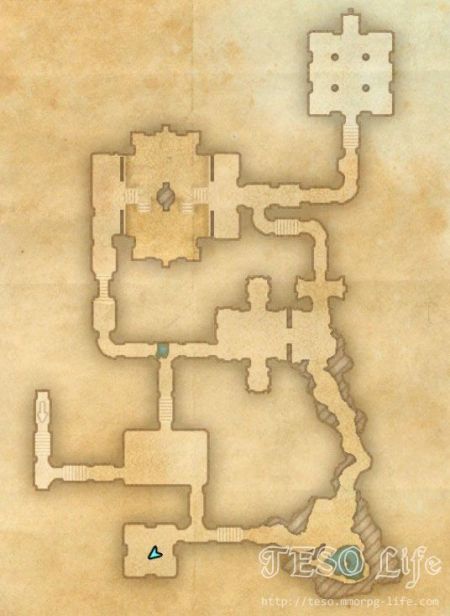
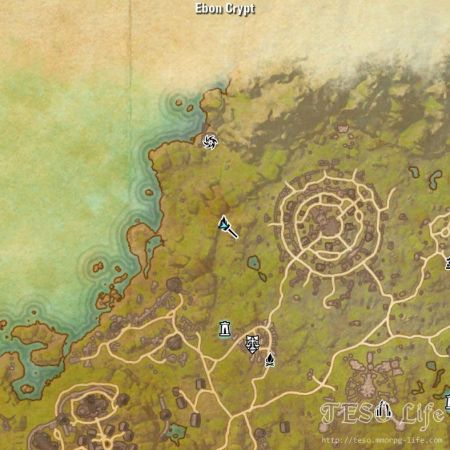
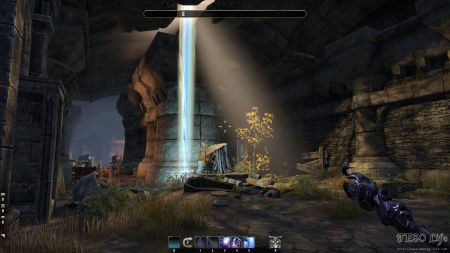
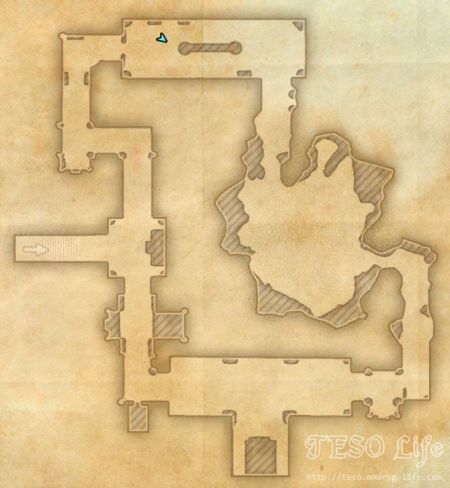
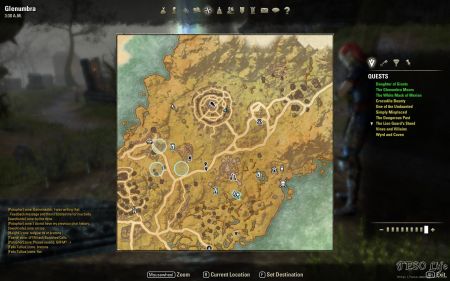
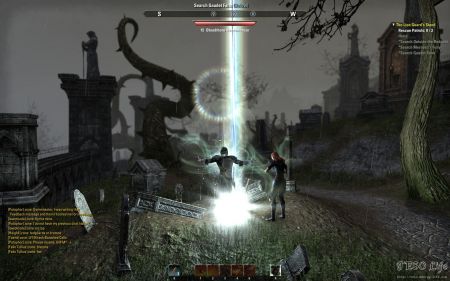
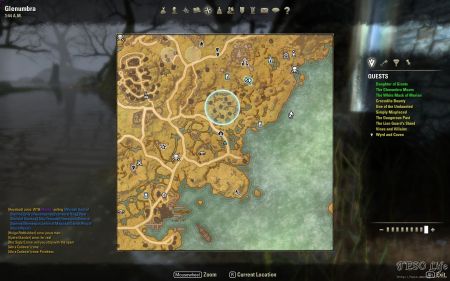
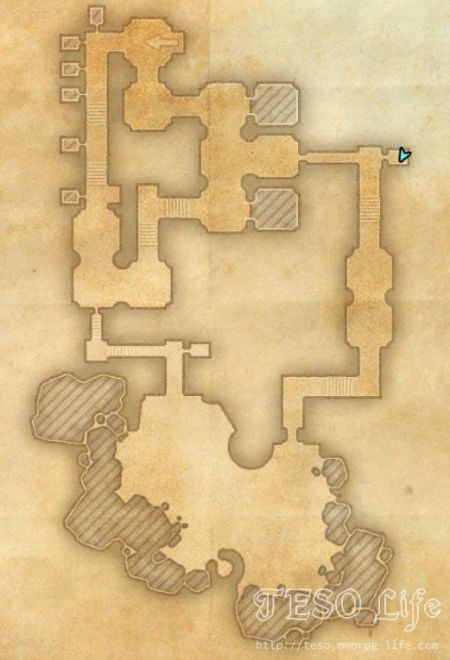
Once you enter the dungeon, keep to your right until you end up in a side room, in the southern part of the dungeon. This room has a lot of book shelves, and its central part is elevated. It is also the home of our shard.
Author Archives: Serge
Where Ebon Crypts Become Ebon Caves Skyshard
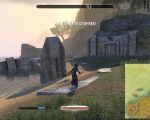
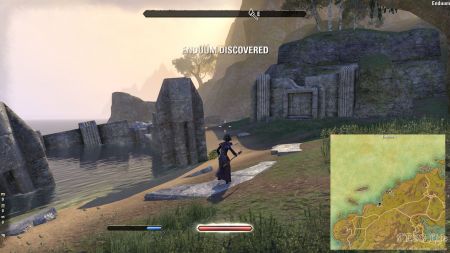
As you enter the dungeon, keep following the path to your left. Soon enough, you’ll enter the first large dungeon room. This area has giant stone pillars at the center. The shard is also here, hidden close to one of the pillars.
Where Vines Strangle The Sleeping Dead Skyshard
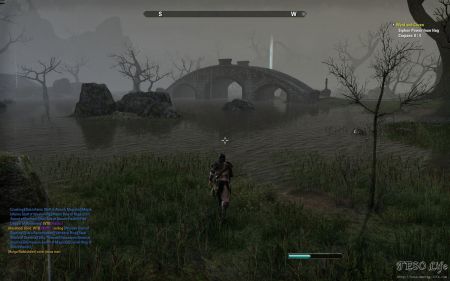
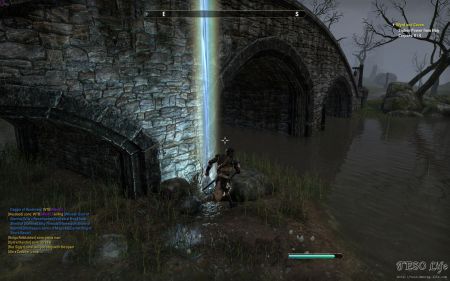
Beneath A Hag’s Footbridge Skyshard
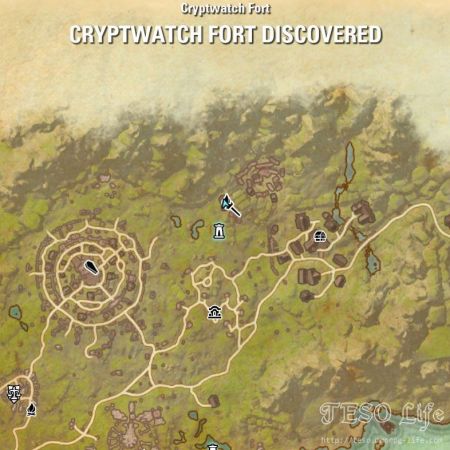
In The Bowels Of Cryptwatch Skyshard
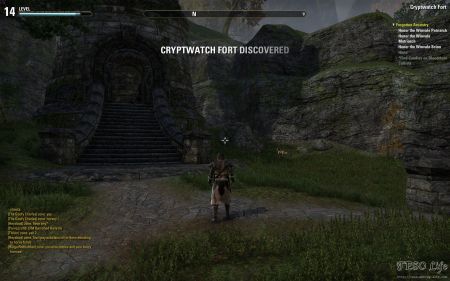
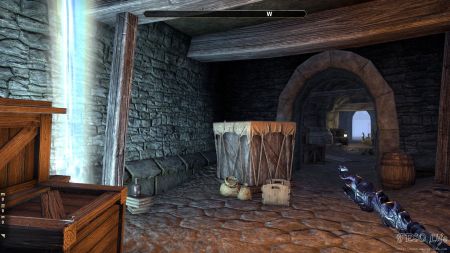
When you enter the dungeon, keep following the wall to your left. Soon enough, you should end up in a small side room. This is where the shard is hidden. There are two long tunnels going out of this side room.
A Climb Above Crosswych Skyshard
Ancient Scrolls Of The Dwemer I-A Lorebook
| Collection: | Dwemer |
| Location(s): | Glenumbra, Stonefalls |
| Glenumbra | |
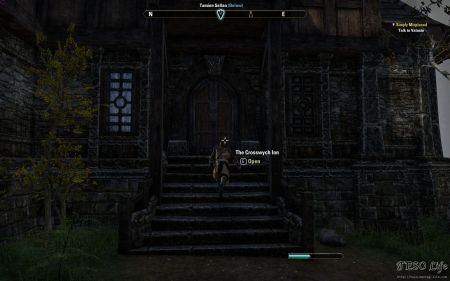
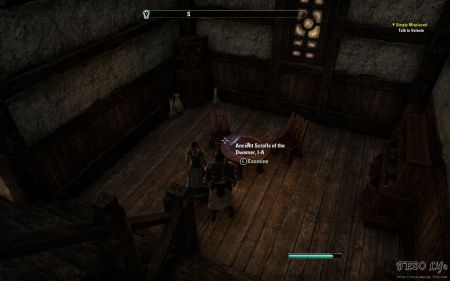
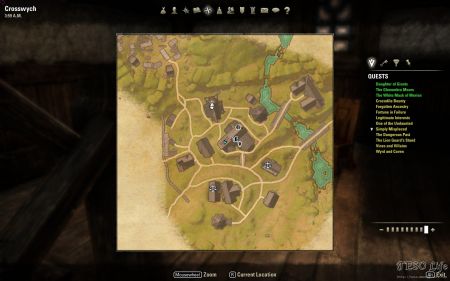
| Location Notes: | Inside the Crosswych Inn in between the first and second floor. |
| Image walkthrough: | |
| Map: | 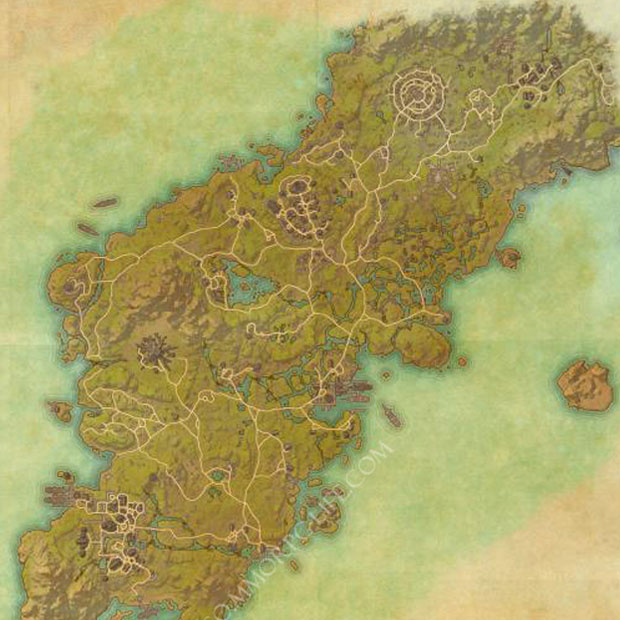 |
| Stonefalls | |
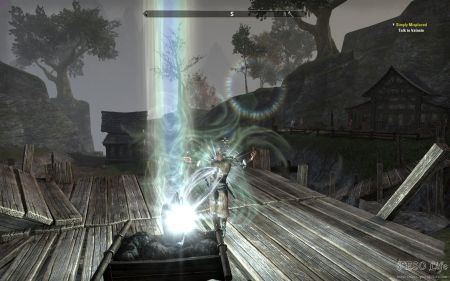
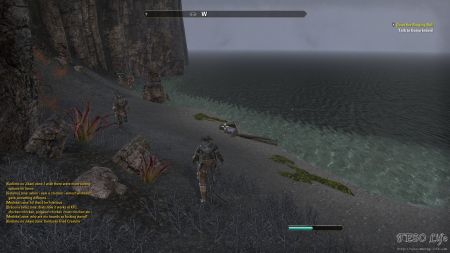
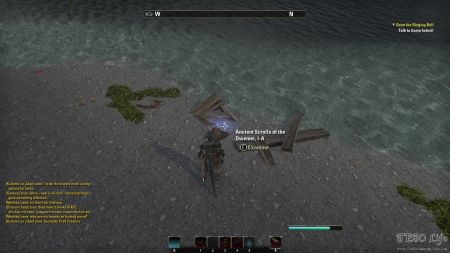
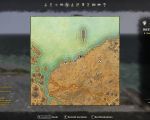
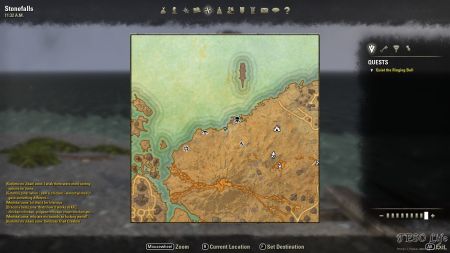
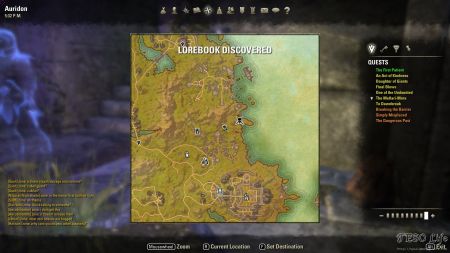
| Location Notes: | Northeastern Central part of Stonefalls, somewhere in the center of POIs like: Still-Water’s Camp (eye icon), Shipwreck Stand (two swords skull icon) and Inner Sea Armature – public dungeon (torch icon). On shore, almost in water, between pile of wooden boards. |
| Image walkthrough: | |
| Map: | 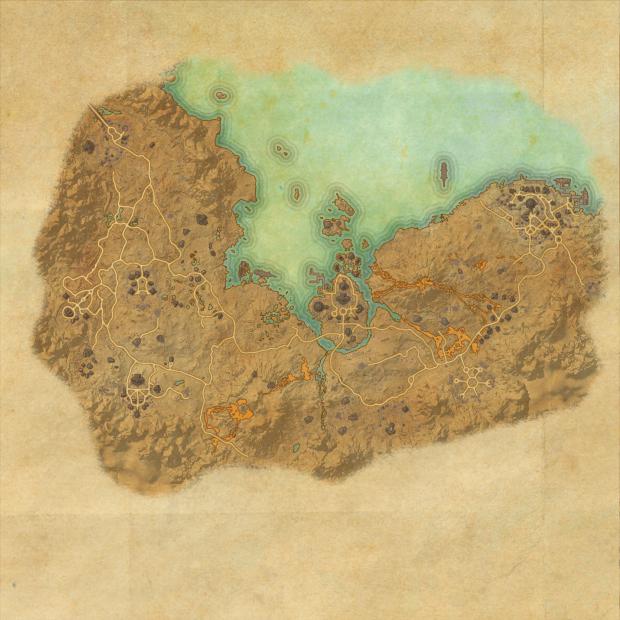 |
Lorebook text
By Marobar Sul
Jalemmil stood in her garden and read the letter her servant had brought her. The bouquet of roses in her hand fell to the ground. For a moment, it was as if all birds had ceased to sing and a cloud had passed over the sky. Her carefully cultivated haven seemed to flood over with darkness.
"We have thy son," it read. "We will be in touch with thee shortly with our ransom demands."
Zarek had never made it as far as Akgun after all. One of the brigands on the road, Orcs probably, or accursed Dunmer, must have seen his well-appointed carriage and taken him hostage. Jalemmil clutched at a post for support, wondering if her boy had been hurt. He was but a student, not the sort to fight against well-armed men, but had they beaten him? It was more than a mother’s heart could bear.
"Don’t tell me they sent the ransom note so quickly," called a familiar voice, and a familiar face appeared through the hedge. It was Zarek. Jalemmil hurried to embrace her boy, tears running down her face.
"What happened?" she cried. "I thought thou hadst been kidnapped."
"I was," said Zarek. "Three huge soaring Nords attacked my carriage on the Frimvorn Pass. Brothers, as I learned, named Mathais, Ulin, and Koorg. Thou shouldst have seen these men, mother. Each one of them would have had trouble fitting through the front door, I can tell thee."
"What happened?" Jalemmil repeated. "Wert thou rescued?"
"I thought about waiting for that, but I knew they’d send off a ransom note and I know how thou dost worry. So I remembered what my mentor at Akgun always said about remaining calm, observing thy surroundings, and looking for thy opponent’s weakness," Zarek grinned. "It took a while, though, because these fellows were truly monsters. And then, when I listened to them bragging to one another, I realized that vanity was their weakness."
"What didst thou do?"
"They had me chained at their camp in the woods not far from Cael on a high knoll overlooking a wide river. I heard one of them, Koorg, telling the others that it would take the better part of an hour to swim across the river and back. They were nodding in agreement when I spoke up.
"’I could swim that river and back in thirty minutes,’ I said.
"’Impossible,’ said Koorg. ‘I can swim faster than a little whelp like thee.’
"So it was agreed that we would dive off the cliff, swim to the center island, and return. As we went to our respective rocks, Koorg took it upon himself to lecture me about all the fine points of swimming: the importance of synchronized movements of the arms and legs for maximum speed, and how essential it was to breathe after only the third or fourth stroke, not too often to slow thyself down, but not too little to lose one’s air. I nodded and agreed to all his fine points. Then we dove off the cliffs. I made it to the island and back in a little over an hour, but Koorg never returned. He had dashed his brains at the rocks at the base of the cliff. I had noticed the telltale signs of underwater rocks and had taken the diving rock on the right."
"But thou returned?" asked Jalemmil, astounded. "Was that not when thou escaped?"
"It was too risky to escape then," said Zarek. "They could have easily caught me again, and I wasn’t keen to be blamed for Koorg’s disappearance. I said I did not know what happened to him, and after some searching, they decided he had forgotten about the race and had swum ashore to hunt for food. They could not see how I could have had anything to do with his disappearance, as fully visible as I was throughout my swim. The two brothers began making camp along the rocky cliff-edge, picking an ideal location so that I would not be able to escape.
"One of the brothers, Mathais, began commenting on the quality of the soil and the gradual incline of the rock that circled around the bay below. It was ideal, he said, for a foot race. I expressed my ignorance of the sport, and he was keen to give me details of the proper technique for running a race. He made absurd faces, showing how one must breathe in through the nose and out through the mouth; how to bend one’s knees to the proper angle on the rise, and the importance of sure foot placement. Most important, he explained, was that one must keep an aggressive but not too strenuous pace if one intends to win. It is fine to run in second place through the race, he said, provided one has the willpower and strength to pull out in the end.
"I was an enthusiastic student, and Mathais decided that we ought to run a quick race around the edge of the bay before night fell. Ulin told us to bring some firewood when we came back. We began at once down the path, skirting the cliff below. I followed his advice about breath, gait, and foot placement, but I ran with all my power right from the start. Despite his much longer legs, I was a few paces ahead as we rounded the first corner.
"With his eyes on my back, Mathais did not see the gap in the rock that I jumped over. He plummeted over the cliff before he had a chance to cry out. I spent a few minutes gathering some twigs before I returned to Ulin at camp."
The Racer
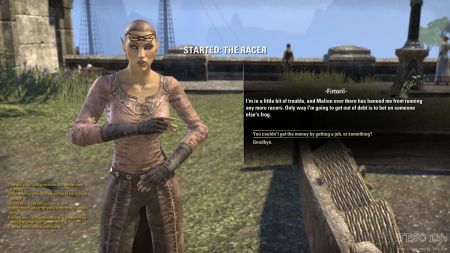
- Get a Frog
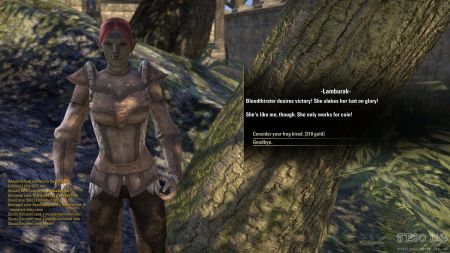
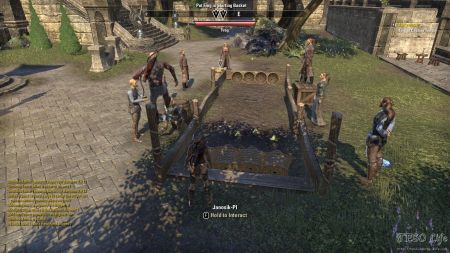
The first step: Grab a frog. There are couple of nearby Citizens from whom you can get the frog from. Some of them want money for their frog. Others require the Persuasion/Intimidation skills from the Fighter/Mage Guild skill lines.
In order to unlock Fighters/Mages Guild talents you need to complete their introduction spells in Vulkhel Guard. For Fighters Guild introduction mission name is "Aicessar’s Invitation", for Mages Guild introduction mission name is "Curinure’s Invitation".
Unlocking one of these passive skills makes you able to influence some of the citizens without spending gold.
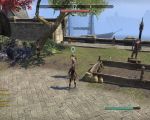
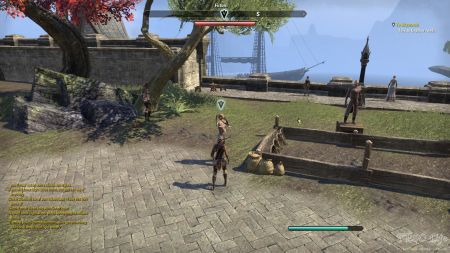
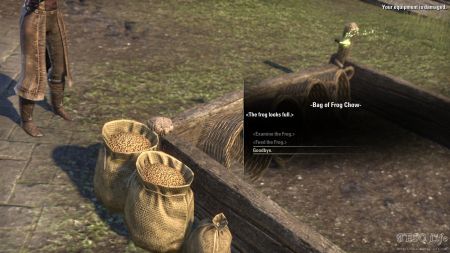
The second step: Examine / Feed the Frog.Next to NPC Firtoril (the one that gave you the quest in the first place), there is a Bag of Frog Chow. This is a small sack next to the end of an improvised frog raceing track. When you get the frog, use this Bag to examine and feed it. Feed your frog ONCE. You can feed it more than once, but in this case the frog is going to be too fat to win.
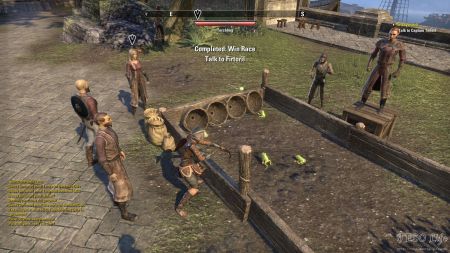
The third step: Win the Race!Bring your frog near to starting baskets at the begging of an improvised frog racing track. Option to place the frog inside of it becomes available at the start of any race. Once you are able to place the frog inside of the basked, do it. Frog might not win the first time, and you may have to repeat the process more than once.
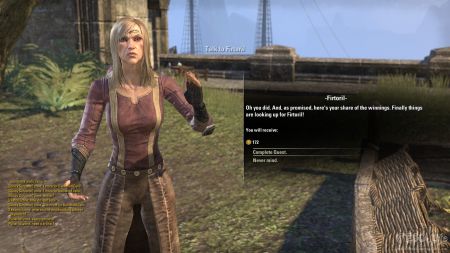
The last step: Claim your prize!Once your cute frog wins you are ready to complete the quest. This is one of the most interesting and quickest quests out there.
Note:You can not win by shooting other frogs that race against yours. Believe me, I’ve tried!
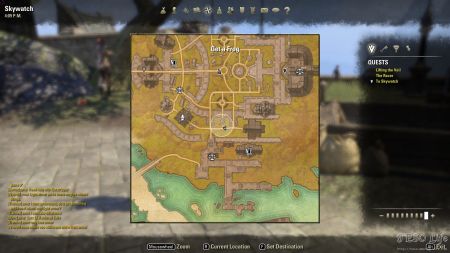
Screenshot Walkthrough
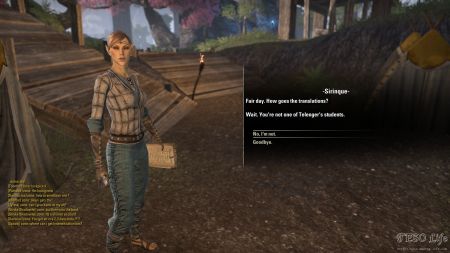
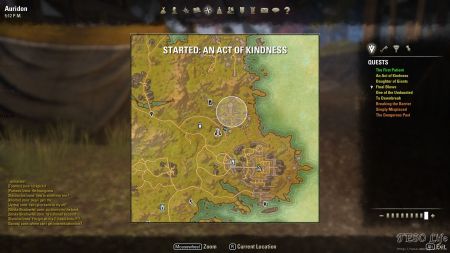
An Act Of Kindness
- Use Sirinque’s Crystal on Weakened Spirits
Objective: Use Sirinque’s Crystal on Weakened Spirits
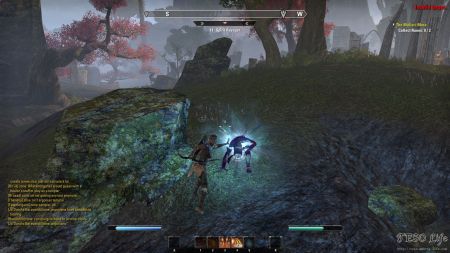
You can find these spirits all around Ezduiin. Bring them to low Health Pool and use the default interaction button.
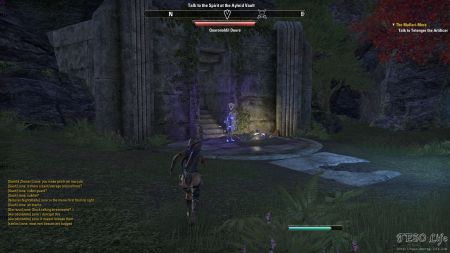
Objective: Talk to the Spirit at the Ayleid Vault.
Quaronaldil Duure spirit you need to talk to is in Northwestern Ezduiin.Objective: Solve the Puzzle and Collect the Artifact.
Entrance to the vault where you should solve the puzzle is just north of Quaronaldil Duure.
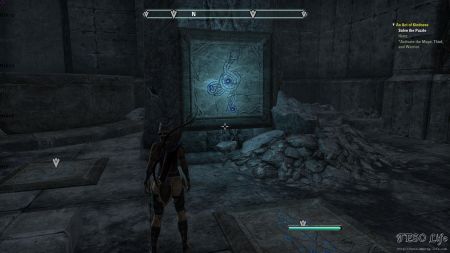
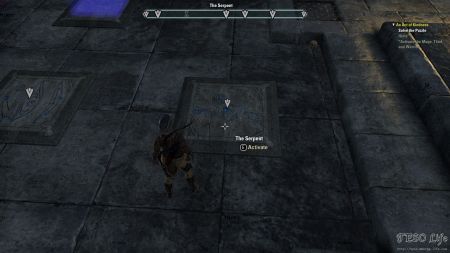
Correct combination (at least it was for me) was: Mage, Thief, Warrior and The Serpent.
What if the combination given above is not true? There are stone pillars in the room and each has an image on its side. Look at the images and step on the pressure plates on the ground that have the same images. In-game quest Hints, that show up by default in the top right corner of the screen, will tell you three pressure plates you need to press so you only have to figure out the fourth. In short – 4 stone pillars with 4 different plate engraved markings, reflects 4 different solving puzzle solutions.
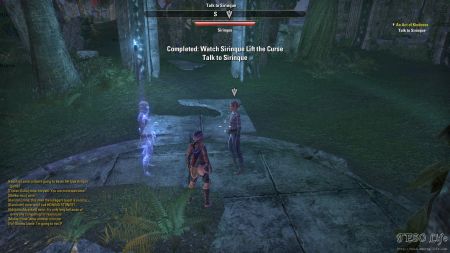
Objective: Watch Sirinque Lift the Curse
The last two steps happen outside of the puzzle vault.
Objective: Talk to Sirinque
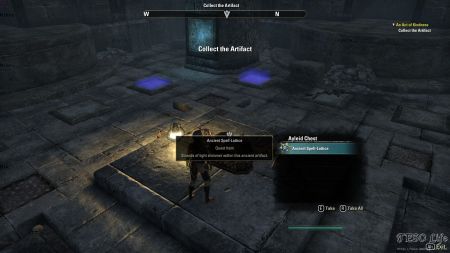
You are awarded with an awesome quest prize at the end of a very interesting quest.
Screenshot Walkthrough
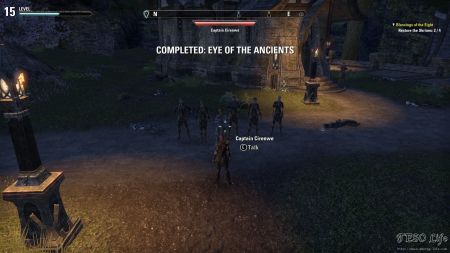
Eye Of The Ancients
- Find <<1>>
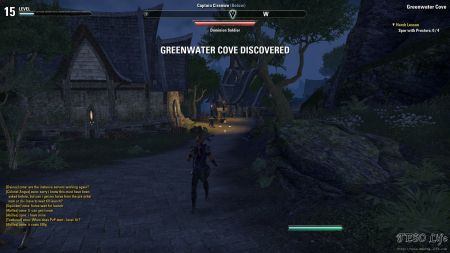
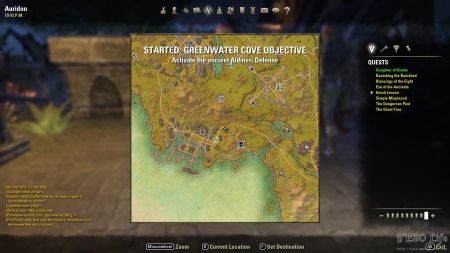
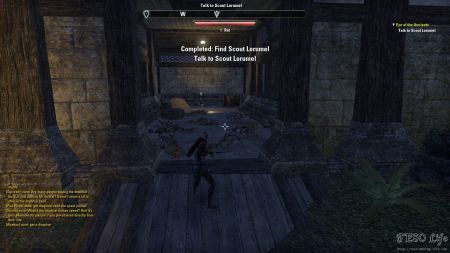
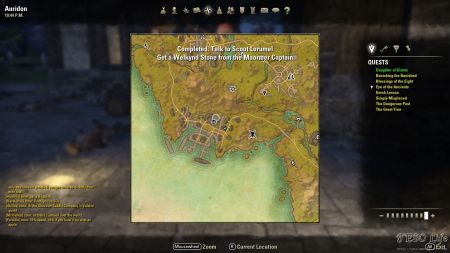
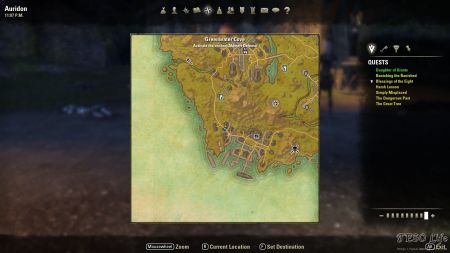
Scout Lorumel is in a barn in eastern Greenwater Cove.
Objective 2: Get a Welkynd Stone from the Maormer Captain
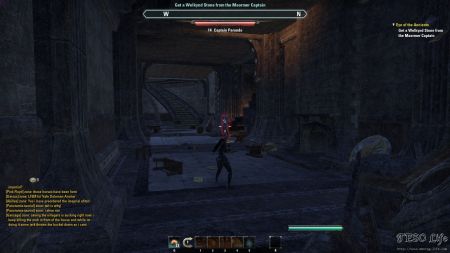
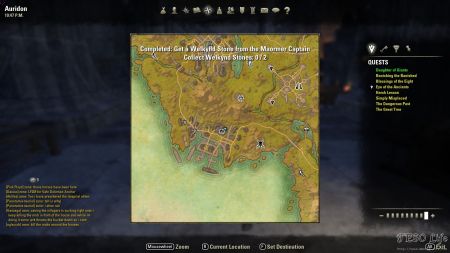
Maormer Captain called Captain Parondo can be found on the ground floor of the largest house in Greenwater Cove. After you kill him, do not forget to pick up the Welkynd Stone that he drops.
Objective 3: Collect 2 Welkynd Stones
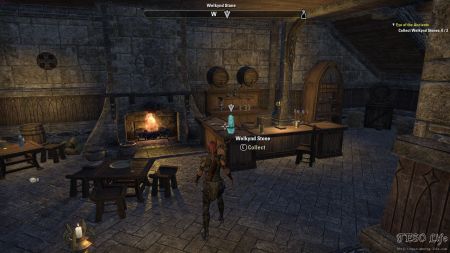
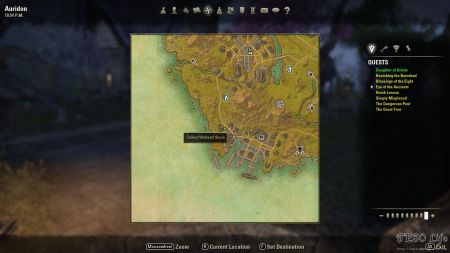
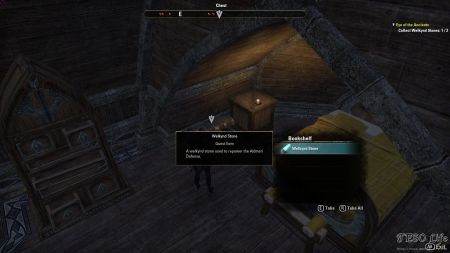
You can find one of them inside Marrayna’s Tap Room in western Greenwater Cove on a wooden desk, close to a warm fireplace. The other Welkynd Stone is on the second floor of Mage Fiirenir’s House in western Greenwater Cove, inside a Bookshelf (chest).
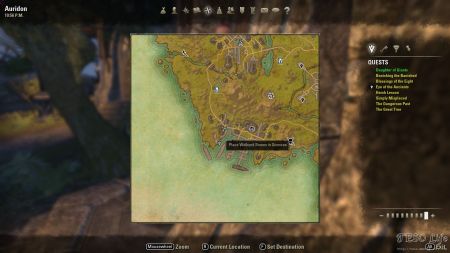
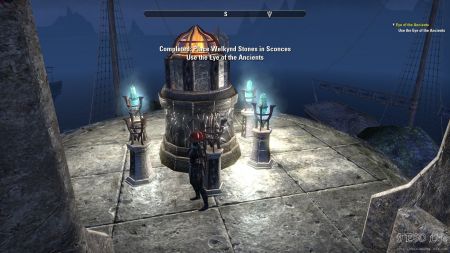
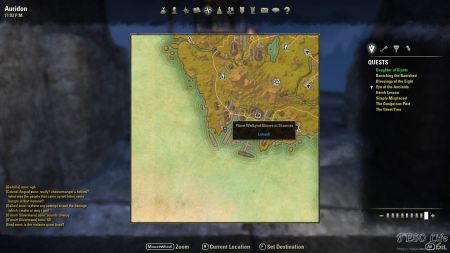
Objective 4: Place Welkynd Stones in SconcesThere are five locations on top of which you can place 3 shards. When you place them on the correct "Sconce" they start to shine. All three have to be placed in the correct location if you want to activate the next quest objective. If, for some reason, you make a mistake, simply remove the one that does not shine and place it on top of another free "Sconce" spot.
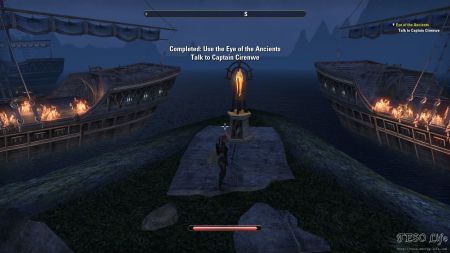
Objective 5: Use the Eye of the Ancients
There is an orange crystal inside Eye of the Ancients near the two boats, just under the platform where you have placed 3 crystals on "Sconces".Objective 6: Talk to Captain Cirenwe
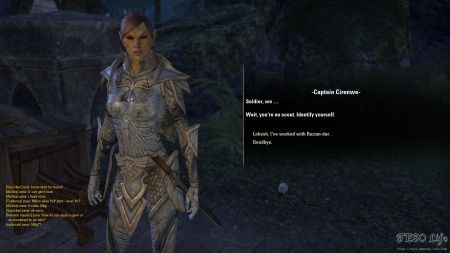
Captain Cirenwe is now in western Greenwater Cove. On a road that leads to the same settlement.

