Author Archives: Serge

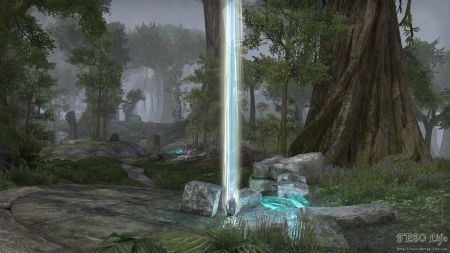
Among Ancient Words In The Stones Skyshard

Guide:
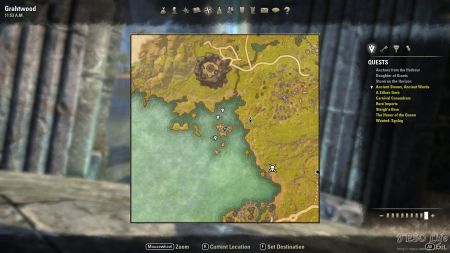
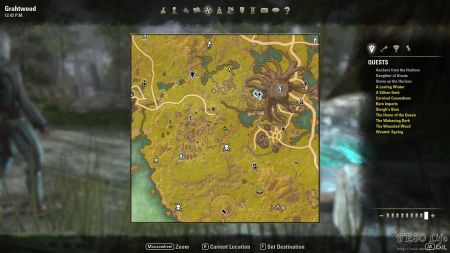
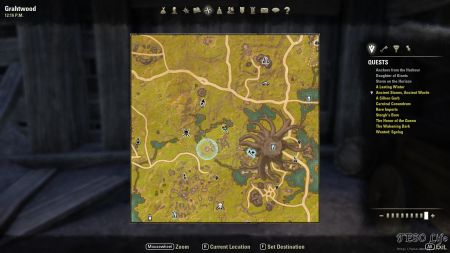
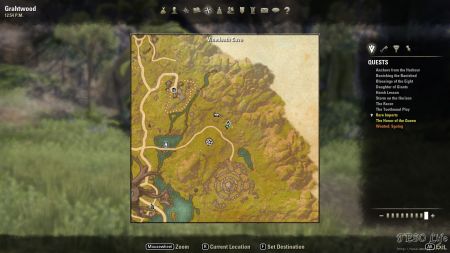
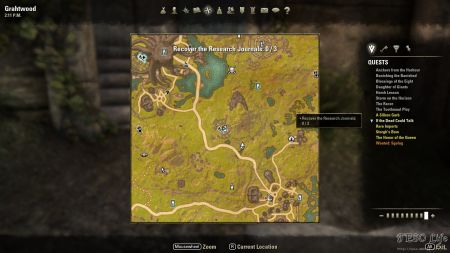
Western Grahtwood, west of Falinesti Winter Wayshrine.

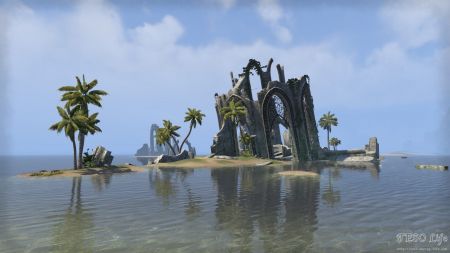
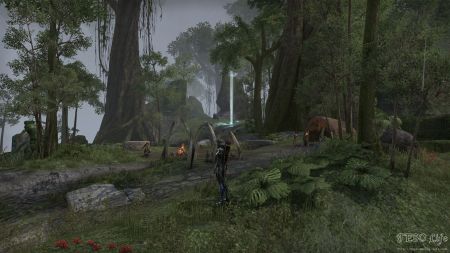
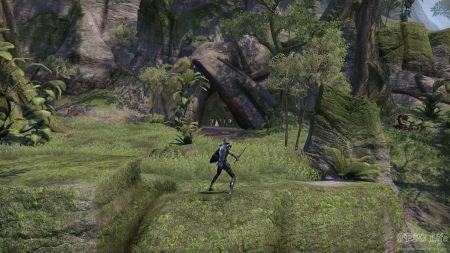
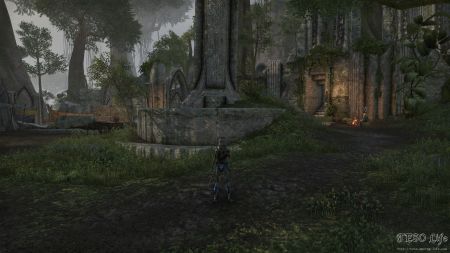
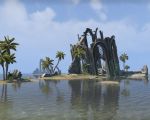
It is at the center of a small island. You can spot this island easily from distance. What makes it differ from its surroundings is one large, old, stone compound. Its central part is circular and it’s surrounded with large stone arches. Couple of palm trees are scattered on the island.
Quest that takes you toward this area can be acquired from a small runestone fragment. This small rock is found on the shore, just northeast of this compound, west of nearby “The Lord” mundus stone.

Swim toward the location in the distance.

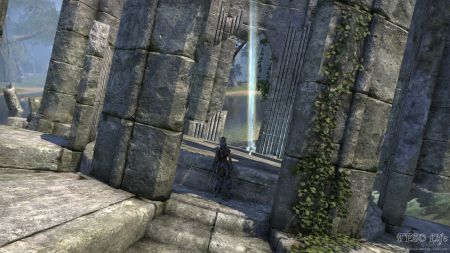
You can find the hidden collectible there.

Above A Seasonal Site Of Return Skyshard

Guide:
Southwestern central Grahtwood, just southwest of Elden Root.

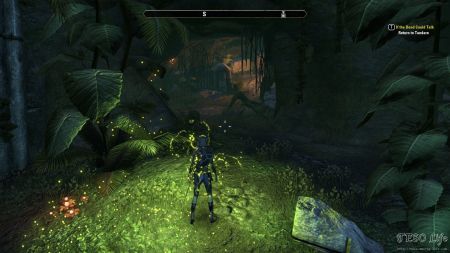
This area is part of eastern Falinesti Winter Site. You can approach it from the west. There is a tall wall in western Elden Root preventing you from approaching this location. Collectible becomes visible as you reach the end of a main road northwest of the shard’s location. Small camp with neutral NPCs can be found there as well. Lorebook “Monomyth: Lorkhan and Satakal” is spotted in the area.

View of the collectible from distance.

Another POV toward the nearby camp.

A Scrabbling, A Skittering, A Scurrying Skyshard

Guide:
Eastern Grahtwood, east of Ossuary Wayshrine.

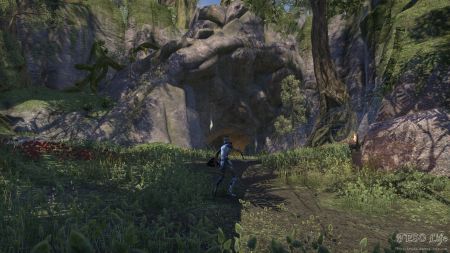
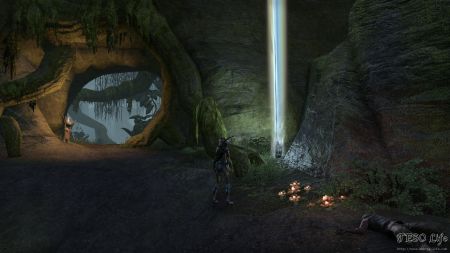
Found inside The Scuttle Pit – public dungeon. Entrance to this cave is hidden inside a small hole. You can approach it from the south. As you enter the second largest cave room, turn left. There, in a corner, between a rock and plant’s root you can spot the familiar shine.

Find and enter The Scuttle Pit – public dungeon.

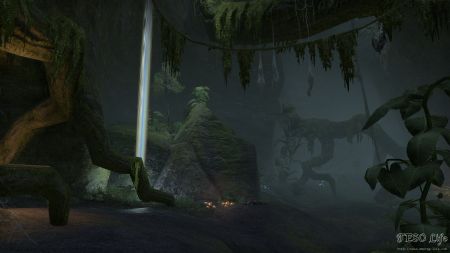
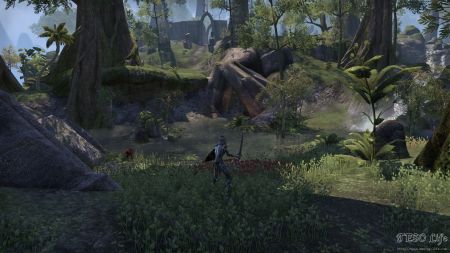
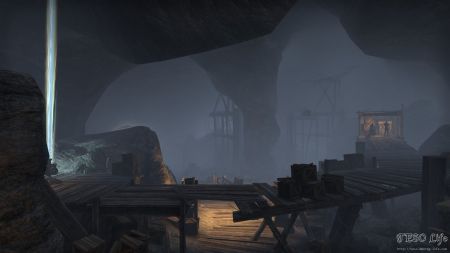
As you go through the small passage between two largest cave rooms, you can spot the collectible.

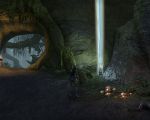
Cave ceiling decor is preatty awesome, don’t you think?

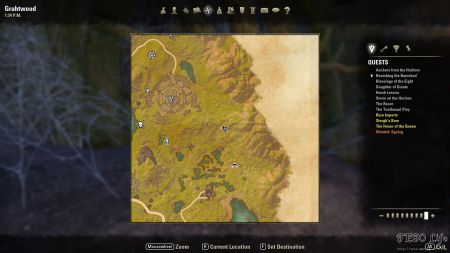
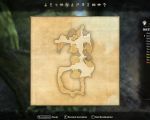
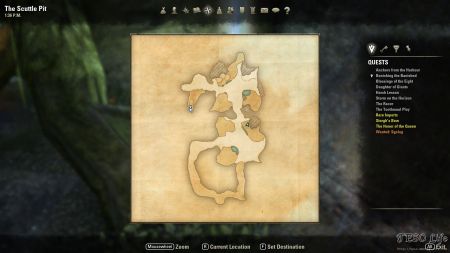
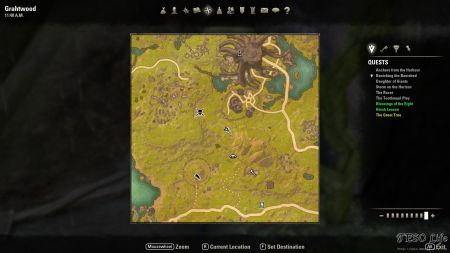
The dungeon collectible map location.

Six-legged Thunder Invades Skyshard

Guide:
Central Grahtwood, just west of Elden Root.

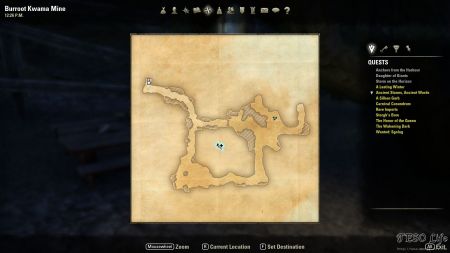
Inside Burroot Kwama Mine public dungeon. Entrance to this dungeon is close to a nearby lake. Approach it from northeast. Collectible can be found inside the last and the biggest cave room. This area is protected with strong creature Stormhead the Ravenous. It rewards “completed: Burroot Kwama Mine” achievement once killed.

Find and enter Burroot Kwama Mine – public dungeon.

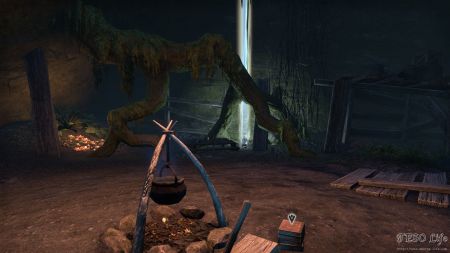
Collectible is inside the largest dungeon room.

Just across a book that gives you a quest.

Burroot Kwama Mine collectible map location.

Not Yet Dead On The Vine Skyshard

Guide:
Eastern Grahtwood, east of Elder Root Temple Wayshrine.

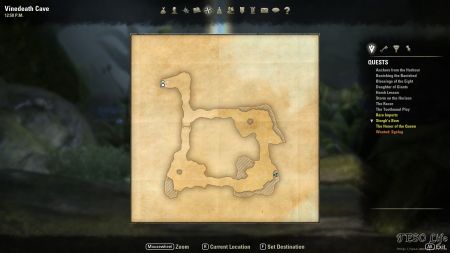
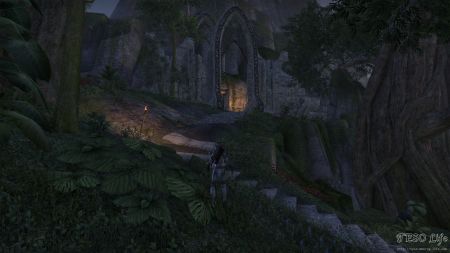
Inside Vinedeath Cave public dungeon. Follow the road that goes east of the crossroads, north of Eldern Root. Vinedeath Cave entrance is north of this road, at the bottom of a nearby mountain. Collectible is inside the southeastern room of Vinedeath Cave. It is not hidden behind any obstacles. Across the shard you can find Storgh’s Bow that starts a quest of the same name. Killing Madruin mob in the cave room after this one, rewards with Vinedeath Cave completion achievement.

Find the entrance to Vinedeath Cave.

Vinedeath Cave entrance map location.

Skyshard is inside the southeastern cave room.

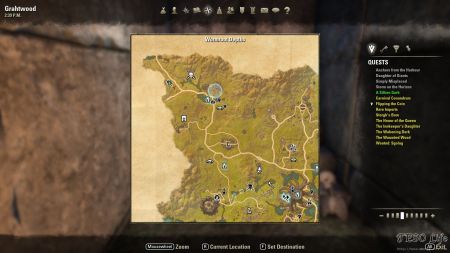
Stolen Starlight In Wormy Depths Skyshard

Guide:
Northwestern Grahtwood, west of Redfur Trading Post settlement and its wayshrine.

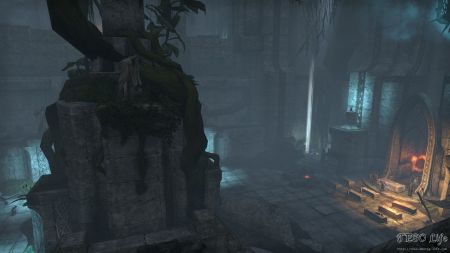
This shard is found inside Wormroot Depths public dungeon. There are stone stairs that lead to the entrance of this dungeon. They start from the nearby main road. Collectible is in the corner of the first larger room you come across. As you go down the first stairs inside Wormroot Depths, turn right and you can notice it easily. Patrols of nearby creatures are rare, and should not worry you at all.

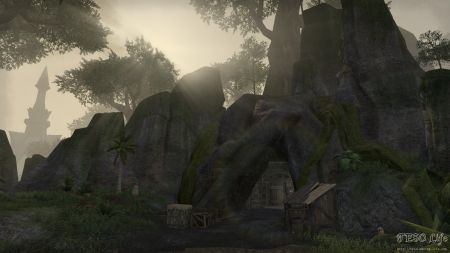
Stairs that lead to Wormroot Depths entrance.

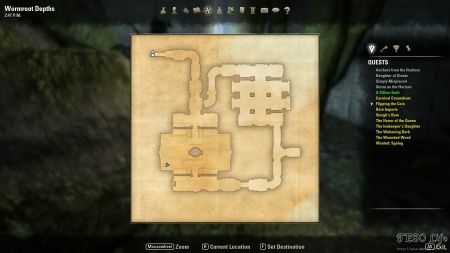
The public dungeon entrance map location.

As you go down the first stairs inside this public dungeon, you can spot the shard in the corner of the room.

Mined By The Bandits Of Mobar Skyshard

Guide:
Southern central part of Grahtwood, just south of Elden Root.

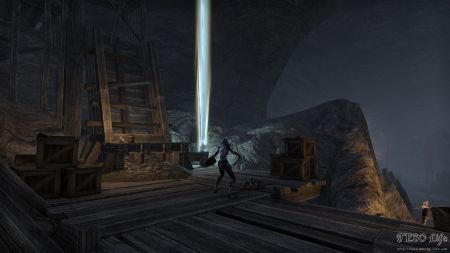
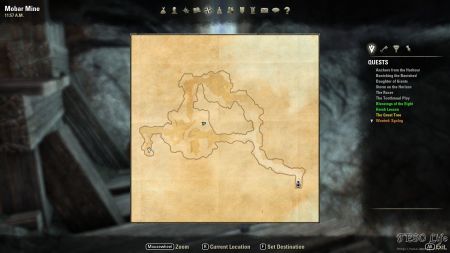
Found inside Mobar Mine public dungeon. Mobar Mine entrance is well hidden. There are no camps or any other distinct landmarks that point you toward the dungeon. This is one lonely entrance. Upon examining Adainurr at the start of the dungeon for the quest “Sgolag” proceed to the largest dungeon room. Up on a northern part of a wooden platform is where the shard is.

The shard is inside the last cave room.

Crocs Claimed A Meal In The Sunder Skyshard

Guide:
Southeastern central Grahtwood, just southeast of Elden Root.

Found inside Root Sunder Ruins public dungeon. Entrance to this dungeon is in the center of large stone Ayleid Ruins. Female NPC Tandare that sits next to a campfire nearby, gives the quest “if the Dead Could Talk“. This quest can be done inside the dungeon. In northern part of the most southern cave room you can start another Root Sunder quest. Ghost NPC Sirdor gives the quest “Forgotten Soul“. Upon completion, he rewards you with Token of Root Sunder. This trophy, when used, makes you shine green. This is the best Grahtwood dungeon for leveling. What makes it unique are large groups of mobs. Creatures come in groups of 4-6. They reward a good amount of experience and loot. This is one of the dungeons you want to farm your level at if you are not too fond of questing.

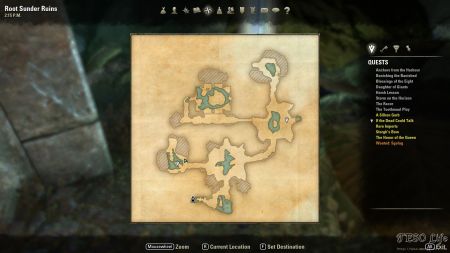
Shard is found inside the most southwestern part of the cave, between the cave wall and a stone pillar. Inside this room you can find dead Researcher Ruurifin. He holds Ruurifin’s Journal that is needed for the quest “If the Dead Could Talk”.

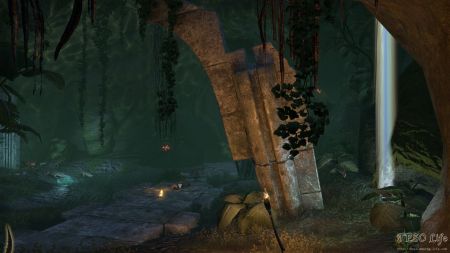
Find the entrance into Root Sunder Ruins public dungeon.

Collectible is inside the southwestern cave room.

Root Sunder Ruins collectible map location.

Token of Root Sunder trophy effect glow.

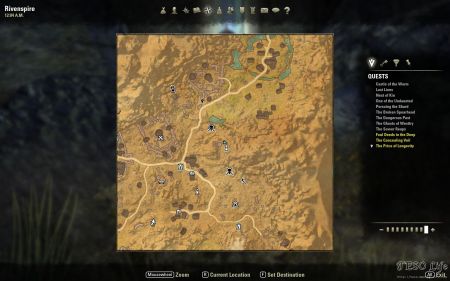
ESO Rivenspire Skyshards Location Map

Rivenspire is level 23-30 zone with 16 Skyshards to be collected. It has one of the best zone questlines in the game and getting to some of the skyshards requires you to finish some parts of the main Rivenspire story, so make sure you do that (for both enjoyment and access). You will come across many types of undead in your adventures and vampires make a significant appearance. Bellow you will find guides on how to find each and every skyshard in this zone with detailed descriptions and screeenshots of locations.


1.

Just outside Shornhelm’s gate.

Guide:
Found right of the main Shornhelm gate.

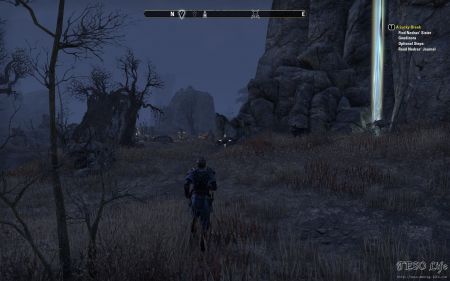
As you approach Shornhelm ‘s main gate you can clearly see the skyshard’s shine to your right.

2.

Honoring the dead in Eyebright’s west.

Guide:
Behind Eyebright Feld Dolmen in eastern Rivenspire. Clearly visible as you enter the Dolmen area.

As you enter tthe Eyebright Feld Dolmen area you will be able to see the shard in the back. On the screenshot above you clearly see Dolmen inscriptions on the ground and the shine of the collectible.

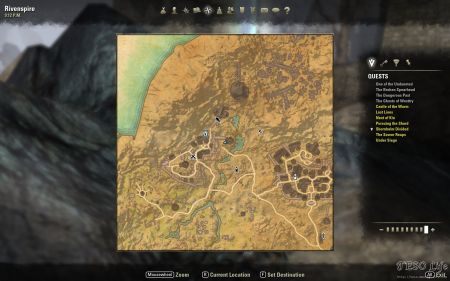
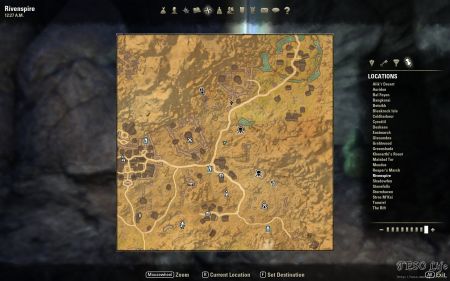
Exact location shown on a zoomed in map.

3.

Crumbled tower, Crestshade’s welcome.

Guide:
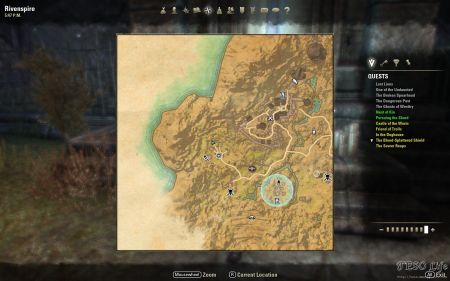
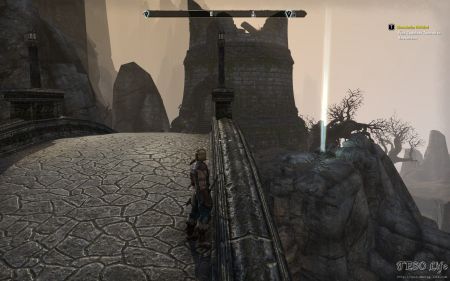
Found in Crestshade, across a bridge. Closest wayshrine is the Crestshade Wayshrine and just go east of it and across the bridge and you’ll see it. You might come acrosss this location as you look for mage’s staff for the main Crestshade objective.

4.

Wolves howl at the Hoarfrost nearby.

Guide:
As you follow the road out of Hoarfrost Downs village north you will see the shard to your right in the mountain side.

Leaving Hoarfrost Downs via the north road shoul take you into wolf infested lands and just to the right of the road you should see the collectible shine.

5.

Cresting the wood of words.

Guide:
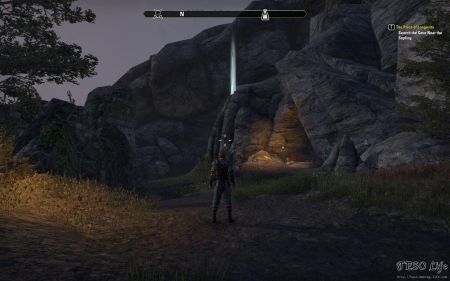
There is a semi-hidden path behind Hoarfrost Downs village. Go up the path and next to a strange looking tree that will give you a quest, a named troll and a cave you will find the skyshard.

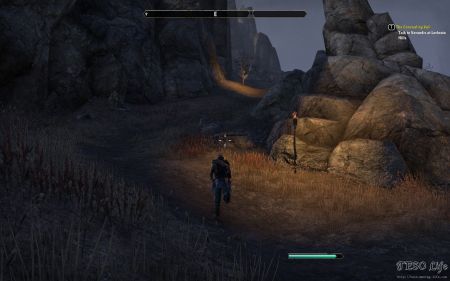
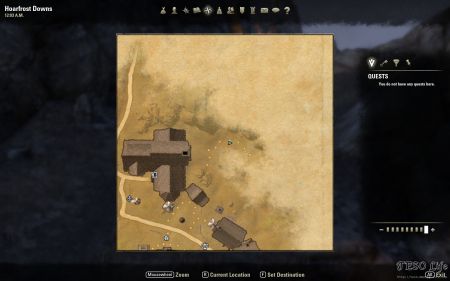
This is the path you need to take to get to the shard. It is in north Hoarfrost Downs.

Map location of the start of the path.

Shard is slightly hidden behind a cave’s entrance. To the left is the named troll and behind the character in the screenshot above is the sick tree.

Exact location of the collectible shown on a zoomed in map.

6.

High in the debris of the hills.

Guide:
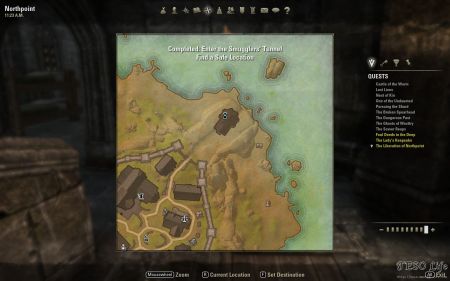
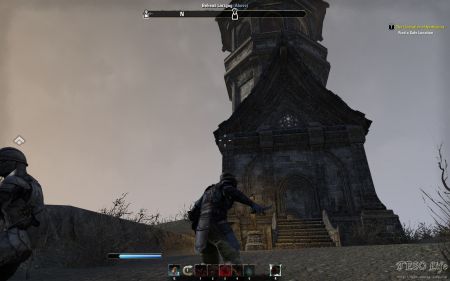
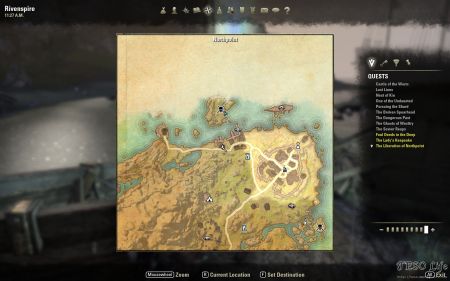
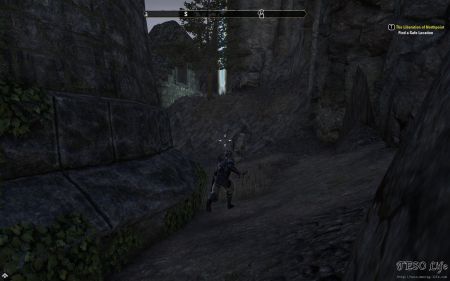
On top of the lighthouse at the northeast tip of Northpoint. If you can’t get inside Northpoint city walls you first have to finish the quest “Northpoint in peril” that will take you to using an old smuggler’s tunnel straight into the lighthouse.

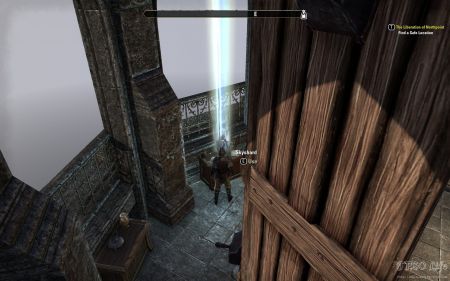
As you enter the smuggler’s tunnel for the quest “Northpoint in peril” you will spawn inside the lighthouse. All you need to do is now take the door to the top of the lighthouse.

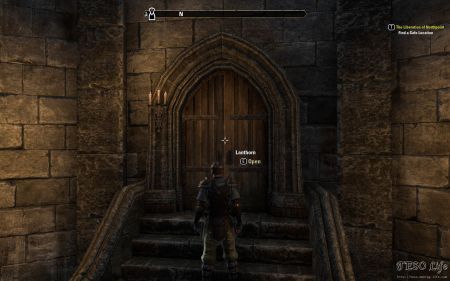
Enter this door to climb up on top.

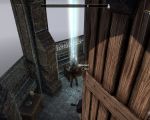
You will find the shard behind the wooden screen of the lighthouse.

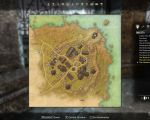
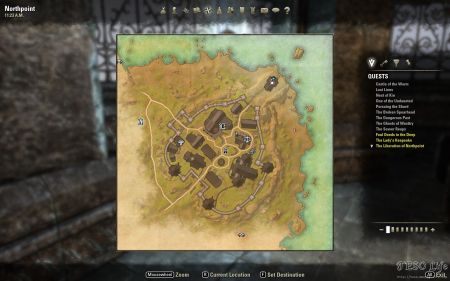
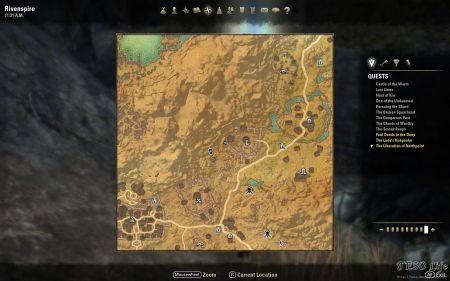
Northpoint map location of the shard

If you already gained access to the city you want to look for this building.

7.

Skittered over in the pass.

Guide:
In case you did not follow the main Rivenspire quest up to this section of the map you can reach the area where this shard is by following the north shore from Northpoint westward. Once you reach the Staging Point Wayshrine go inside the cavern and you will see the collectible fairly close to the entrance.

8.

Follow the song to the Landing.

Guide:
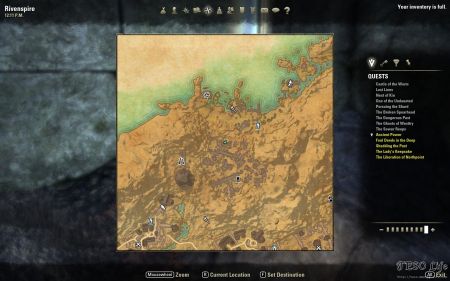
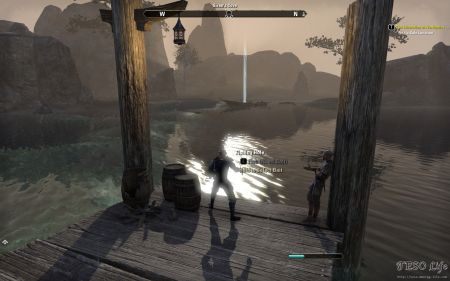
Found northwest of Northpoint on an island that has the group enemy Desuuga the Siren (Siren’s Cove POI). You can see it from the docks of the small fishing village.

If you walk the docks of the little fishing village northwest of Northpoint you will certainly notice the collectible in the distance. Swim across to get it.

Exact location on the zoomed in map.

9.

Ditched outside of Lorkrata.

Guide:
Found inside Lorkrata Hills POI west of Fell’s Run wayshrine. You want to look for the most westward tower inside Lorkrata Hills and go behind it to locate the shard.

Go up the stairs to the tower. Other tower approaches in Lorkrata Hills are similar so make sure you are at the right map location.

Go behind the tower to discover the shard.

10.

In the tunnels under Crestshade.

Guide:
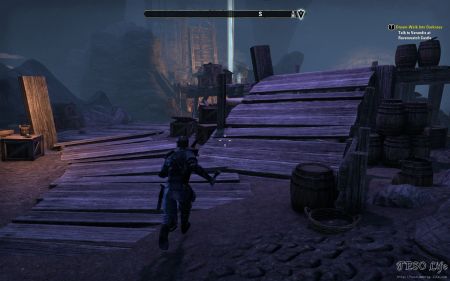
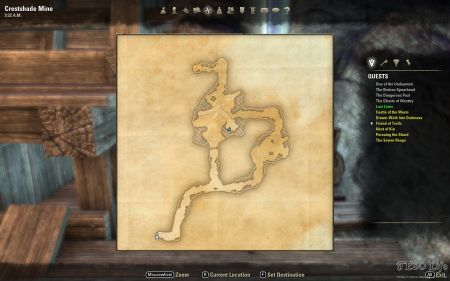
Inside Crestshade Mines solo dungeon. Entrance to the dungeon is marked on the interactive map, while the exact location of the shard is shown in a separate screenshot. Crestshade Mines is northwest of Shornhelm.

As you approach the end boss of Crestshade Mines you will see the skyshard on a wooden platform.

Exact location of the shard shown on the map of Crestshade Mines.

11.

Seek worms who burrow for a tear.

Guide:
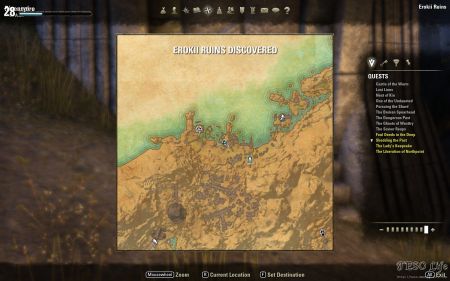
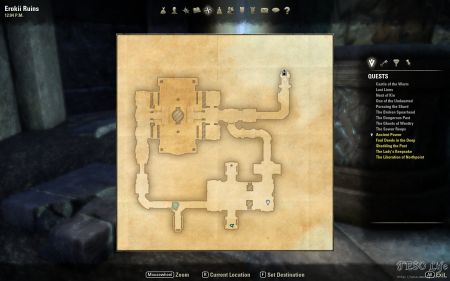
Found inside Erokii Ruins solo dungeon. You can reach this place by following the north shoreline from Northpoint. You can reach it from the south and Shornhelm

Enter Erokii Ruins (entrance marked as player location on the map screenshot above)

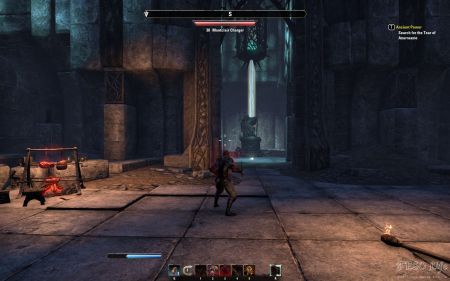
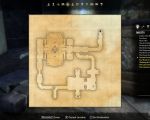
You’ll find the collectible near the end boss in one of the small side rooms.

12.

Among Flyleaf’s unearthed dead.

Guide:
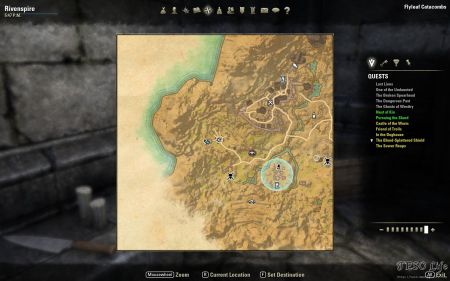
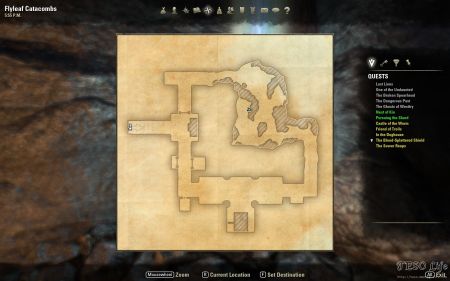
Inside Flyleaf Catacombs solo dungeon. Get to the central chamber and you should see it clearly. Flyleaf Catacombs are in eastern Rivenspire next to Eyebright Feld Dolmen.

As you approach the final chamber you might notice the skyshard to your left, up in the rocks. Backtrack a bit and take the left road to climb up.

As you go up you have to get rid of some mobs.

This is the exact location of the collectible. Remember, turn left before facing the end boss of the dungeon.

13.

Secret in the blood-suckers’ hideaway.

Guide:
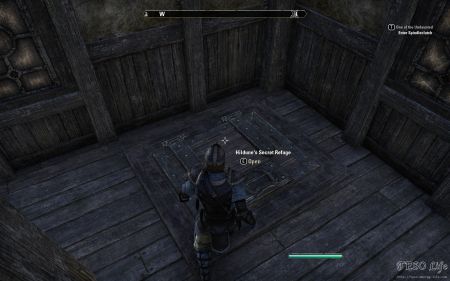
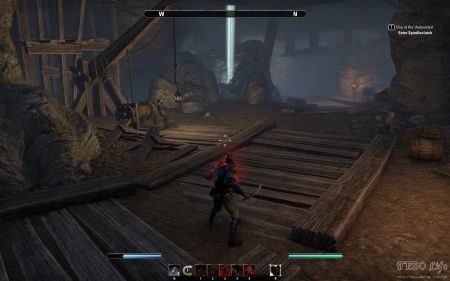
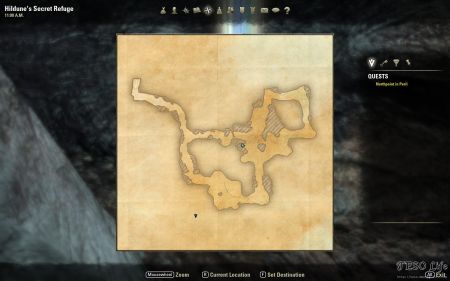
Found inside Hildune’s Secret Refuge solo dungeon. Dungeons’s entrance is inside an abandoned house in Northpoint.

To enter Hildune’s Secret Refuge you have to find this trapdoor inside an abandoned house on the west edge of Northpoint. Exact location is marked on the big interactive map.

Collectible is easily spotted as you approach the end of the dungeon.

14.

Look upon the Orsimer’s hand.

Guide:
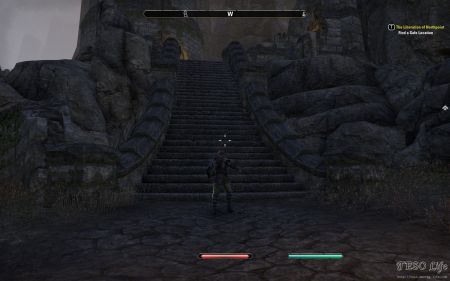
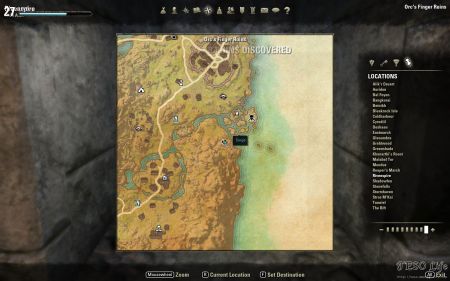
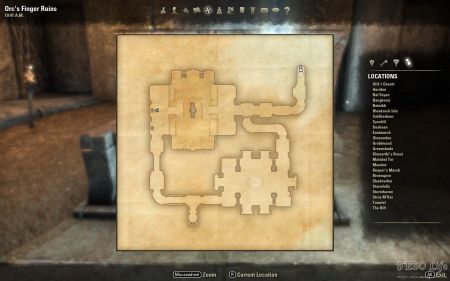
Inside Orc’s Finger solo dungeon. You will see it as you climb the stairs out of the first large room. Marked on the big map is the entrance into the dungeon.

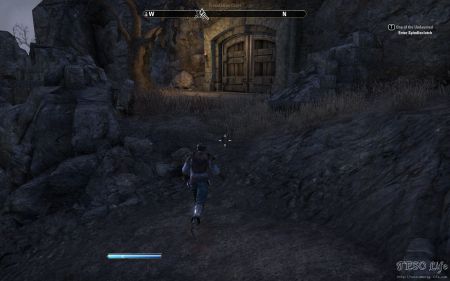
You’ll find the entrance into Orc’s Finger at this location on the map.

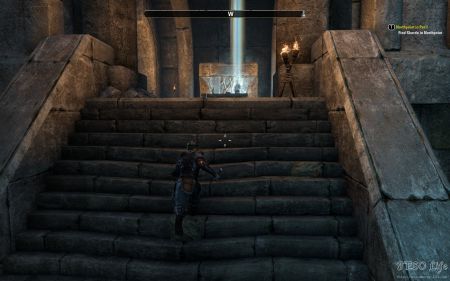
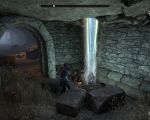
As you climb the stairs you are greeted by the skyshard.

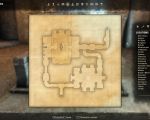
Exact location inside the dungeon.

15.

Conquer the crypt of trials.

Guide:
Inside Tribulation Crypt solo dungeon. Entrance into the dungeon is north of Sanguine Barrows and its wayshrine and is marked on the big map. Exact location of the collectible inside the dungeon is shown on the screenshot bellow.

Tribulation Crypt entrance (as marked on the interactive map)

You do not have to go too far inside the dungeon to pick up the shard. It is in the first small room you come across.

Map of Tribulation Crypt showing the exact location.

16.

Stolen by worshipers of Ashpit’s Lord.

Guide:
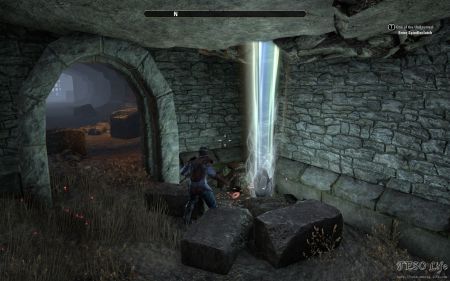
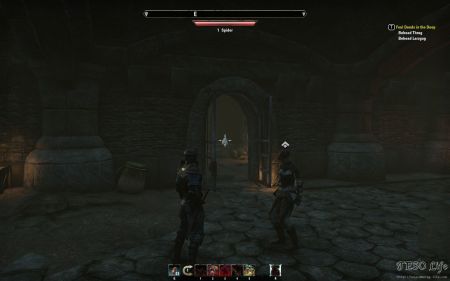
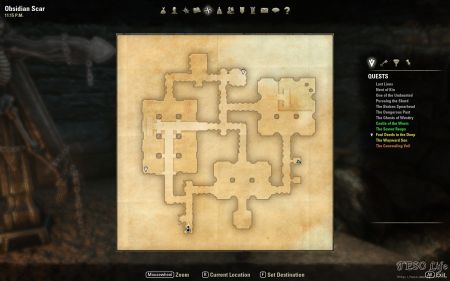
Inside Obsidian Scar public dungeon. This place is hard to solo so you might want to bring some friends. Good news is that the shard is rather close to the entrance so you might just be able to get it alone. Bad news is that at the time we played the shard was bugged and it was not emitting the familiar shine. This might get fixed down the line, but keep an eye out because you can easily miss it or think you already picked it up.

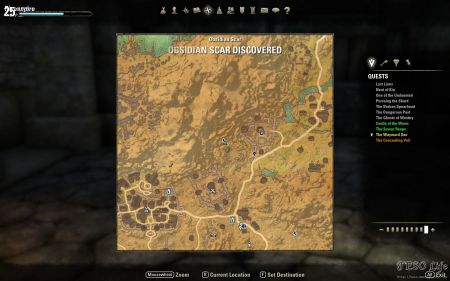
Entrance to Obsidian Scar map location.

Skyshard is located inside one of the prison cells and as you can see it is not shining as others do.

Map location of the collectible inside Obsidian Scar

You can still pick it up although it is slightly bugged.
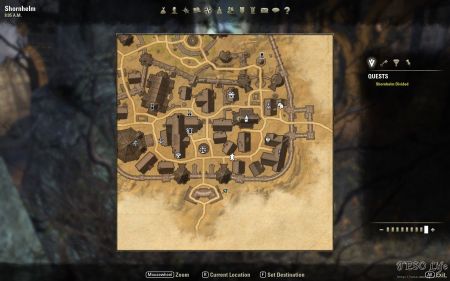
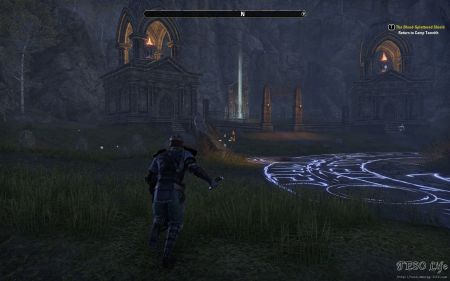
Just Outside Shornhelm’s Gate Skyshard

Guide:
Found right of the main Shornhelm gate.
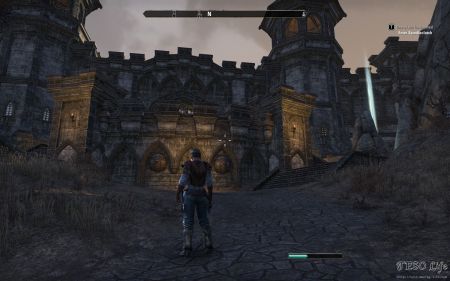
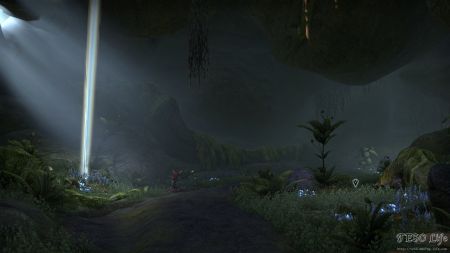
As you approach Shornhelm ‘s main gate you can clearly see the skyshard’s shine to your right.