| Collection: | Glenumbra Lore |
| Location(s): | Glenumbra |
| Location Notes: | This lorebook is located in southern Daggerfall. |
| Image walkthrough: | Loc.1 – Next to the stables outside Daggerfall is a tent. Molg Music-Maker standing on the entrance of the tent. |
| Map: | 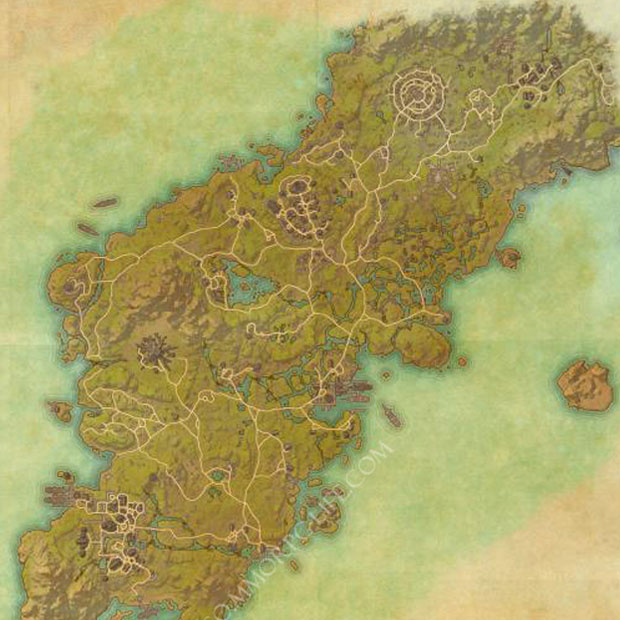 |


Lorebook text
Let me start a few steps back. The Orc strongholds have existed as long as the Orc race has, at least according to them. Orc strongholds are more than armored camps. They’re fortresses. Every man, woman, and child inside the walls is trained from birth to defend them. All their weapons and armor are smithed right there in the stronghold. All the food is hunted down by Orc warriors and brought back to be eaten by the Orcs who live there.
Orcs follow no laws save their own, an unwritten set of rules called "The Code of Mauloch," named after one of their gods, who is sometimes called Malacath. Most of it’s pretty simple: don’t steal, don’t kill, and don’t attack people without reason (although there seems to be a big list of exceptions). Orcs in a stronghold don’t have jails for their criminals. They have Blood Price. You either pay enough in goods for your crimes, or you bleed enough that the victim is satisfied. And I don’t need to tell you that Orcs have a lot of blood.
The Code also sets up who runs the stronghold. The toughest male is usually the chief. He makes decisions and decides when the Code of Mauloch has been satisfied. All the women are either the chief’s wives or his daughters, with the exception of the wise woman, who handles all spiritual matters and healing needs. Matters of grave dispute are handled with short but violent fights. Those who don’t get along with the chief are usually forced out of the stronghold to live among the rest of us. An Orc grows up being told to fight for everything. If something is not worth fighting for, it is beneath the Code.
The Orcs in a stronghold don’t like strangers, used to living on their own like they do. We know about their homes because so many Orcs leave their strongholds to become sellswords or soldiers, and a few pints of mead always gets them talking about home. I hear that sometimes, when an Orc makes a non-Orc a "blood kin," that person is allowed to live in the stronghold as one of the clan. Of course, I’ve never seen proof of that actually happening.
For all their strange rules and traditions, the Code of Mauloch does breed a culture of determined warriors. They’re focused in ways that the average sellsword isn’t. They don’t hesitate to draw weapons and settle matters openly. I think that’s the real difference between the stronghold Orcs and the city Orcs. The law allows you to settle fights through the constable’s men, but the Code of Mauloch demands you settle your problems yourself. That’s a fine way of thinking when you’re leading a mercenary’s life.


